
Coquitlam homeowners: Expose 8 inches to find missing step flashing
Coquitlam homeowners: Expose 8 inches to find missing step flashing
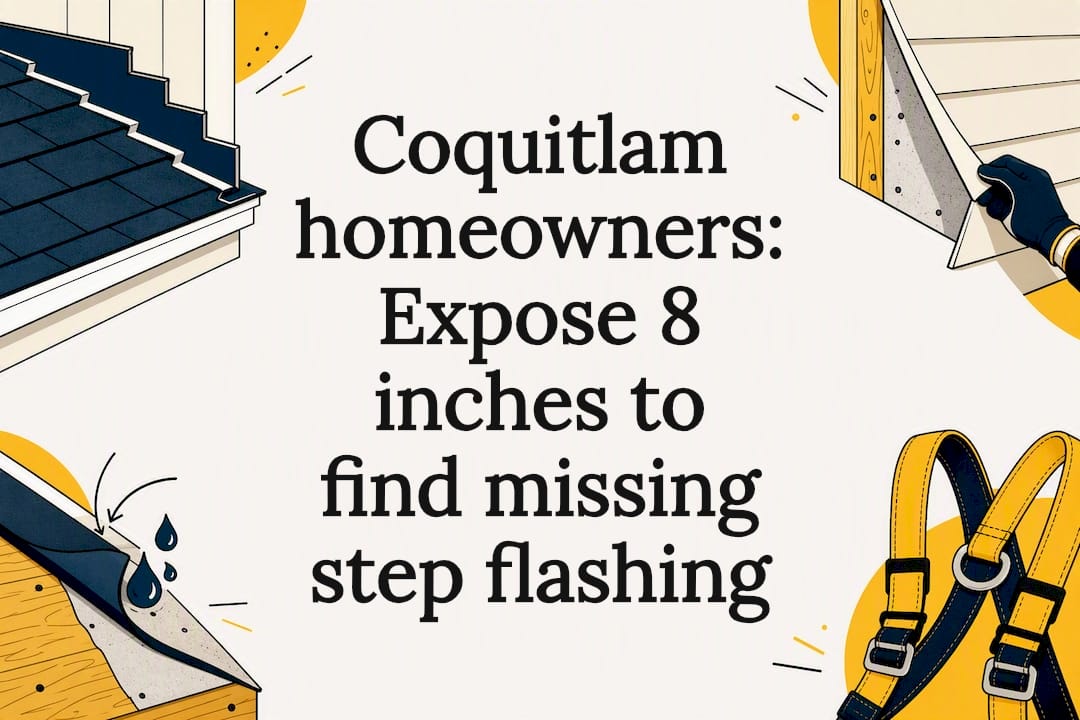
Missing step flashing at a roof to wall junction is an immediate leak risk, not a cosmetic detail. Water tracking behind siding can rot sheathing and framing long before you see a stain indoors. If you’re seeing interior discoloration, soft drywall, or a leak that shows up every time it rains hard, call a professional now. If you’ve only spotted a gap from the ground, get it inspected within the next few weeks.
TL;DR:
- Missing or improperly installed step flashing allows water intrusion, which can lead to hidden rot behind siding long before interior signs appear.
- Proper retrofit involves removing siding, inspecting sheathing, installing a membrane, and adding one piece of step flashing per shingle course with correct overlaps.
- Using corrosion-resistant metal like galvanized steel or aluminum is essential for coastal climates, and flashing must follow standard sizing for durability.
- Many interior issues such as soft drywall or mold are signs of long-term wall system failure, often indicating sheathing damage from delayed flashing repairs.
- Inspections should include wall opening and moisture testing, as visible staining or roofing images alone do not reveal hidden structural damage.
Table of Contents
- How to inspect for missing step flashing in your Coquitlam home
- Why does step flashing go missing or fail in the first place?
- The hidden damage pattern behind newer siding
- What actually fixes missing step flashing
- When should you call a professional roofer?
- Preventing missing step flashing during your next roofing project
- Paragon Roofing BC’s approach to step flashing repair in Coquitlam
- What the checklists don’t tell you
- Get a step flashing inspection and repair quote in Coquitlam
- Sources
- FAQ
How to inspect for missing step flashing in your Coquitlam home
You don’t need to climb onto a wet roof to start building a case. Most of what you need to know is visible from the ground, the attic, or a stable ladder.
Start outside and work your way in:
- Walk the perimeter where a roof slope meets a wall, dormer, or chimney, and look for continuous metal instead of small overlapping pieces stepping up with each shingle course.
- Check the bottom of each sloped wall intersection for a kick-out diverter, a small flared piece that should route water away from the wall and into the gutter.
- Look for streaking, dark staining, or peeling paint just below where the roof meets the wall.
- In the attic, scan the sheathing near the same junction for water stains, dark mould spots, or insulation that feels damp or compressed.
- Photograph everything with a phone flashlight and, if you own one, a basic moisture meter reading on suspect wood.
Pro Tip: Take photos on a dry day and again right after a heavy rain. If staining widens or darkens after a storm, that’s active intrusion, not old damage.
Skip the ladder entirely if the roof pitch is steep or the shingles are wet. A contractor with proper harness gear and roof safety training can document the same junction far more safely, and their findings will hold more weight if you ever need them for an insurance or strata claim.
Why does step flashing go missing or fail in the first place?
Most failures trace back to how the flashing was installed the first time, not simple age. Coquitlam’s mix of older subdivisions and newer townhouse infill means both are common.
- Continuous strip flashing instead of step flashing. A single bent metal strip is faster to install but can’t flex with each shingle course, so water finds a path underneath it. Asphalt shingle roofs need one piece of step flashing per course, not a single continuous run.
- Missing or undersized kick-out flashing. Some crews skip the kick-out entirely or bend a scrap piece on site that’s too small to handle heavy Lower Mainland downpours.
- Wrong sequencing with housewrap. If the housewrap goes on before the flashing instead of lapping over it, water gets funneled straight into the wall cavity.
- Caulk used as the primary seal. Caulk degrades within a few years and was never designed to replace metal flashing, according to The Roofing Brief.
- Corroded or improperly nailed flashing that’s lost its seal over time, especially on older homes with galvanized steel that’s outlived its coating.
The hidden damage pattern behind newer siding
Here’s the part that catches a lot of Coquitlam homeowners off guard: modern cladding is good at hiding water damage, not preventing it. Fibre cement and vinyl siding can look flawless on the outside while the sheathing behind it has been rotting for years.
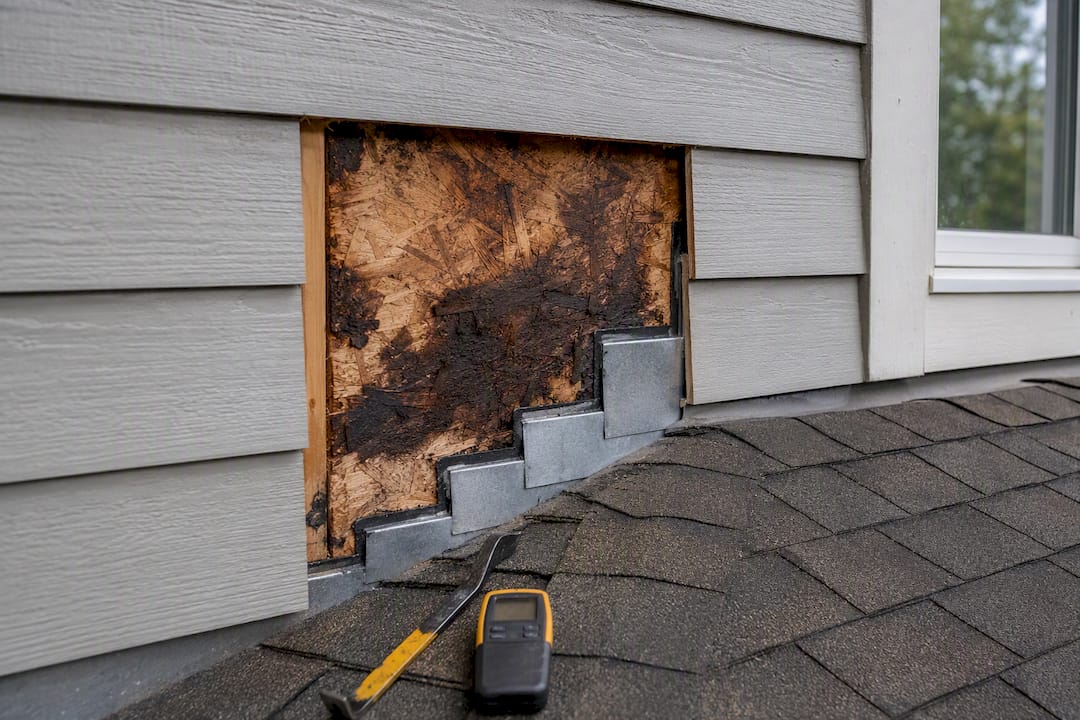
Inspectors increasingly describe roof to wall leaks as a wall system failure rather than a roofing problem alone, because by the time staining shows up on drywall or trim, the framing behind it may already be compromised. Inside a townhouse or condo unit, that often shows up as a musty smell in a closet, a soft spot near a window header, or bubbling paint on an interior wall that backs onto an exterior wall to roof junction.
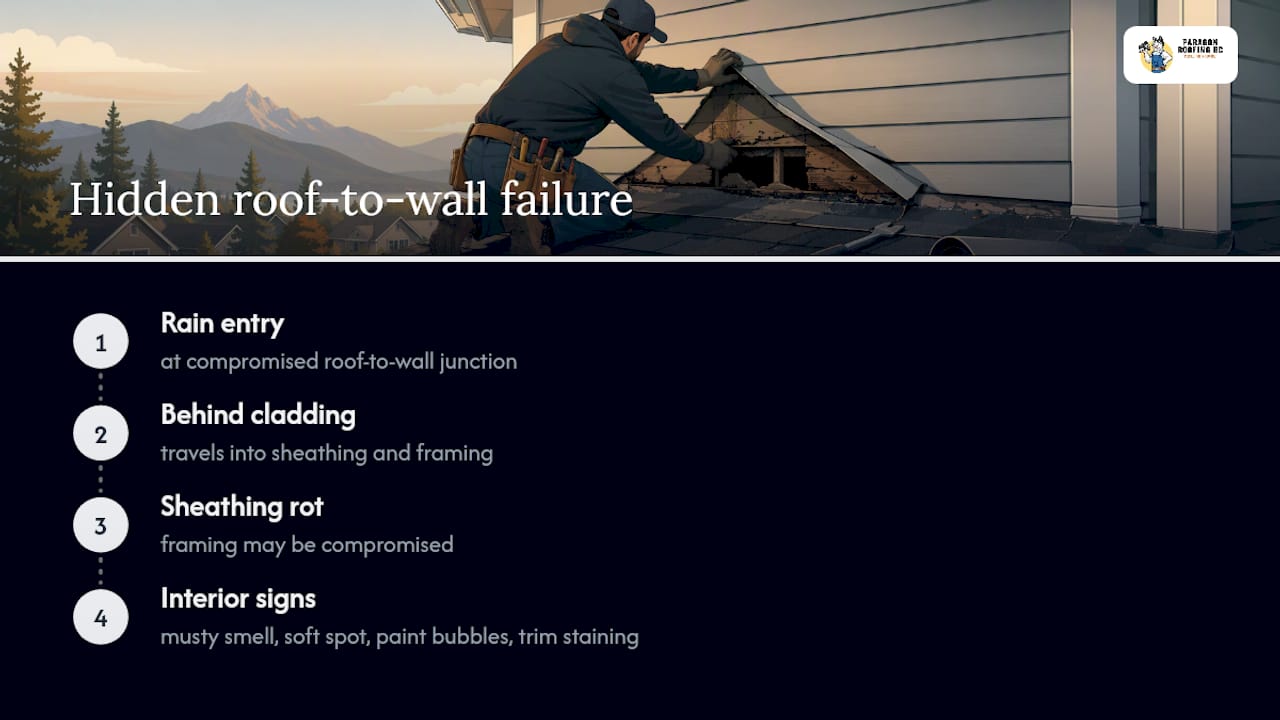
For strata corporations, this matters beyond the immediate repair bill. Delayed flashing repairs that lead to structural rot can complicate insurance claims and may fall outside standard building envelope warranty coverage once the damage is deemed a maintenance failure rather than a construction defect. Strata councils should treat any flashing-related staining as a documentation and budgeting priority, not a wait and see item.
What actually fixes missing step flashing
A bead of sealant over the gap might buy you a dry week, but it’s not a repair. Treat any caulk-only fix as temporary at best, and only acceptable if a proper repair is scheduled within days, not months.
The correct retrofit sequence looks like this:
- Remove siding around the junction to expose at least 8 inches of wall on each side, per the standard Building America Solution Center retrofit guidance.
- Inspect and repair or replace any wet or rotted sheathing before installing anything new.
- Install a peel-and-stick membrane over the repaired sheathing to create a secondary water barrier.
- Install one piece of step flashing per shingle course, each overlapping the one below it.
- Add a properly sized kick-out at the bottom of the run to direct water into the gutter, since undersized or missing kick-outs are one of the most common causes of concentrated wall damage.
- Lap the housewrap correctly over the new flashing’s vertical leg so water sheds outward instead of behind it.
- Reinstall siding once the flashing and membrane are fully integrated.
A few material notes matter specifically for Coquitlam’s coastal moisture exposure:
- Use corrosion-resistant metal such as galvanized steel or aluminum, never uncoated steel that will rust within a few seasons.
- Step flashing legs should follow standard sizing, commonly around 4 inches up the wall and 4 inches onto the roof deck for asphalt shingle applications.
- Continuous flashing is appropriate for some non-shingle systems like standing-seam metal roofs, but not as a substitute for step flashing on a shingled roof-to-wall junction.
Pro Tip: If a contractor quotes a flashing repair without mentioning sheathing inspection, ask directly whether they plan to open the wall. A quote that skips this step is pricing a surface fix, not a real repair.
Expect a proper retrofit on one junction to take a full day when damage is limited to the flashing itself, and two or more days once wet sheathing needs replacing. Hidden rot is almost always the cost driver, not the flashing material.
When should you call a professional roofer?
Some signs mean it’s time to stop inspecting yourself and get someone on site. Interior staining that reappears after rain, drywall that feels soft or spongy near a roof-to-wall junction, and any leak that’s been “patched” more than once all warrant a proper diagnostic visit.
A thorough professional inspection should include:
- Opening the siding enough to visually confirm flashing type and condition, not just an exterior walk-around.
- Moisture readings on the sheathing and framing, not a guess based on visible staining alone.
- A written scope with photos showing exactly what was found, as real inspections often reveal once the wall is opened.
- Clear answers on kick-out sizing, flashing gauge and material, and how the repair integrates with your existing WRB.
If a quote only addresses visible flashing and skips wall inspection, ask why. A surface-only fix on top of wet sheathing is a short-term patch, not a solution.
Preventing missing step flashing during your next roofing project
The cheapest time to get step flashing right is during a roof replacement or siding project, not after a leak. Build these specs into any scope of work:
- Require one piece of step flashing per shingle course, never a continuous strip.
- Specify an integrated kick-out diverter sized for heavy rainfall, not an improvised on-site bend.
- Confirm housewrap laps over the flashing’s vertical leg, with peel-and-stick membrane at vulnerable transitions.
- Choose corrosion-resistant metal rated for coastal exposure.
Pro Tip: Strata councils and property managers should add roof-to-wall junctions to their annual inspection checklist, especially on buildings over 15 years old where original flashing may already be failing quietly.
Paragon Roofing BC’s approach to step flashing repair in Coquitlam
We’ve worked on enough Coquitlam roofs, from older Maillardville bungalows to newer strata townhouse complexes near Westwood Plateau, to know that step flashing problems rarely show up alone. They tend to travel with poor kick-out placement, siding installed over rather than integrated with the WRB, and sheathing that’s been quietly absorbing moisture for a season or two. Our Coquitlam roof installation work follows the same documented approach on every job: photograph the junction, take moisture readings, open the wall if readings are elevated, and hand over a written repair plan before anything gets closed back up. Strata councils weighing repeated repair requests can also look at our strata-ready inspection process for how we document shared-wall issues across a complex.
What the checklists don’t tell you
Most flashing guides treat this as a hardware problem: install the right pieces in the right order, and you’re done. That’s true as far as it goes, but it misses the bigger issue in a place like Coquitlam. The real failure point isn’t the flashing itself, it’s the assumption that a dry-looking wall means a dry wall system.
Conventional advice tells homeowners to watch for staining and call someone when they see it. That’s reactive, and by the time staining is visible on interior drywall, the sheathing behind it has usually been wet for months, sometimes longer under fibre cement or vinyl siding that hides everything until paint starts to bubble. If your home or building has any roof-to-wall junction that predates a re-siding or re-roofing job, treat that junction as unverified, not fine.
What actually matters is sequencing: correct kick-out sizing, correct WRB integration, corrosion-resistant material. Skip any one of those and the rest is decoration. If you take one thing from this guide, make it this: request that a contractor open the wall for inspection before you accept any quote that only addresses visible flashing.
— Harman
Get a step flashing inspection and repair quote in Coquitlam
Paragon Roofing BC is the local alternative to guessing and hoping a caulk patch holds through the next atmospheric river. We inspect the actual wall assembly, not just the visible flashing, so you get a written scope that tells you exactly what’s wrong and what it takes to fix it properly.

When you book an inspection, expect a site visit where we document the junction with photos, take moisture readings on the sheathing, and open the siding if readings suggest hidden damage. You’ll receive a written report with our findings and a repair scope that separates flashing-only work from any sheathing replacement needed, along with warranty details on the completed work. Homeowners and strata councils in Coquitlam can start with our residential roofing services page or reach out through our Coquitlam roofing services page to schedule a visit and get a straight answer on what your roof-to-wall junctions actually need.
Sources
FAQ
Is missing step flashing always a leak?
Not immediately, but it’s a matter of time. Water will eventually find the gap during a heavy or wind-driven rain, and by then it may already be tracking behind the siding.
Can I temporarily seal missing step flashing with caulk?
Caulk can buy you a few days in an emergency, but it degrades quickly and was never designed to replace metal flashing as the primary water barrier.
How much of the wall needs to come off to fix it?
A proper retrofit typically exposes at least 8 inches of wall on each side of the junction so the sheathing can be inspected and the new flashing correctly integrated.
Does missing step flashing affect my home insurance?
It can. Damage classified as a long-term maintenance failure rather than a sudden event may fall outside standard coverage, which is why documenting and repairing flashing issues promptly matters for both homeowners and strata corporations.
How do I know if my roof has step flashing or continuous flashing?
Step flashing looks like small overlapping metal pieces following each shingle course, while continuous flashing is a single unbroken strip. If you can’t tell from the ground, a contractor can confirm it during an inspection.
Recommended
Our Roofing Blog


Have more questions about roofing?
Check out our FAQs or give us a call today to speak to an expert roofer in Vancouver Lower Mainland, BC. We're here to help our neighbours make educated decisions about their roof. For our team, we value helping clients save money while making their roofs last.
