
Stop West Vancouver Overhang Rot: Building Science and 3 Repair Tiers
Stop West Vancouver Overhang Rot: Building Science and 3 Repair Tiers
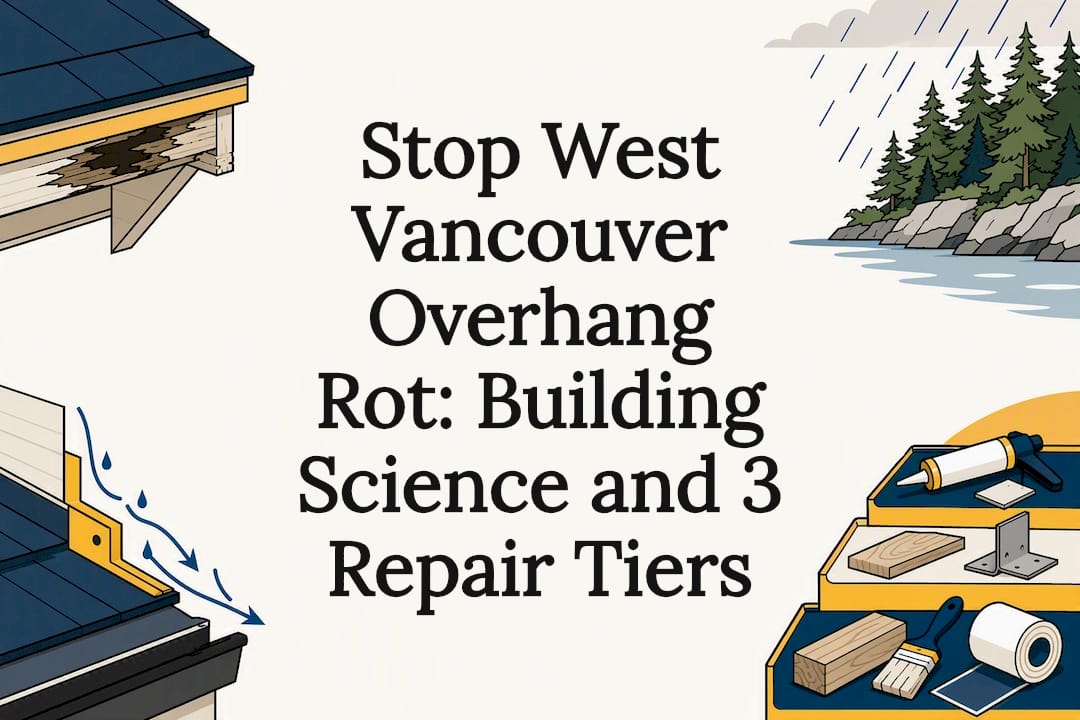
If your West Vancouver overhang shows moss, dark staining, or wood that gives under a thumb press, rot is likely already active. Stop anything adding moisture (clear the moss, unclog the gutter, tarp an active leak), then get a proper inspection booked. If you see sagging, water inside the house, or the damage is above the second storey, skip the ladder and call a professional immediately.
TL;DR:
- Proper inspection includes moisture readings, probing soft wood, and attic checks to determine whether rot has progressed beyond surface damage.
- Common signs of rot are soft fascia, sagging soffit, dark staining, moss buildup, and gutter overflow, often caused by failed flashing or inadequate drainage.
- Repair costs vary from small fascia patches to full overhang rebuilds, with complexity driven by access difficulty, hidden decay, and the need for proper flashing and drainage corrections.
- Prevention relies on regular gutter cleaning, moss removal, trimming overhanging branches, and ensuring downspouts discharge away from the foundation, especially before the wet season.
- Immediate professional help is required if active water leaks, sagging, or rot at multiple rafters are present, as these indicate structural damage beyond cosmetic issues.
Table of Contents
- What are the signs and causes of West Vancouver overhang rot?
- Why does West Vancouver’s climate make overhang rot worse?
- How do you inspect an overhang for rot damage?
- What are the repair options for a rotten overhang?
- How do you prevent overhang rot from coming back?
- When should you call a professional for overhang rot?
- What we see most often on West Vancouver overhangs
- Get a West Vancouver overhang inspection from Paragon Roofing BC
- Sources
- FAQ
What are the signs and causes of West Vancouver overhang rot?
Wood rot rarely announces itself with a bang. It shows up first as small, easy-to-dismiss cosmetic issues, and by the time it’s obvious from the ground, the damage is often further along than it looks.
Ground-level signs worth stopping for:
- Fascia boards that look wavy, cupped, or have paint bubbling and peeling in sheets rather than flaking normally
- Soffit panels that sag, feel bouncy underfoot when you press up on them with a broom handle, or show dark water tracking
- Soft spots you can dent with a fingernail or a screwdriver tip without much pressure
- A persistent sour or musty smell near the eaves, especially after a few dry days
- Fascia paint that’s holding moisture and turning green or black, not just fading
Roof-surface signs you’ll spot from a ladder or with binoculars:
- Thick moss mats sitting along the lower courses and overhang edges, particularly on north-facing and shaded slopes
- Shingles lifted or curled near the drip edge where moss has pushed underneath the tabs
- Granule loss and bare patches concentrated right where the roof overhangs the wall
- Debris packed into the gutter so tightly that water is overflowing behind the fascia instead of into the downspout
The mechanism behind all of it is straightforward building science: wood decays when it’s kept wet longer than it can dry. Moss acts like a wet sponge glued to your roof edge, and it holds water against the sheathing and fascia far longer than open shingle ever would. Persistent moisture from clogged gutters or trapped moss prevents the wood from ever drying out between rain events, which is exactly the condition fungal decay needs to take hold and keep spreading.
The interfaces are where things usually go wrong first. Investigations into coastal BC building failures consistently point to water ingress at interface details as the primary driver of decay, not the wood species or even the roofing material itself. On a West Vancouver overhang, that means failed step or drip-edge flashing, a gutter hung with the wrong pitch, or a rafter tail that’s been quietly absorbing splash-back for a couple of winters. Once those interface details fail, everything downstream of them stays wet, and the rot follows the water.
Why does West Vancouver’s climate make overhang rot worse?
West Vancouver sits right where heavy coastal rainfall meets dense tree cover, and that combination is brutal on exposed wood. Long, mild, wet stretches from October through March mean overhangs often get one short drying window before the next system rolls in off the Strait. Shaded, north-facing eaves under cedar and fir canopies dry even slower, which is exactly why moss colonizes those overhangs first and worse.
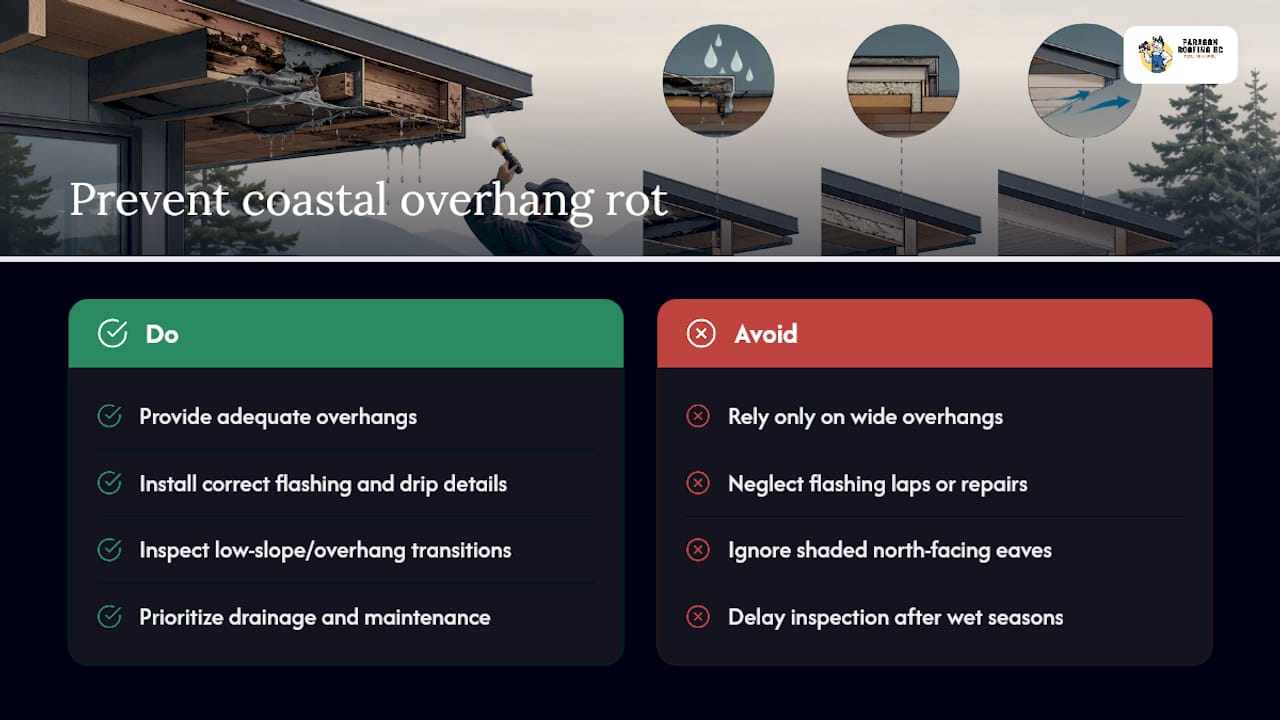
Pro Tip: A wall assembly without adequate overhang protection shows a dramatically higher rate of moisture problems in coastal studies than one with even a modest overhang, according to a practitioner summary of coastal building research. Overhangs deflect running water away from the wall face, but only if the flashing and drip detail behind them are doing their job too.
The CMHC survey of envelope failures in coastal BC backs this up with hard data, tying wider roof overhangs directly to fewer reported moisture problems across the properties it studied. The takeaway isn’t just “bigger overhangs are better.” Overhang width matters, but it can’t substitute for correct flashing and drainage design. A generous overhang with a badly lapped flashing detail will still rot; a modest overhang with tight, well-maintained flashing can hold up for decades.
Low-slope and vented roof assemblies add another wrinkle. BC Housing’s bulletin on low-slope vented wood-frame roofs found that these assemblies commonly show high sheathing moisture and fungal growth in coastal BC even when they were built entirely to code. Vented cavities in a wet climate can trap humid air against sheathing for months, which means the rot can be well established before it ever shows on a ceiling or soffit. If your home has a flat or low-slope section feeding into an overhang, treat that transition as a priority inspection point, not an afterthought.
How do you inspect an overhang for rot damage?
A methodical walk-through catches problems while they’re still cheap to fix. Here’s the sequence we use on site visits across West Vancouver, adapted for a homeowner with a ladder and some patience.
- Start at the gutter. Clear debris by hand, then run a hose through it and confirm water actually reaches and exits the downspout. A gutter that overflows behind the fascia is doing more harm than no gutter at all.
- Check the fascia and drip edge. Look for paint failure, cupping, or gaps where the drip edge has pulled away from the fascia board.
- Probe soft-looking wood. A flathead screwdriver or an awl pushed gently into suspect fascia or soffit tells you fast whether you’re dealing with surface staining or wood that’s lost its structure.
- Inspect the soffit from underneath. Look for sagging panels, staining, or gaps where pests could be getting in alongside the moisture.
- Scan the roof edge for moss. Note which slopes carry the heaviest moss mats. That map tells a contractor exactly where drying potential is worst.
- Get into the attic. Ceiling stains near the exterior wall line, damp or compacted insulation, a musty smell, or visible mould on the underside of the roof sheathing near the eave are all signals the rot has already reached the structural side.
Do this walk-through seasonally, ideally in early autumn before the wet season ramps up, and again after any major windstorm that could have shifted flashing or dumped a load of branches into the gutter. If you’re finding soft wood at more than one location, or the attic check turns up staining, stop the DIY probing there. A screwdriver in the wrong spot on a rafter tail that’s already thin can do real damage, and it’s time for a professional with a moisture meter.
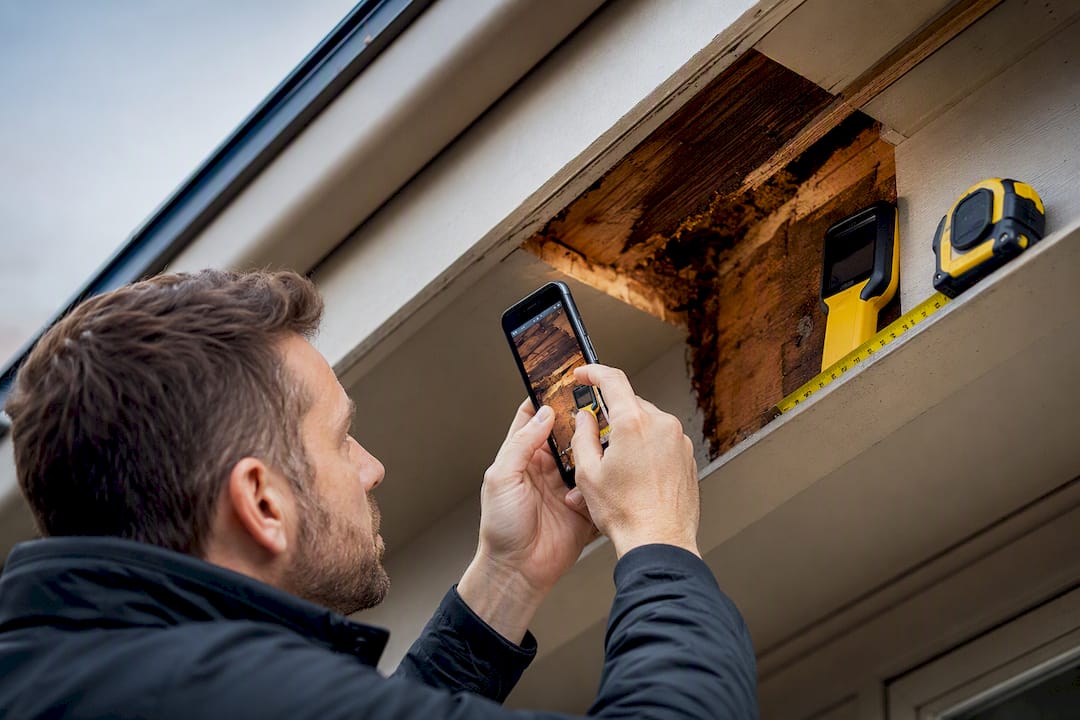
Pro Tip: Photograph every soft spot and moisture reading with something for scale, like a tape measure or a coin, and note the compass direction of each roof slope. A contractor can quote far more accurately from four good photos and a rough sketch than from a phone call describing “some rot near the back.”
What are the repair options for a rotten overhang?
Repair scope depends entirely on how far the moisture has travelled, and it breaks down into three rough tiers.
Minor damage usually means the rot is still surface-level or contained to a small section.
- Professional moss removal followed by a borate or copper-based wood treatment on any exposed decay
- Sealing and re-priming the treated area once it’s fully dry
- Replacing a short run of fascia or soffit board rather than the whole overhang
- Re-seating a lifted drip edge or resealing a flashing lap that’s opened up
Moderate damage means the rot has reached structural framing but hasn’t spread through the whole overhang assembly.
- Replacing one or more rafter tails, which usually means opening up the soffit to get at them
- Reinstalling or upgrading the flashing at that section, tying it back into the underlayment properly rather than just caulking the gap
- Repairing or replacing the gutter run and correcting its pitch so water actually reaches the downspout
- Rerouting downspout discharge away from the foundation and wall base
Severe damage means the decay has spread through multiple rafter tails or compromised the wall-to-roof connection itself.
- Partial or full overhang reconstruction, rebuilding the rafter tails, fascia, and soffit as one unit
- Correcting the roof-to-wall interface entirely, including flashing, underlayment laps, and drainage path
- Considering rot-resistant materials, like Enviroshake or Brava synthetic shakes, or improved overhang geometry where the original design left too little protection
When rafter tails and fascia are rebuilt, the goal isn’t just replacing rotten wood with new wood. Continuous flashing with a proper drip needs to go back in, and the eavestrough fall and downspout routing need to move water away from the foundation or wall base to prevent rewetting. Skip that step and you’ve rebuilt a problem that will recur in the same spot within a few winters.
| Repair scope | What’s typically involved | What drives the cost |
|---|---|---|
| Minor | Moss removal, wood treatment, small board replacement | Access difficulty, treatment product |
| Moderate | Rafter tail replacement, flashing reinstall, gutter correction | Number of rafter tails affected, scaffold or lift rental |
| Severe | Partial or full overhang rebuild, interface correction | Hidden decay found during demolition, permit review, material upgrade |
Access is often the hidden line item on a quote. A single-storey overhang over a flat, clear yard is a ladder job. A second-storey overhang above a sloped lot or a deck often needs scaffolding or a lift, and that equipment cost shows up before a single board gets replaced. The other unpredictable factor is what’s behind the first piece of removed fascia. Contractors budget for a contingency because rot frequently travels further into the wall assembly than the exterior symptoms suggested, and nobody knows the true scope until the first cut is made.
How do you prevent overhang rot from coming back?
Prevention in this climate is less about a single fix and more about keeping the wetting and drying cycle balanced in your favour, year after year.
- Clean gutters at least twice a year , once in late autumn after leaf and needle drop, and again in early spring to clear anything winter storms packed in.
- Book moss removal on a schedule , not just when it’s visibly thick. A soft-wash treatment applied to shingles and overhang edges before moss mats form does far more good than scraping mats off after the fact.
- Prune back overhanging branches from cedar, fir, and maple so the roof edge gets real airflow and sun exposure, especially on north-facing slopes.
- Confirm downspouts discharge well away from the foundation , extending them with a splash block or buried line if water is pooling near the wall base.
- Schedule an annual autumn inspection before the wet season, pairing the visual check with a professional look at anything that seemed borderline the year before.
Design choices matter just as much as maintenance. Overhangs in a moderate range, paired with flashing that includes a proper drip edge, give West Vancouver homes a real margin against wind-driven rain. Ventilated soffits help too, letting trapped humid air escape rather than sitting against the sheathing all winter. If your home was built with minimal overhangs, that’s a design constraint worth discussing with a roofer before your next reroof, not something to just live with indefinitely.
Pro Tip: Moss removal on its own often isn’t enough. Field experience shows that clearing moss without also fixing the drainage or flashing that let it establish in the first place just resets the clock. The rot comes back under the same conditions within a season or two.
Late spring and summer offer the best drying window for major overhang work in this region, so if a rebuild is on the horizon, that’s the season to schedule it. Follow up every autumn with a moss and debris clear before the heavy rains return.
When should you call a professional for overhang rot?
Some situations don’t leave room for a wait-and-see approach. Call a professional immediately if you notice any structural sag along the overhang line, active water dripping or staining inside the house, or rot at more than one rafter tail. Any of those points to damage that’s moved past cosmetic and into the structure holding your roof edge up.
What a proper inspection includes:
- Moisture meter readings at the fascia, soffit, and sheathing, not just a visual look
- Physical probing at suspect points to confirm how far decay has progressed
- An attic check from the inside to catch what the exterior view misses
- A written report with prioritized repair options, so you know what’s urgent versus what can wait a season
A professional roof inspection typically takes a couple of hours on site, and if active leaking is found, most contractors will stabilize the area with temporary flashing or a tarp the same visit rather than leaving you exposed until the full repair is scheduled. Municipal permit rules can apply to larger reconstructions, so it’s worth checking the District of West Vancouver’s development regulations before any major overhang rebuild gets underway.
What we see most often on West Vancouver overhangs
Working on roofs across this district, the same failure patterns show up again and again: dead valleys that never fully drain, ridge caps that lift after a windstorm and let water track down into the overhang from above, and soffit rot that started at a gutter nobody cleaned in three years. The pattern is rarely one dramatic failure. It’s usually two or three small ones stacking up in the same spot.
Our priority on every job is the same order of operations: stop the water first, then repair the structure, then restore continuous flashing and drainage so the fix actually holds. Skip step one and you’re just rebuilding a future repair.
— Harman
Get a West Vancouver overhang inspection from Paragon Roofing BC
Paragon Roofing BC handles overhang rot the way this article recommends: stop the water, assess the structure, then rebuild with proper flashing and drainage rather than a quick patch that fails again in two winters. That’s the advantage of working with a contractor whose crews are on West Vancouver roofs year round instead of a generalist who sees this microclimate once or twice a season.

Book a residential roof inspection and we’ll document every soft spot, moisture reading, and flashing issue we find, then give you prioritized repair options with a transparent quote before any work starts. If you’ve already done a walk-around and taken photos of soft fascia or moss coverage, send them along ahead of the visit. It lets our team assess your situation faster and arrive with the right materials on hand, whether that’s a small fascia patch or a conversation about cedar-to-asphalt conversion if your overhang problem keeps tracing back to your roofing material. Reach out through our West Vancouver services page to get a visit scheduled.
Sources
FAQ
How do I know if my overhang has rot or just moss?
Moss alone doesn’t confirm rot, but persistent moss cover combined with soft fascia, sagging soffit, or dark staining almost always means active decay underneath. A probe test with a screwdriver on the suspect wood gives a fast answer.
How much does overhang rot repair cost?
Cost depends heavily on scope, from a small fascia patch to a full rebuild with flashing and drainage correction, and Paragon Roofing BC provides written quotes after an on-site inspection rather than a flat number. Current service pricing is listed on our residential roofing services page.
Is $30,000 too much for a roof?
It depends entirely on the roof’s size, material, and structural scope. A full reroof on a larger West Vancouver home, especially one involving overhang rebuilding, cedar conversion, or complex rooflines, can reasonably land in that range, so the number alone doesn’t tell you if you’re overpaying.
What Indigenous land is West Vancouver on?
West Vancouver sits on the traditional territory of the Squamish Nation.
Are there any thatched roofs in Canada?
Traditional thatched roofing is not a recognized system under the BC Building Code and isn’t used on homes in West Vancouver’s coastal climate, where sustained rain and moss growth would make organic thatch impractical to maintain.
Recommended
Our Roofing Blog

Have more questions about roofing?
Check out our FAQs or give us a call today to speak to an expert roofer in Vancouver Lower Mainland, BC. We're here to help our neighbours make educated decisions about their roof. For our team, we value helping clients save money while making their roofs last.
