How to Handle Emergency Roof Repairs Effectively
Heavy rain and fast-changing weather can mean unexpected roof emergencies for Surrey property managers. When urgent roof damage strikes, acting quickly and safely is essential to limit further loss and protect every occupant. This guide offers practical, step-by-step advice on proactive hazard identification and proven protection strategies, helping you make confident decisions with support from trusted local roofing experts.
How to Handle Emergency Roof Repairs in Vancouver (Storm & Leak Response)
In Vancouver’s heavy rain and sudden storms, a small roof leak can escalate quickly into insulation saturation, framing damage, and expensive interior repairs. This video explains the practical, step-by-step emergency response homeowners should follow to reduce damage and stabilize the roof until professional repairs can be completed.
You’ll learn how to assess storm damage safely, prioritize urgent leak control, use temporary protection like tarping to prevent water intrusion, document damage for insurance, and understand when an emergency repair becomes a full repair or replacement decision in BC’s climate.
Table of Contents
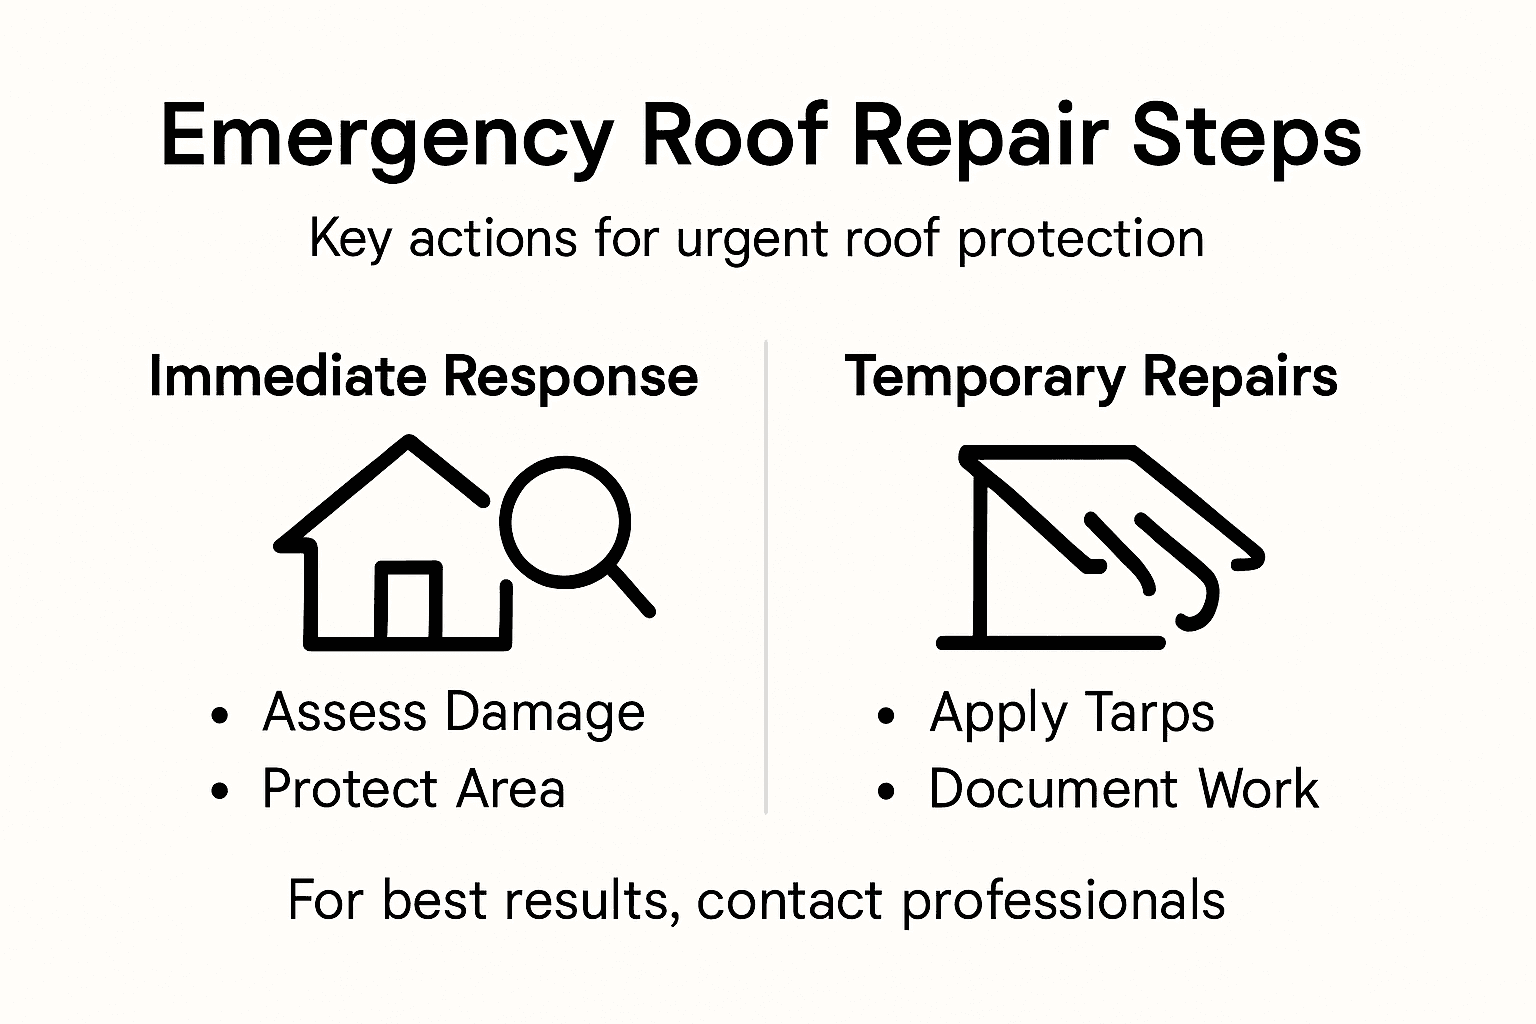
- Step 1: Assess Roof Damage Safely And Promptly
- Step 2: Protect Affected Areas From Further Harm
- Step 3: Contact Professional Roofing Experts Immediately
- Step 4: Apply Temporary Fixes With Proper Materials
- Step 5: Verify Emergency Repairs And Ensure Lasting Protection
Quick Summary
| Key Point | Explanation |
|---|---|
| 1. Conduct a Ground-Level Assessment | Start by inspecting for visible damage from the ground to ensure safety before climbing onto the roof. |
| 2. Use Temporary Protection Measures | Implement protective strategies like tarps to prevent further damage and water intrusion immediately. |
| 3. Contact Professionals Quickly | Quickly reach out to qualified roofing experts to assess the damage and mitigate further structural issues. |
| 4. Select Appropriate Repair Materials | Choose compatible materials for temporary fixes, ensuring they match existing roof types to prevent further deterioration. |
| 5. Document Repair Processes Thoroughly | Keep detailed photographic records of damage and repairs for professional assessments and insurance claims. |
Step 1: Assess roof damage safely and promptly
Addressing roof damage promptly requires careful planning and strategic safety measures. Your goal is to evaluate potential issues without risking personal injury, focusing on a comprehensive yet cautious inspection approach.
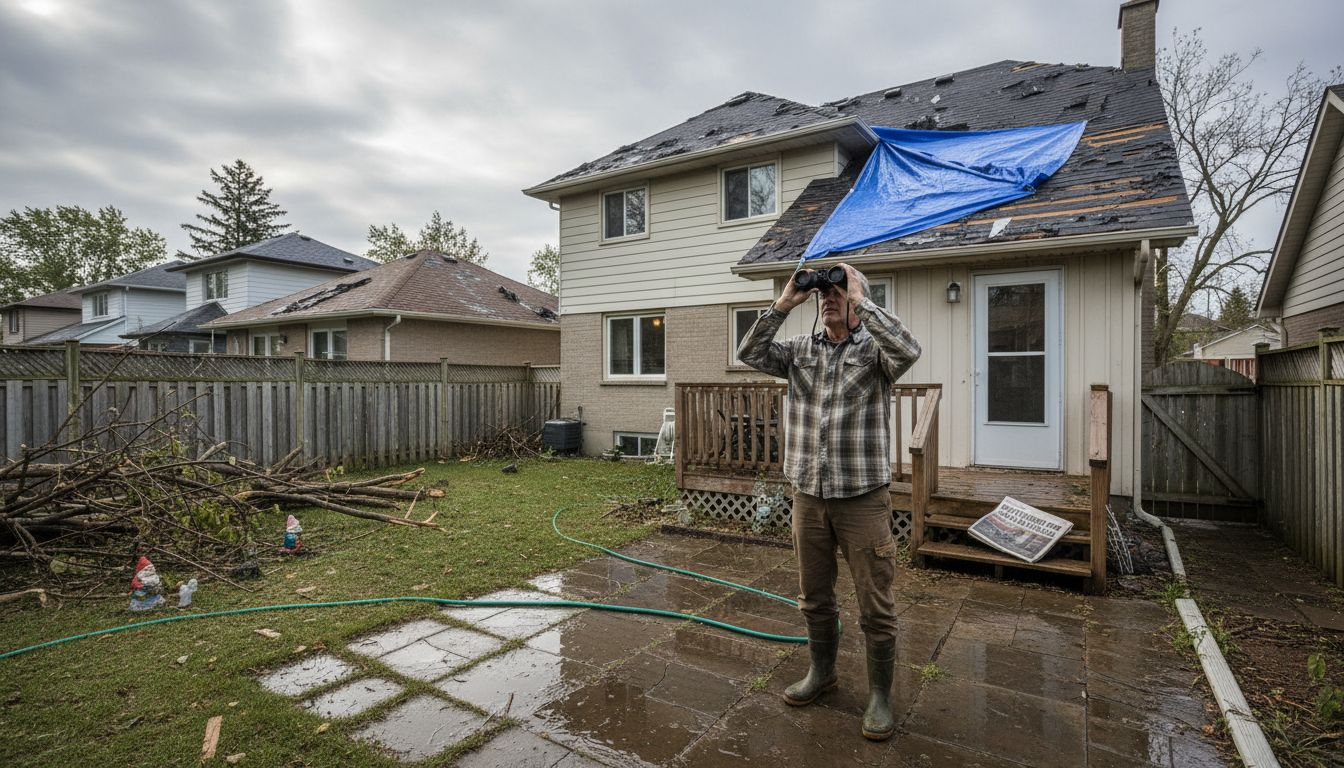
Before stepping onto your roof, conduct an initial ground-level visual assessment. Look for clear signs of damage such as:
- Visible roof material displacement
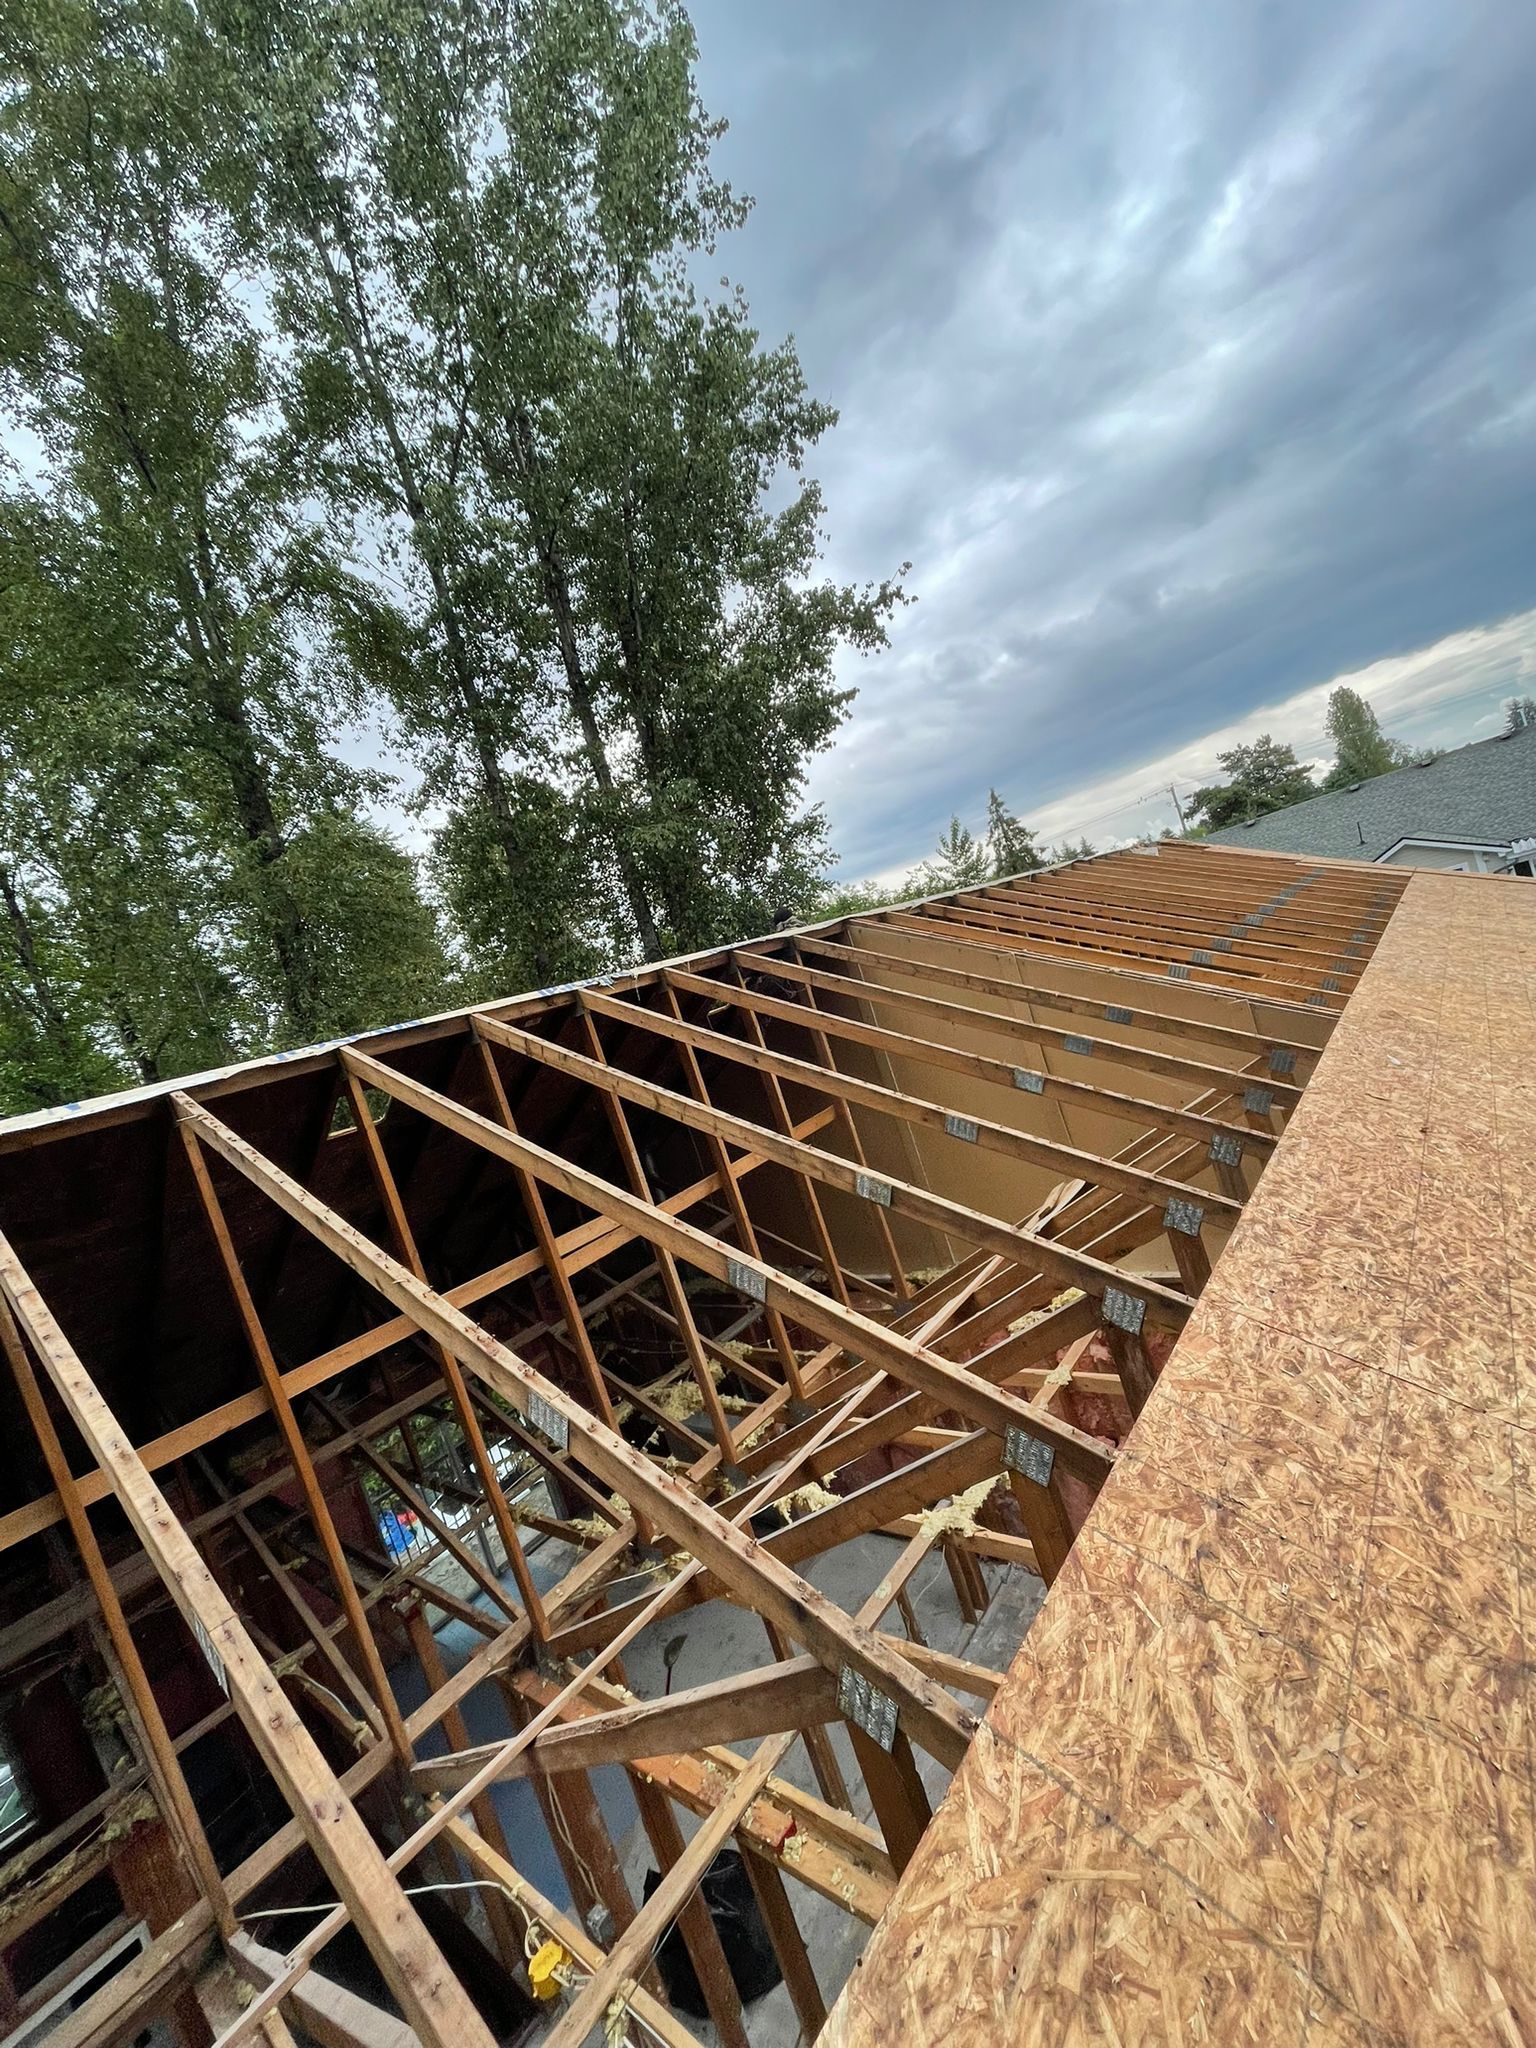
- Sagging or uneven roof sections
- Debris accumulation
- Water stains on exterior walls
- Fallen branches or tree limbs near the roofing surface
When assessing potential damage, safety must be your primary concern. Proactive hazard identification is critical to preventing accidents during roof inspections. This means carefully evaluating potential risks before climbing or attempting any direct examination.
Prioritize using binoculars or telephoto camera lenses to inspect hard-to-reach areas without physically accessing dangerous roof sections. If significant damage appears present, contact professional roofing experts who can perform a comprehensive safe and detailed inspection.
Here’s a comparison of ground-level versus professional roof assessments in emergency situations:
| Assessment Type | Safety Level | Detection Precision | When to Use |
|---|---|---|---|
| Ground-Level Inspection | Very high | Basic, surface-level | Minor visible damage, early triage |
| Professional Inspection | Requires training | Thorough, all concerns | Severe or hidden damage suspected |
Always prioritize personal safety over immediate roof repairs.
Pro tip: Keep a pair of binoculars and a high-resolution camera readily available to conduct preliminary roof damage assessments from the ground without risking personal injury.
Step 2: Protect affected areas from further harm
When your roof has sustained damage, immediate protective measures are crucial to prevent additional deterioration and potential costly repairs. Your primary objective is to create a temporary barrier that shields your home’s interior from potential water intrusion and structural compromise.
Start by implementing roof protection strategies that minimise further damage. This involves several key actions:
- Cover exposed areas with heavy-duty, waterproof tarps
- Secure tarps using wooden boards and rust-resistant screws
- Create slight overhangs to direct water away from damaged sections
- Ensure tarp edges are tightly sealed against wind and moisture
- Remove standing water or debris that could cause additional stress
Pay special attention to vulnerable roof edges and potential entry points for water. Temporary sealing techniques can significantly reduce the risk of internal water damage. Use roofing cement, waterproof sealants, and plastic sheeting to create robust protective barriers around compromised areas.
Quick action prevents minor roof damage from becoming major structural issues.
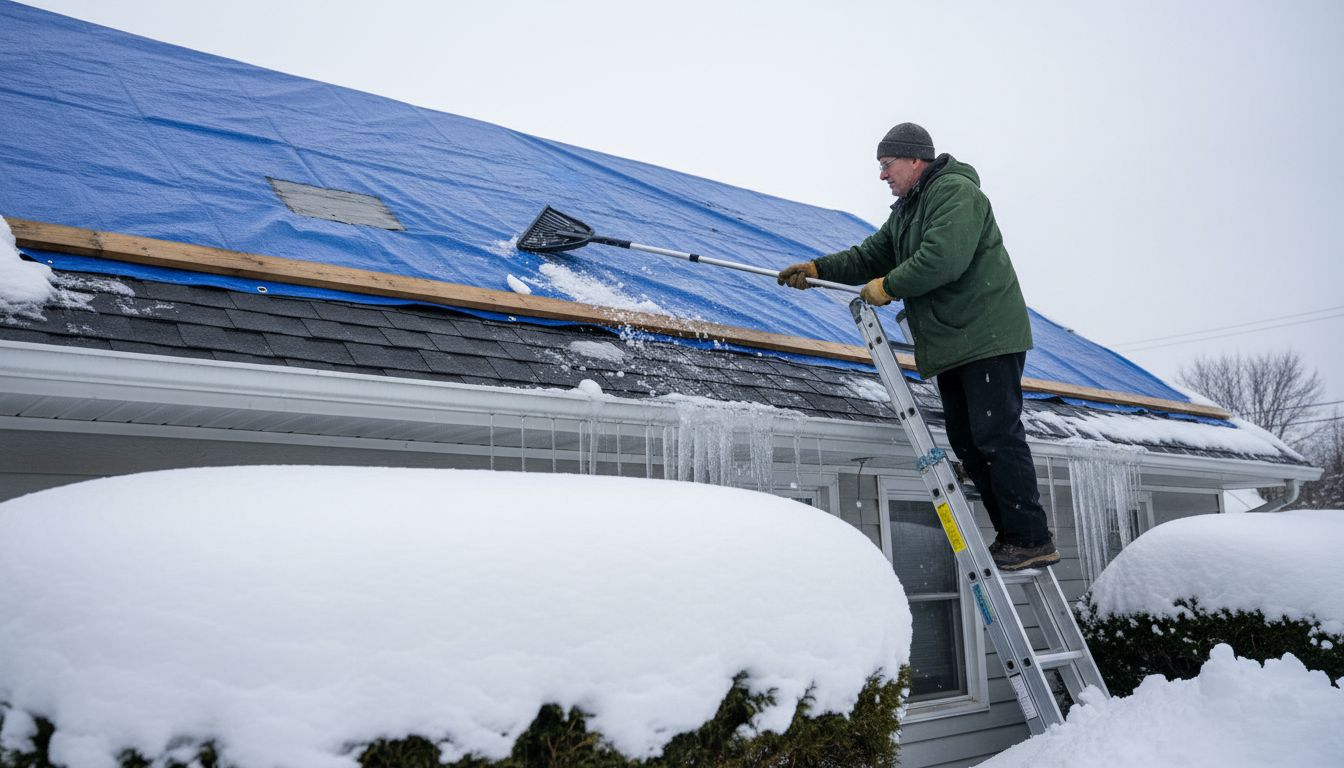
If snow or ice is present, carefully remove accumulation using roof rakes and prevent ice dam formation by maintaining proper attic ventilation. Remember that professional assistance might be necessary for complex or extensive damage.
Pro tip: Document all damage with photographs before and after temporary protection efforts, which can be crucial for insurance claims and professional repair assessments.
Step 3: Contact professional roofing experts immediately
When emergency roof damage occurs, timing is critical. Your goal is to connect with qualified professionals who can assess and address the damage quickly, preventing further structural compromise and potential long-term expenses.
Qualified roofing contractors play a crucial role in emergency roof repairs. When reaching out, prepare the following key information:
- Detailed description of visible damage
- Approximate roof age and material type
- Date and circumstances of damage occurrence
- Photos documenting the damage
- Your property’s specific location in Surrey or Vancouver
Quickly compile all relevant documentation before making contact. Professional assessment is essential to determine the extent of repairs needed and prevent potential safety hazards. Most reputable contractors offer emergency response services and can typically schedule an initial inspection within 24-48 hours.
Swift professional intervention can save thousands in potential structural repairs.
During your initial consultation, ask specific questions about their experience with similar damage, estimated repair timelines, and potential temporary protective measures. Ensure the contractor is fully licensed and can provide references from recent emergency repair projects.
Pro tip: Keep a list of pre-vetted local roofing professionals saved in your phone, so you can contact them immediately during unexpected roof emergencies.
Step 4: Apply temporary fixes with proper materials
Applying effective temporary repairs requires strategic material selection and careful application techniques. Your goal is to create a protective barrier that minimises further damage while waiting for professional intervention.
Roof maintenance techniques demand precision in material selection. Gather the following emergency repair supplies before beginning:
- High-quality waterproof roofing tape
- Roofing cement or sealant
- Heavy-duty plastic sheeting
- Rust-resistant screws and wooden boards
- Protective gloves and safety equipment
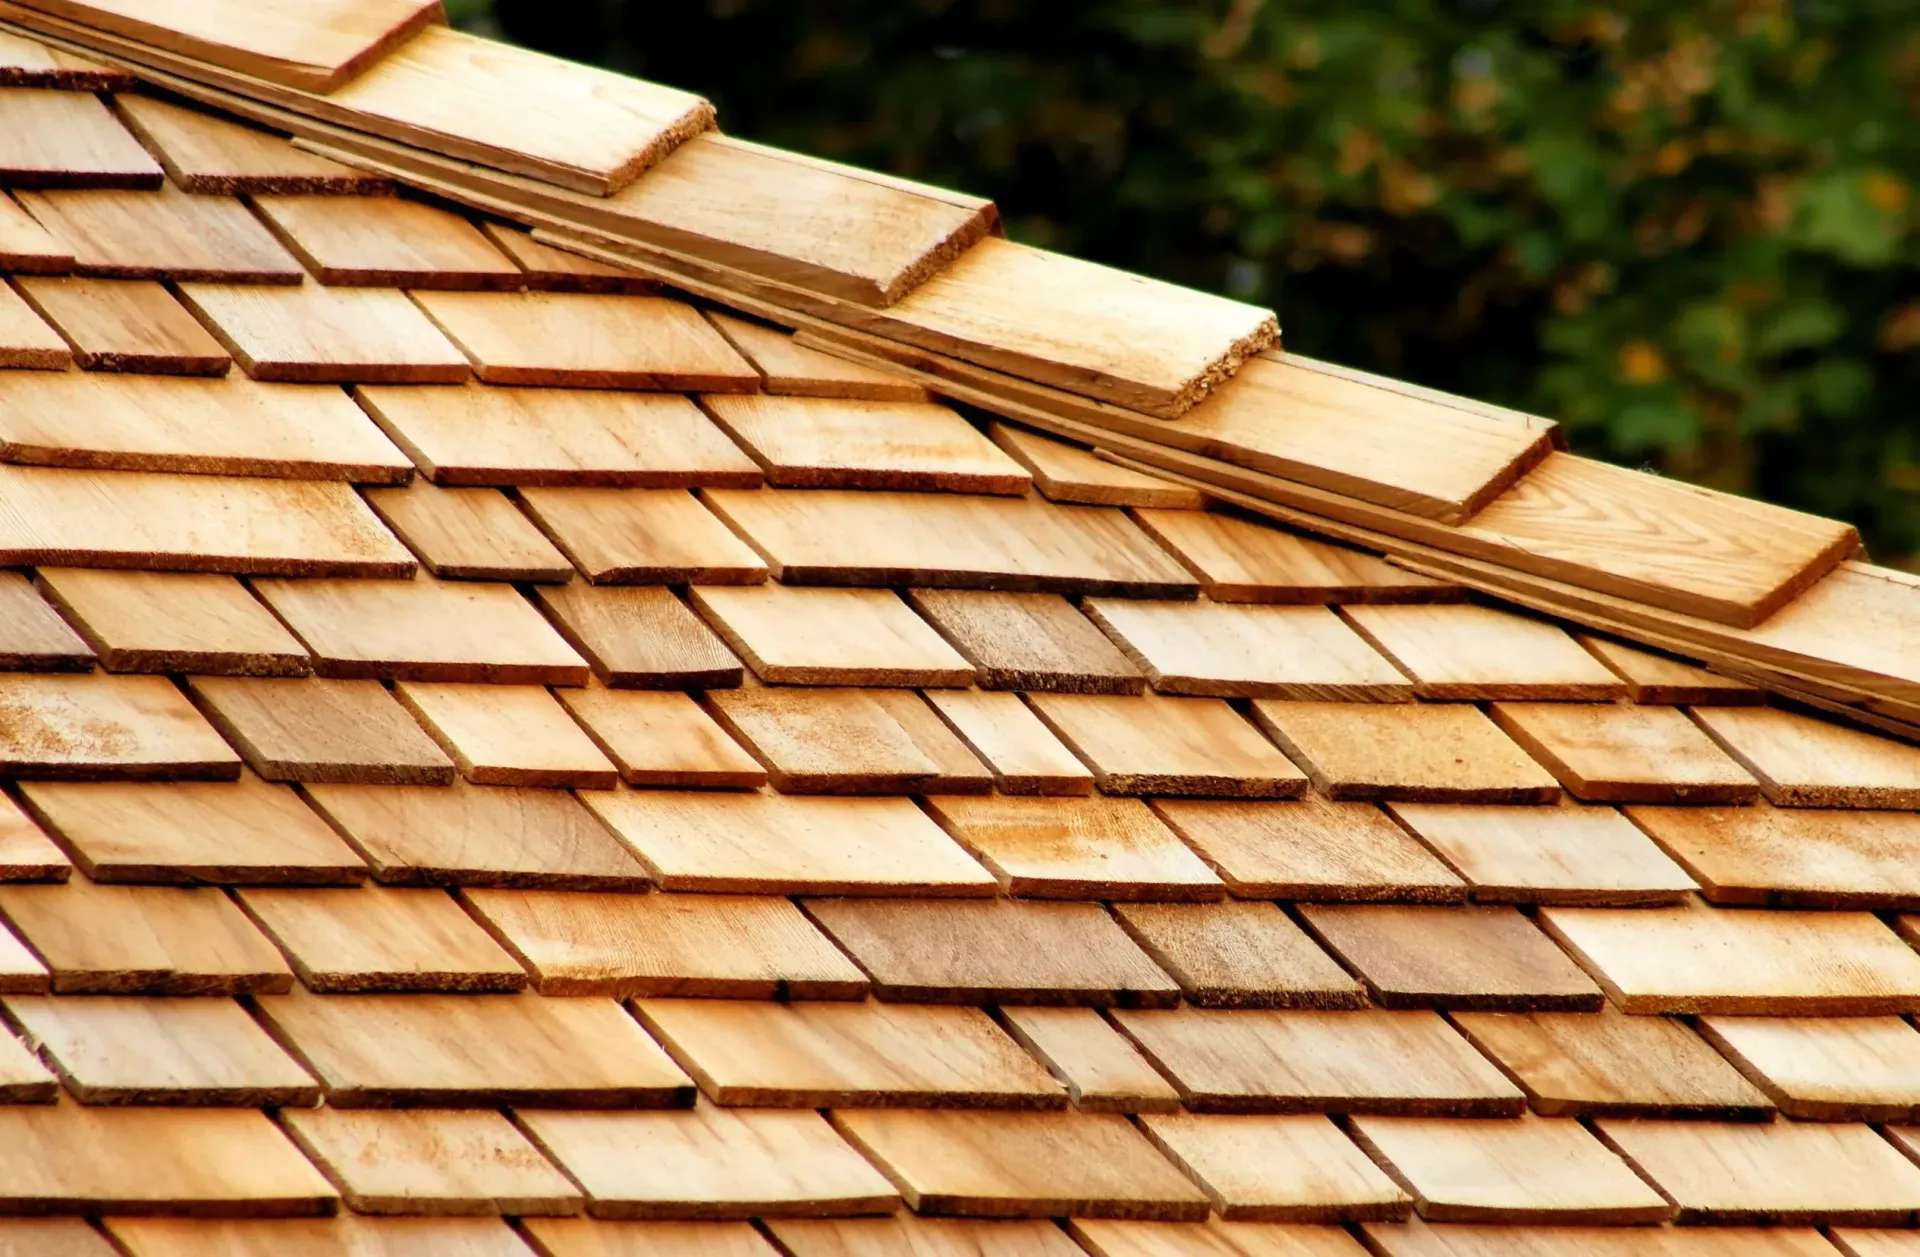
Material compatibility is crucial when applying temporary fixes. Choose repair materials that closely match your existing roof type to prevent additional damage. For instance, rubber roof membranes require specific sealants different from asphalt shingle treatments.
Below is a summary of key temporary roof repair materials and their primary purposes:
| Material | Typical Use | Suitability for Roof Types |
|---|---|---|
| Waterproof tarps | Covering exposed areas | Most roofs (universal) |
| Roofing cement/sealant | Sealing punctures/cracks | Asphalt shingles, flat roofs |
| Plastic sheeting | Temporary moisture block | Metal, tile, and low-slope |
| Roofing tape | Quick patch of minor leaks | Rubber, metal, asphalt |
Temporary repairs are not permanent solutions - professional assessment remains critical.
Apply repairs systematically, ensuring tight seals and complete coverage of damaged areas. Focus on creating water-tight barriers around punctures, tears, or loose sections. Work carefully and methodically, avoiding further roof structural stress.
Pro tip: Take clear, well-lit photographs of your temporary repair work to provide visual documentation for professional roofers during their subsequent assessment.
Step 5: Verify emergency repairs and ensure lasting protection
After applying temporary fixes, a thorough verification process is essential to confirm the effectiveness of your emergency roof repair strategy. Your objective is to create a comprehensive assessment that identifies potential vulnerabilities and prepares for long-term restoration.
Roof maintenance verification requires systematic inspection of temporary repairs. Conduct a detailed evaluation by examining the following critical areas:
- Integrity of temporary sealant application
- Completeness of protective covering
- Absence of additional moisture penetration
- Stability of temporary repair materials
- Evidence of further structural stress
Comprehensive documentation becomes crucial during this stage. Take detailed photographs from multiple angles, capturing both the repaired sections and surrounding roof areas. These visual records will serve as essential evidence for professional roofers and potential insurance claims.
Emergency repairs are a temporary solution - professional assessment remains paramount.
Pay close attention to potential weak points where temporary materials might compromise the roof’s long-term integrity. Look for signs of material separation, incomplete sealing, or areas where water might potentially penetrate.
Pro tip: Create a simple repair log documenting the date, materials used, and specific location of temporary fixes to provide comprehensive information for future professional inspection.
Trust Paragon Roofing BC for Reliable Emergency Roof Repairs
Emergency roof damage demands quick, safe, and expert solutions to prevent further structural risks and costly repairs. If you have followed steps like assessing damage carefully or applied temporary fixes, the next critical step is to secure professional help you can trust. Paragon Roofing BC specialises in fast, comprehensive emergency roof repair services across Surrey, Vancouver, and the Fraser Valley. We understand the urgency of protecting your home or business from water intrusion and structural compromise.
Act now to safeguard your property with experienced roofers who use top-quality materials and proven techniques tailored to your roof type. Visit Paragon Roofing BC for a free inspection and expert guidance. Don’t wait until minor issues turn into major problems. Contact us today and experience peace of mind with Canada’s trusted roofing contractor. Learn more about our full range of services including roof inspection, roof repairs, and professional assessment to restore lasting protection.
Frequently Asked Questions
How can I safely assess roof damage during an emergency?
To safely assess roof damage, start with a ground-level visual inspection to look for signs like sagging sections or visible roof material displacement. Use binoculars to inspect hard-to-reach areas without risking personal injury.
What immediate steps can I take to protect my home after roof damage?
Immediately cover exposed areas with heavy-duty, waterproof tarps and secure them with wooden boards. This quick action helps minimise potential water intrusion and prevents further structural damage.
When should I contact professional roofing experts after noticing roof damage?
Contact professional roofing experts as soon as you identify any significant damage that could compromise your home’s structure. Aim to reach out within 24 hours to facilitate a timely assessment and initial repairs.
What materials should I use for temporary roof repairs?
For temporary roof repairs, gather high-quality waterproof roofing tape, roofing cement, and heavy-duty plastic sheeting. Choose materials that match your roof type to ensure effective sealing and protection until a professional can address the damage.
How can I verify the effectiveness of my emergency roof repairs?
Verify your emergency roof repairs by thoroughly inspecting the integrity of sealants, the completeness of protective coverings, and any signs of moisture penetration. Document your findings with photographs to maintain a clear record for future professional consultations.
What should I document throughout the emergency roof repair process?
Throughout the emergency roof repair process, maintain a repair log documenting dates, materials used, and photos of the damage and repairs. This documentation will be helpful for professional assessments and potential insurance claims.