Roof Repair Tips for Homeowners in Surrey: Your Guide
Heavy rain, wet winters, and sudden storms in Surrey can cause even the most well-built roofs to show signs of wear. Spotting roof problems early can mean the difference between a simple patch and a costly repair. With clear steps grounded in expert recommendations, you will learn how to perform a thorough assessment, select the right safety gear, and tackle common repairs to keep your home secure. Protecting your biggest investment starts with a solid understanding of practical roof maintenance.
Roof Repair Tips for Surrey Homeowners (Storm & Leak Prevention)
Heavy rain and sudden storms in Surrey can expose small roofing issues fast—curling shingles, granule loss, algae streaks, and interior water stains are early warning signs that shouldn’t be ignored. This video breaks down a practical roof repair workflow Surrey homeowners can follow to reduce leak risk and prevent minor damage from turning into expensive structural repairs.
You’ll learn how to assess roof damage, prioritize safety, handle active leaks with temporary protection, complete common repairs like shingle replacement and flashing resealing, and build a twice-yearly inspection routine with documentation that supports insurance and property assessments.
Table of Contents
- Step 1: Assess Roof Damage And Identify Issues
- Step 2: Gather Tools And Safety Equipment
- Step 3: Perform Effective Temporary Repairs
- Step 4: Fix Common Roof Problems Properly
- Step 5: Inspect Repairs And Maintain Your Roof
Quick Summary
| Key Point | Explanation |
|---|---|
| 1. Conduct Regular Roof Inspections | Schedule inspections twice a year to catch minor issues before they escalate into costly repairs or structural damage. |
| 2. Gather Proper Tools and Safety Gear | Assemble the necessary tools and safety equipment to ensure secure and effective roof repairs without accidents. |
| 3. Perform Temporary Repairs Promptly | Implement quick, temporary fixes to prevent further water damage until professional help can be obtained. |
| 4. Address Common Roof Problems Effectively | Understand how to fix specific issues like shingle damage, leaks, and flashing problems for long-lasting repairs. |
| 5. Keep Detailed Inspection Records | Maintain accurate documentation of all inspections and repairs for future reference and insurance purposes. |
Step 1: Assess Roof Damage and Identify Issues
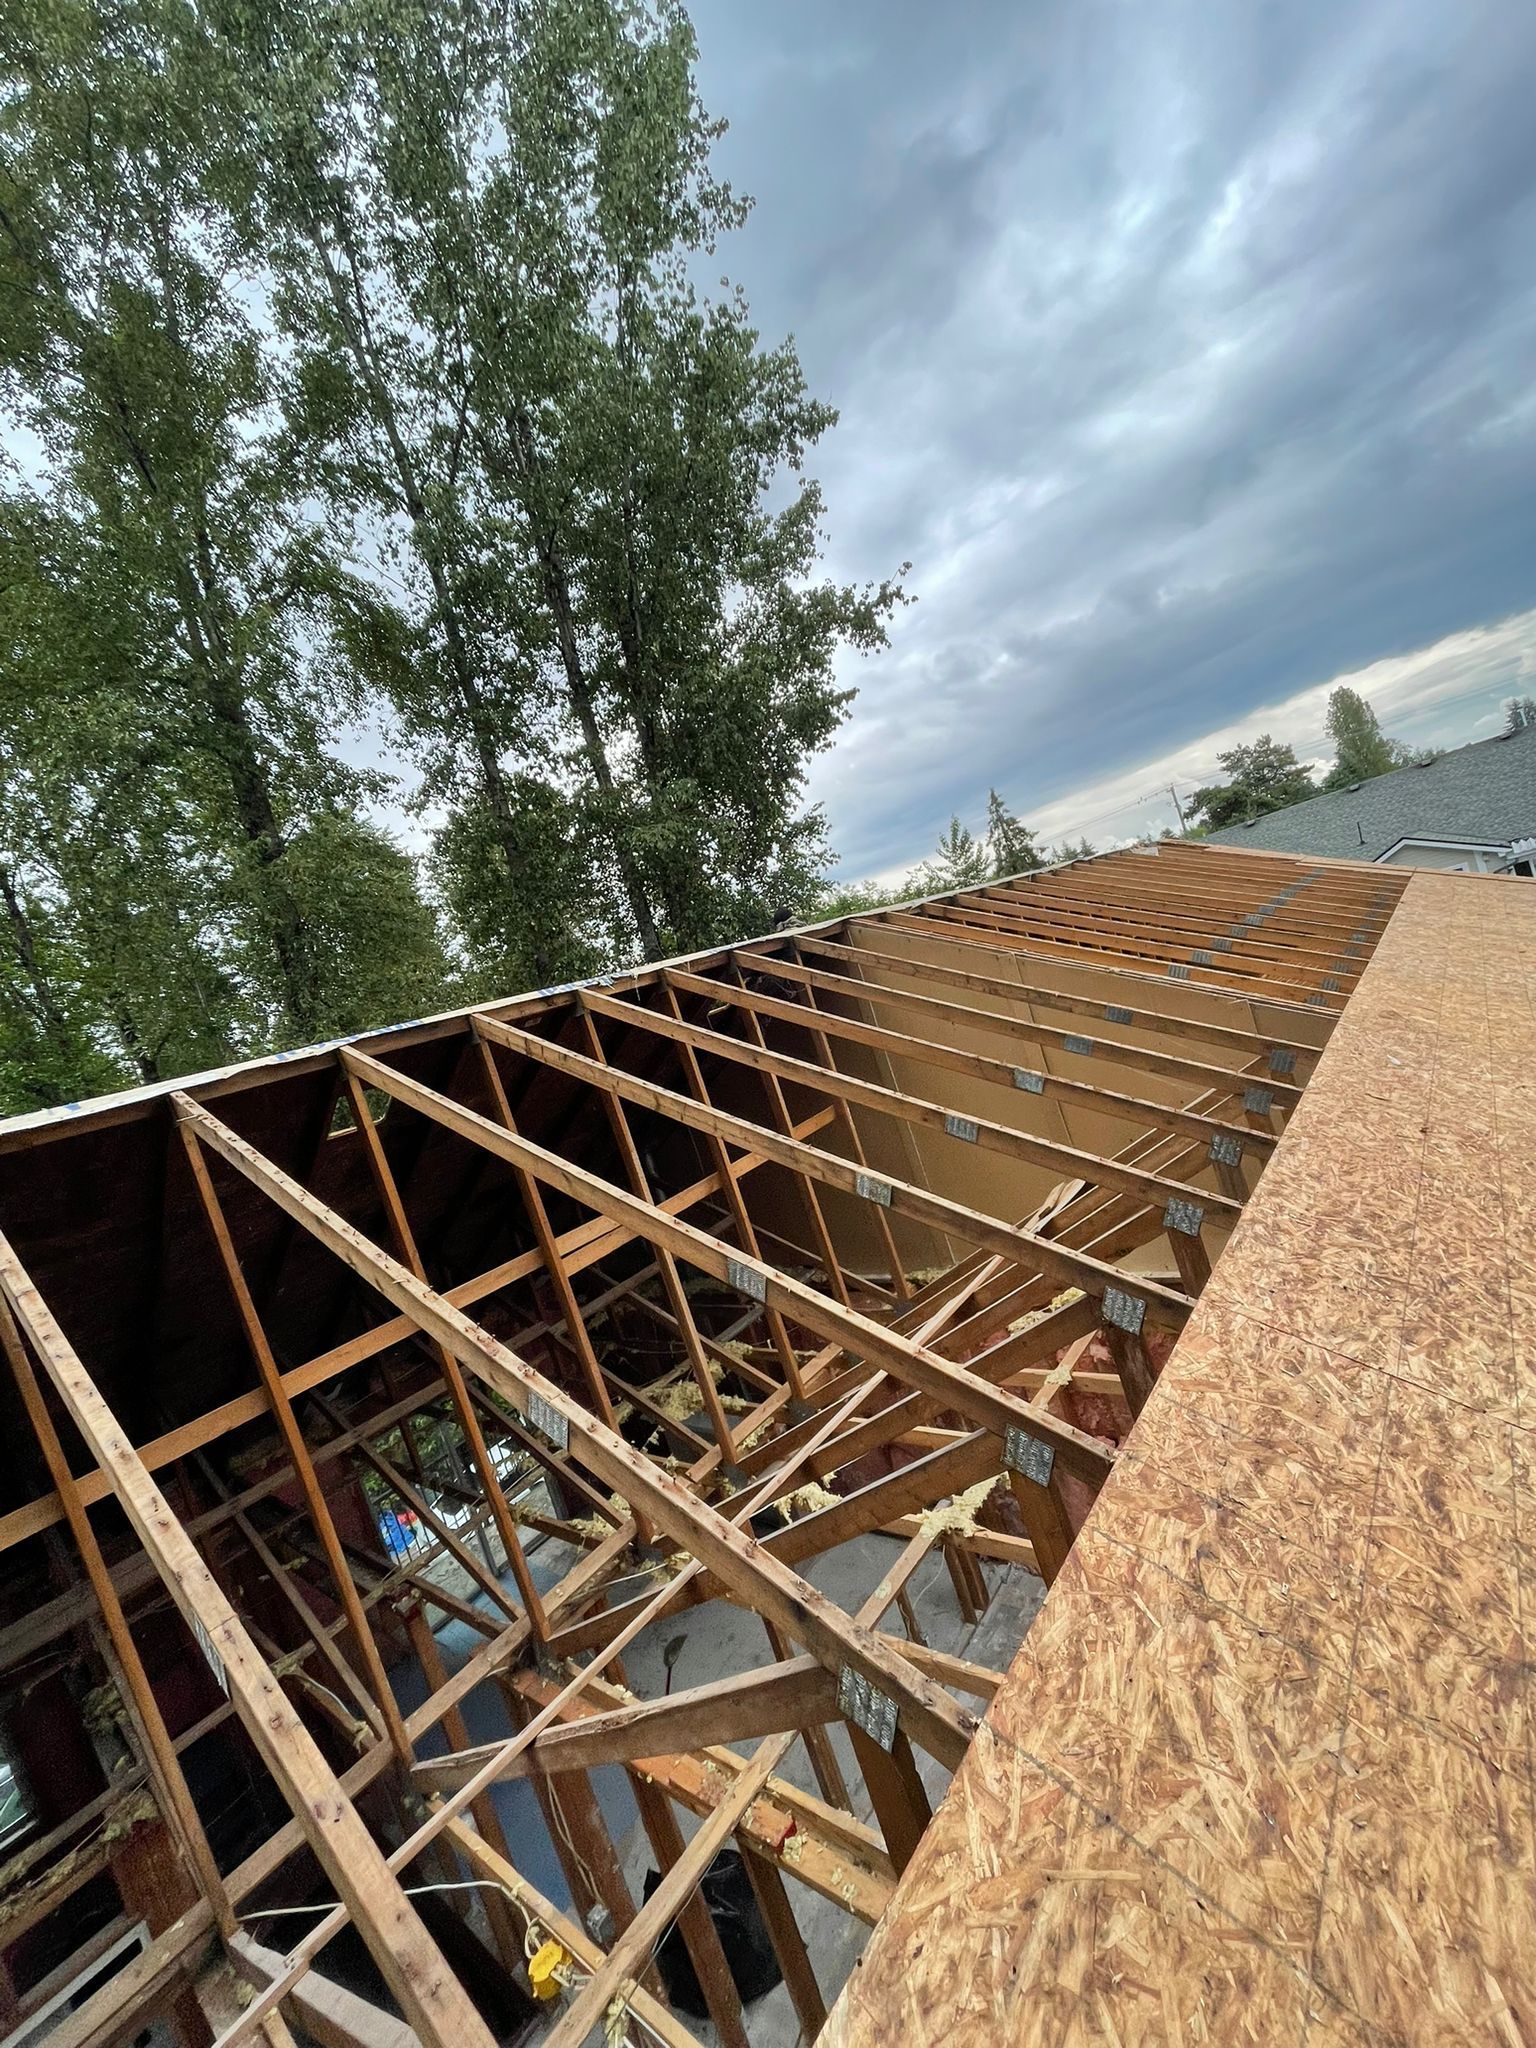
Understanding how to properly evaluate roof damage is critical for Surrey homeowners looking to protect their property from potential structural issues. Your initial roof assessment will help you determine whether minor repairs or more extensive interventions are necessary.
Begin by conducting a comprehensive visual inspection, focusing on key areas where damage frequently occurs. This means carefully examining your roof’s surface, paying close attention to shingles, flashing, and potential water penetration points. The preliminary damage assessment framework recommended by emergency management professionals suggests systematically documenting any observable signs of wear or compromise.
Look for specific indicators of potential roof damage:
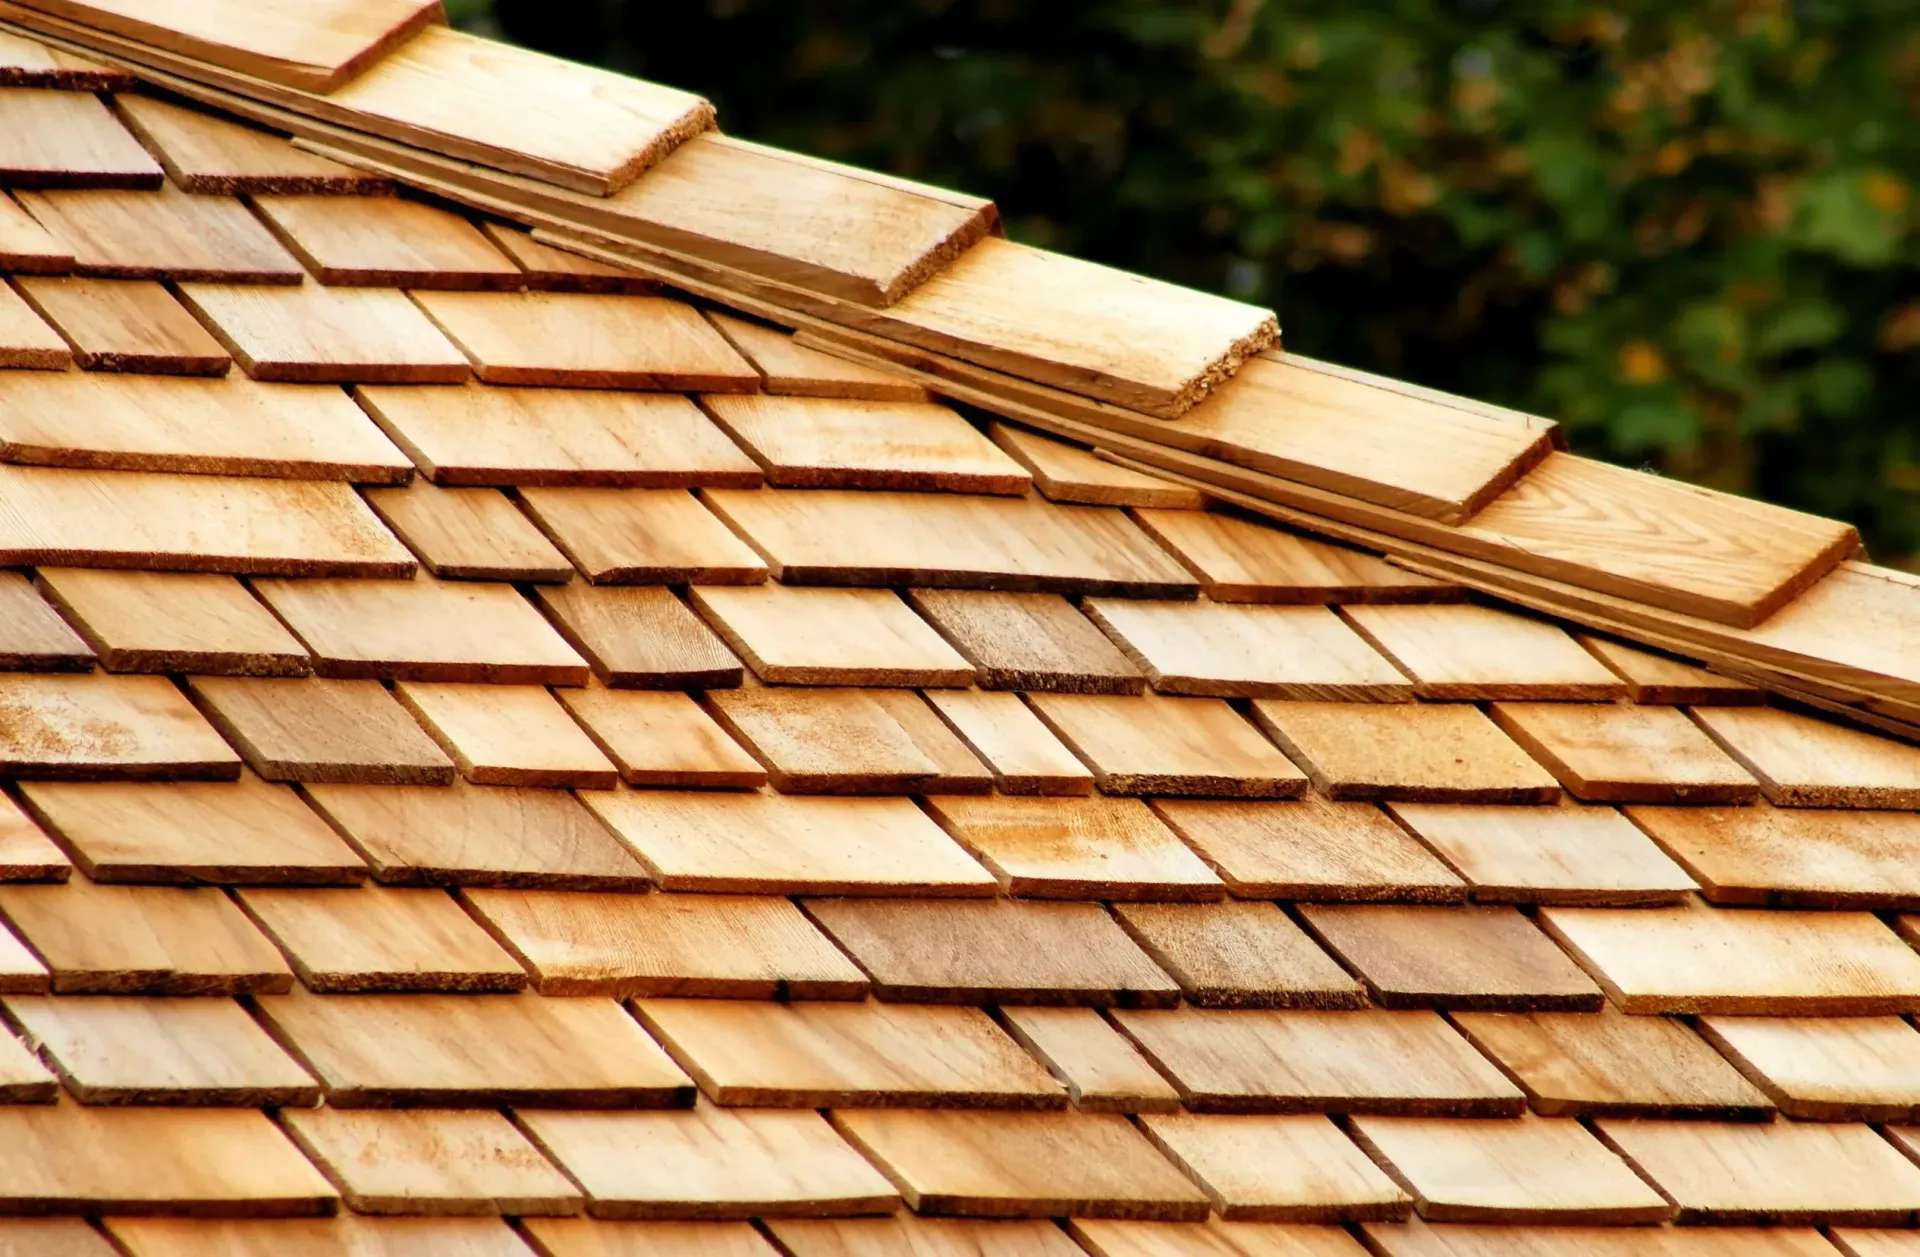
- Curling or missing shingles
- Dark streaks or algae growth
- Granule loss on asphalt shingles
- Visible cracks or splits in roofing materials
- Water stains on interior ceilings or walls
- Sagging areas on the roof surface
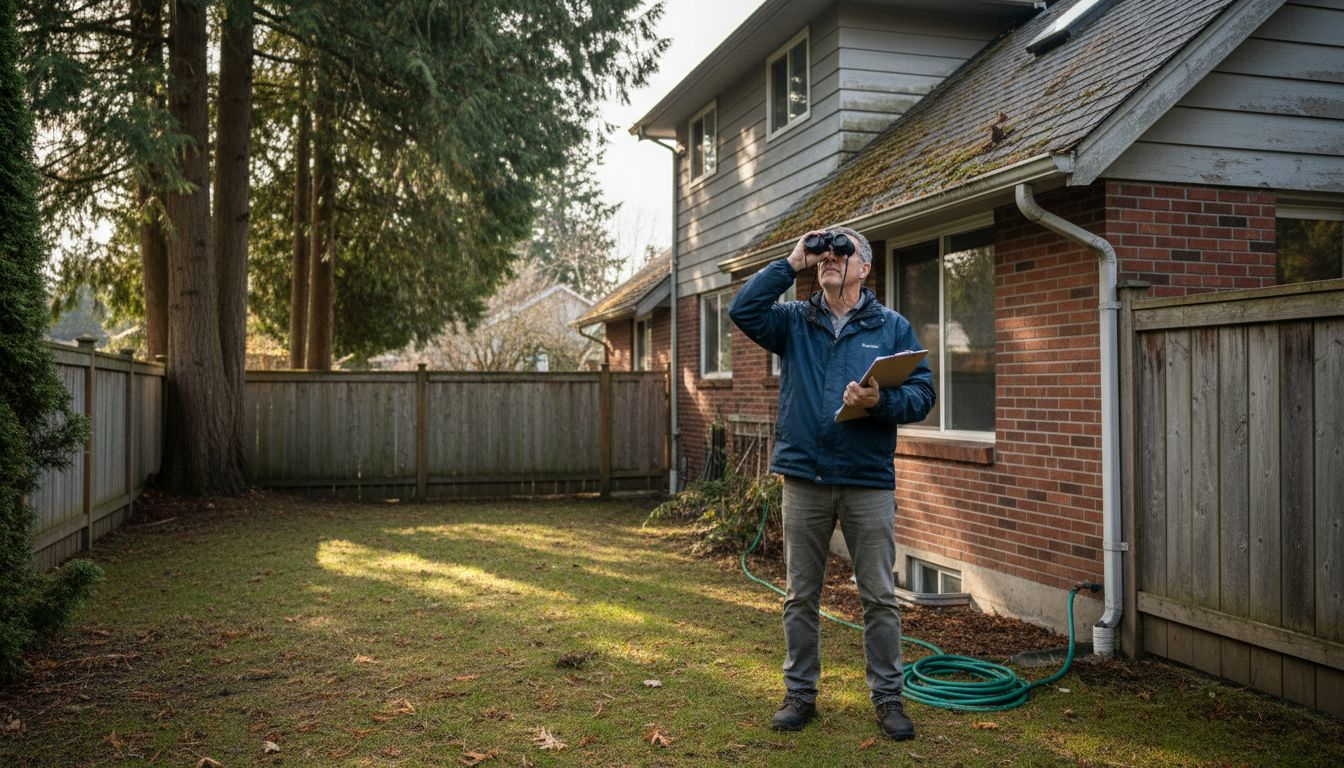
When examining your roof, use binoculars if climbing is unsafe, and never walk on surfaces that seem unstable. The roof inspection guidance recommends checking both the surface and undersides for potential structural issues.
Pro tip: Consider scheduling a professional roof inspection annually, as trained experts can detect subtle damage that might escape an untrained eye.
Step 2: Gather Tools and Safety Equipment
Before embarking on any roof repair project, you’ll need to assemble the right tools and safety equipment to protect yourself and ensure a successful repair. Proper preparation is your first line of defence against potential accidents and incomplete work.
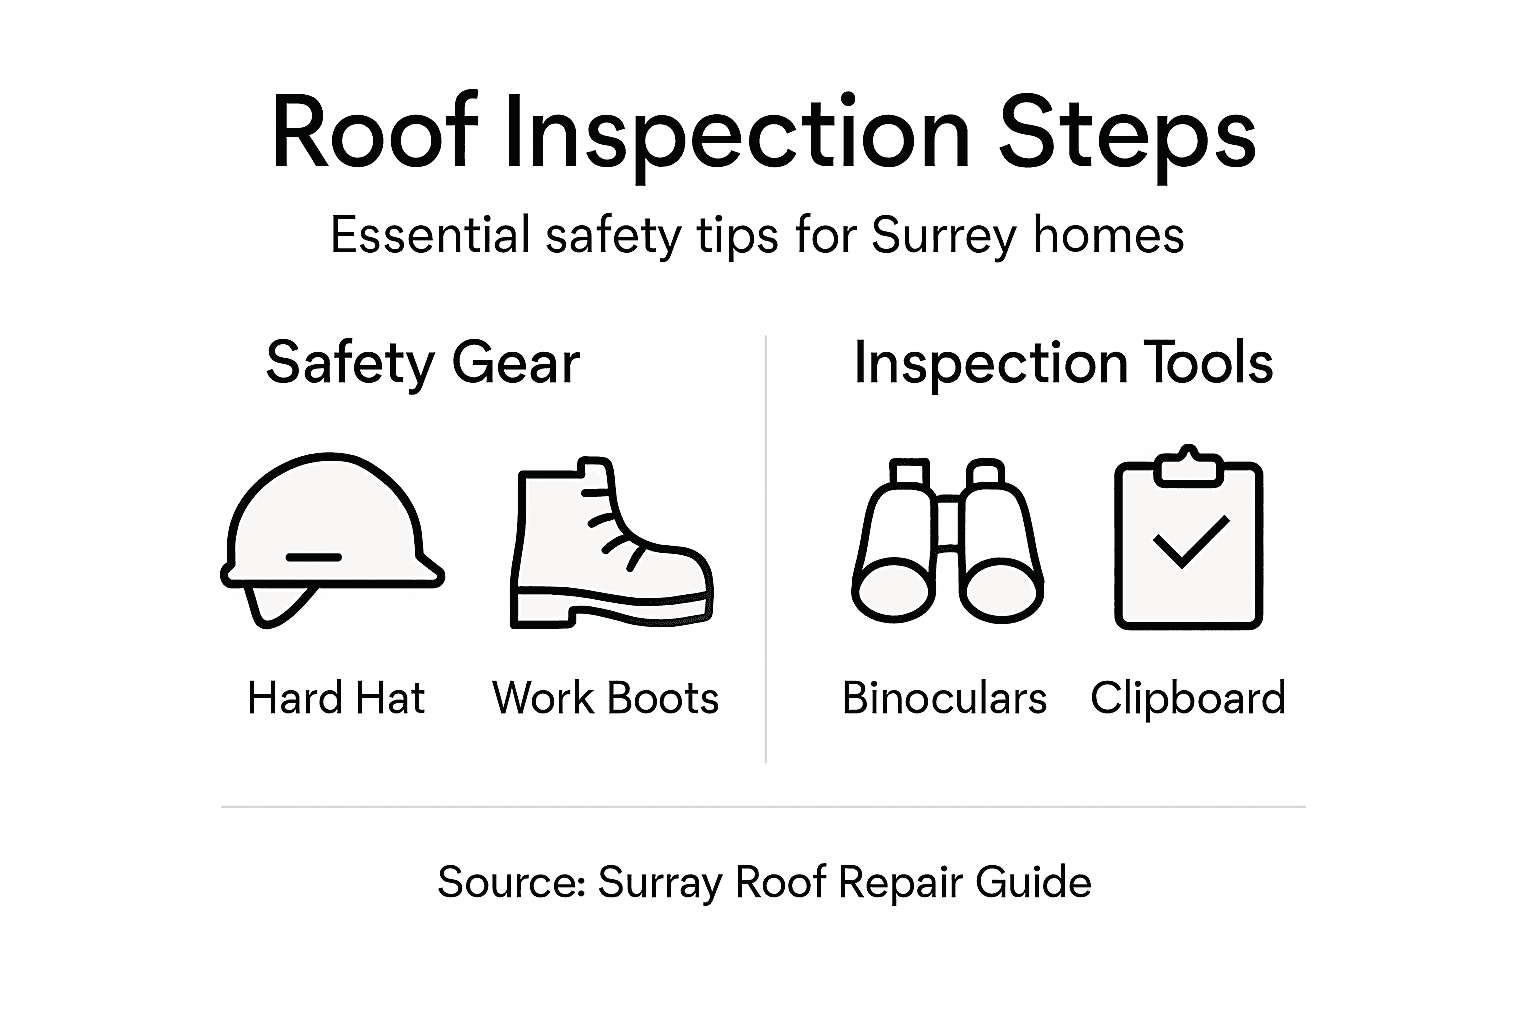
Start by collecting the essential safety gear recommended by workplace safety guidelines. Your personal protective equipment should include:
- Hard hat for head protection
- Safety harness to prevent falls
- Non-slip work boots with excellent traction
- Safety glasses to protect your eyes
- Work gloves with good grip
- High-visibility vest for added safety
For tools, you’ll want to gather a comprehensive kit that includes:
Here is a summary of safety equipment and its specific purpose for roof repair:
| Safety Equipment | Primary Purpose | Additional Benefit |
|---|---|---|
| Hard hat | Protects against impacts | Reduces risk of head injury |
| Safety harness | Prevents falls | Increases worker confidence |
| Non-slip work boots | Improves roof traction | Minimises slip accidents |
| Safety glasses | Shields eyes from debris | Reduces risk of eye injury |
| Work gloves | Enhances grip on tools | Protects hands from cuts |
| High-visibility vest | Increases visibility | Reduces chance of collisions |
- Sturdy ladder
- Roofing hammer
- Utility knife
- Measuring tape
- Chalk line
- Pry bar
- Roofing nails
- Caulking gun
- Roofing cement
- Replacement shingles
Proper equipment preparation can significantly reduce the risk of injury and improve the quality of your roof repair work.
The comprehensive safety guidelines emphasize the importance of checking all equipment for damage before use and ensuring you’re familiar with proper safety protocols.
Pro tip: Always have a first aid kit nearby and ensure someone knows you’re working on the roof in case of emergencies.
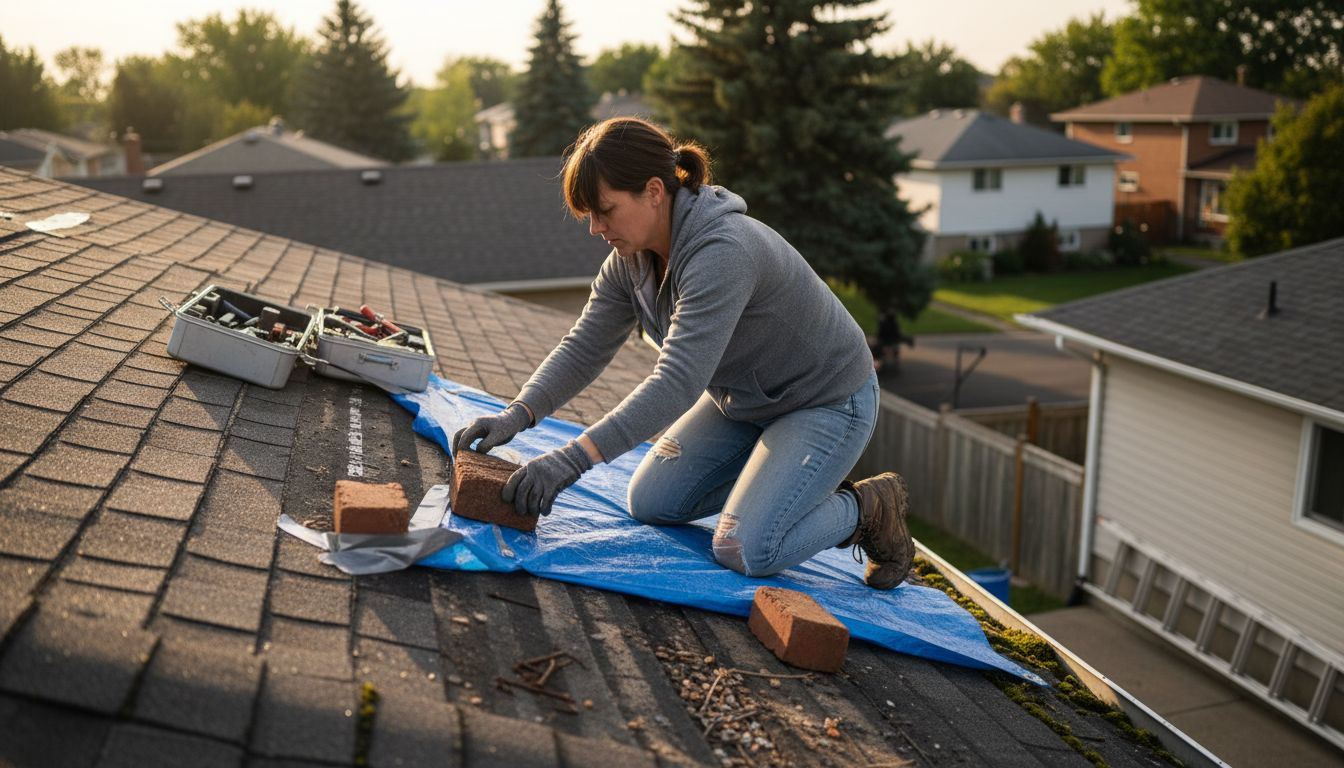
Step 3: Perform Effective Temporary Repairs
When your roof has sustained damage, implementing quick and reliable temporary repairs can prevent further deterioration and protect your home from potential water intrusion. Understanding how to effectively patch and secure your roof will help minimise additional structural damage until professional repairs can be completed.
Begin by carefully installing protective roof coverings that shield your home from potential water damage. Your temporary repair strategy should focus on:
- Identifying and marking damaged areas
- Cleaning the repair surface thoroughly
- Selecting appropriate temporary patching materials
- Ensuring proper tarp or plywood placement
- Securing edges with sturdy fasteners
- Creating adequate water runoff channels
Temporary repairs are a critical intervention to prevent progressive structural damage and protect your property’s integrity.
Carefully follow the disaster response repair guidelines which recommend using heavy-duty waterproof tarps or exterior-grade plywood for immediate coverage. Ensure you overlap materials by at least 12 inches and use robust fastening techniques to withstand potential wind and rain.
Pro tip: Take clear photographs of the damage before making temporary repairs to support potential insurance claims and documentation.
Step 4: Fix Common Roof Problems Properly
Every homeowner will encounter roof issues at some point, and knowing how to address these problems effectively can save you significant time and money. Understanding the correct approach to common roof repairs will help you maintain your home’s structural integrity and prevent more extensive damage.
Begin by carefully evaluating roof damage extents, focusing on identifying the specific type and severity of each issue. Your repair strategy should address these common problems:
- Shingle Damage: Replace individual cracked or missing shingles
- Leaks: Locate precise entry points and seal thoroughly
- Flashing Issues: Check and reseal metal flashing around chimneys and vents
- Gutter Problems: Clean and realign gutters to ensure proper drainage
- Moss and Algae: Remove growth and treat surface to prevent recurrence
- Small Holes: Patch using roofing cement or appropriate sealant
Proper roof repairs require careful assessment, precise techniques, and attention to detail to prevent future complications.
According to technical repair guidelines, always remove compromised roofing materials completely before applying new patches. Ensure the repair surface is clean, dry, and structurally sound to guarantee a lasting solution.
Pro tip: When in doubt about the complexity of a repair, always consult a professional to avoid causing unintended damage to your roof.
Compare common professional vs. DIY roof repair outcomes:
| Factor | Professional Repairs | DIY Repairs |
|---|---|---|
| Detection | Finds hidden or subtle issues | May miss minor, early-stage problems |
| Durability | Uses advanced techniques/materials | Relies on homeowner skills/materials |
| Safety | Follows strict protocols | Risk of inadequate precautions |
| Cost | Higher upfront investment | Lower cost but potential rework |
| Insurance Claim | Professional documentation | May lack proper evidence |
Step 5: Inspect Repairs and Maintain Your Roof
Regular roof maintenance is your best defence against costly structural damage and ensures the longevity of your home’s most critical protective layer. By implementing a systematic inspection routine, you can catch potential issues early and prevent minor problems from escalating into major repairs.
Begin with a comprehensive inspection and maintenance protocol that covers every aspect of your roofing system. Your inspection checklist should include:
- Visual surface examination
- Checking for loose or damaged shingles
- Inspecting flashing around chimneys and vents
- Examining gutters and downspouts
- Looking for signs of water damage
- Checking attic spaces for moisture
- Assessing overall roof structural integrity
Consistent, thorough roof maintenance can extend your roof’s lifespan by years and prevent unexpected, expensive repairs.
The systematic inspection guidelines recommend maintaining detailed records of each inspection and repair performed. This documentation helps track your roof’s condition over time and can be valuable for insurance purposes or future property assessments.
Pro tip: Schedule roof inspections twice yearly - ideally in spring and autumn - to catch seasonal wear and potential damage early.
Protect Your Surrey Home with Expert Roof Repair from Paragon Roofing BC
Roof damage can cause great stress and uncertainty for homeowners in Surrey. From curling shingles and leaks to flashing problems and moss growth, these issues threaten your property’s safety and comfort. This guide highlights the importance of thorough assessments, proper safety gear, and effective repairs to prevent costly structural damage and weather intrusion. Don’t let minor damage turn into a major headache.
Take control of your roof’s health today with professional support from Paragon Roofing BC. Our Surrey-based experts specialise in roof inspection, repair, and replacement services tailored to your needs. We prioritise safety, durability, and customer satisfaction so you can enjoy peace of mind knowing your home is well protected. Contact us now for a free roof inspection and expert advice on maintaining your roof’s integrity. Visit Paragon Roofing BC to get started and safeguard your investment with trusted local professionals.
Frequently Asked Questions
How can I assess the damage to my roof effectively?
To assess your roof’s damage, conduct a thorough visual inspection, focusing on areas like shingles, flashing, and potential water entry points. Document any signs of wear, such as missing shingles or water stains, and consider taking clear photographs for reference.
What safety equipment do I need before starting roof repairs?
Before starting roof repairs, gather safety equipment including a hard hat, safety harness, non-slip work boots, and safety glasses. Ensure you also have gloves with a good grip and a high-visibility vest to enhance safety during your work.
How can I perform temporary repairs on my roof?
To perform temporary repairs, first identify and mark damaged areas, then use a waterproof tarp or plywood to cover the affected sections. Secure the edges with robust fasteners to prevent further water intrusion until permanent repairs can be made.
What are some common roof problems I might encounter, and how do I fix them?
Common roof problems include shingle damage, leaks, and flashing issues. For shingle damage, replace cracked or missing shingles; for leaks, locate entry points and seal them thoroughly. Take care to ensure that all materials used are compatible with your existing roof.
How often should I inspect my roof for maintenance?
Inspect your roof twice a year, ideally in spring and autumn, to catch potential issues early. This proactive approach can prevent minor problems from escalating into costly repairs, extending your roof’s lifespan significantly.
What steps should I take after completing roof repairs?
After completing roof repairs, conduct a thorough inspection to ensure all repairs are secure and effective. Maintain detailed records of what was repaired and when, as this documentation can be valuable for insurance purposes and future assessments.