How to Inspect Commercial Roof for Longevity and Safety
Every commercial property manager in Vancouver understands the headaches that come with neglected roofs. Harsh Pacific weather and the constant battle with debris mean one missed inspection can lead to expensive repairs and headaches for tenants. Proactive roof inspections support both compliance and long-term performance, offering peace of mind by protecting your investment year-round. This guide walks you through a practical, safety-focused approach, highlighting the critical role of thorough preparation and maintenance in preserving your building’s roof and staying one step ahead of costly surprises.
Table of Contents
- Step 1: Prepare the Roof Inspection Safely
- Step 2: Assess Roofing Materials and Membranes
- Step 3: Evaluate Drainage and Flashing Systems
- Step 4: Identify and Document Visible Damage
- Step 5: Verify Structural Integrity and Safety
Quick Summary
| Key Point | Explanation |
|---|---|
| 1. Proper Preparation is Crucial | Gather roof documentation and clear the area of debris to ensure a safe and effective inspection. |
| 2. Identify Roofing Materials | Know your roof’s membrane type to focus on its unique weaknesses during the inspection process. |
| 3. Assess Drainage and Flashing | Inspect drainage systems and flashing details thoroughly, as most roof issues arise from these areas. |
| 4. Document Visible Damage Meticulously | Record detailed observations and photographs of damage to prioritize repairs and maintain a clear maintenance history. |
| 5. Ensure Structural Integrity | Check the underlying structure for any signs of instability, which can compromise the roof’s integrity and safety. |
Step 1: Prepare the Roof Inspection Safely
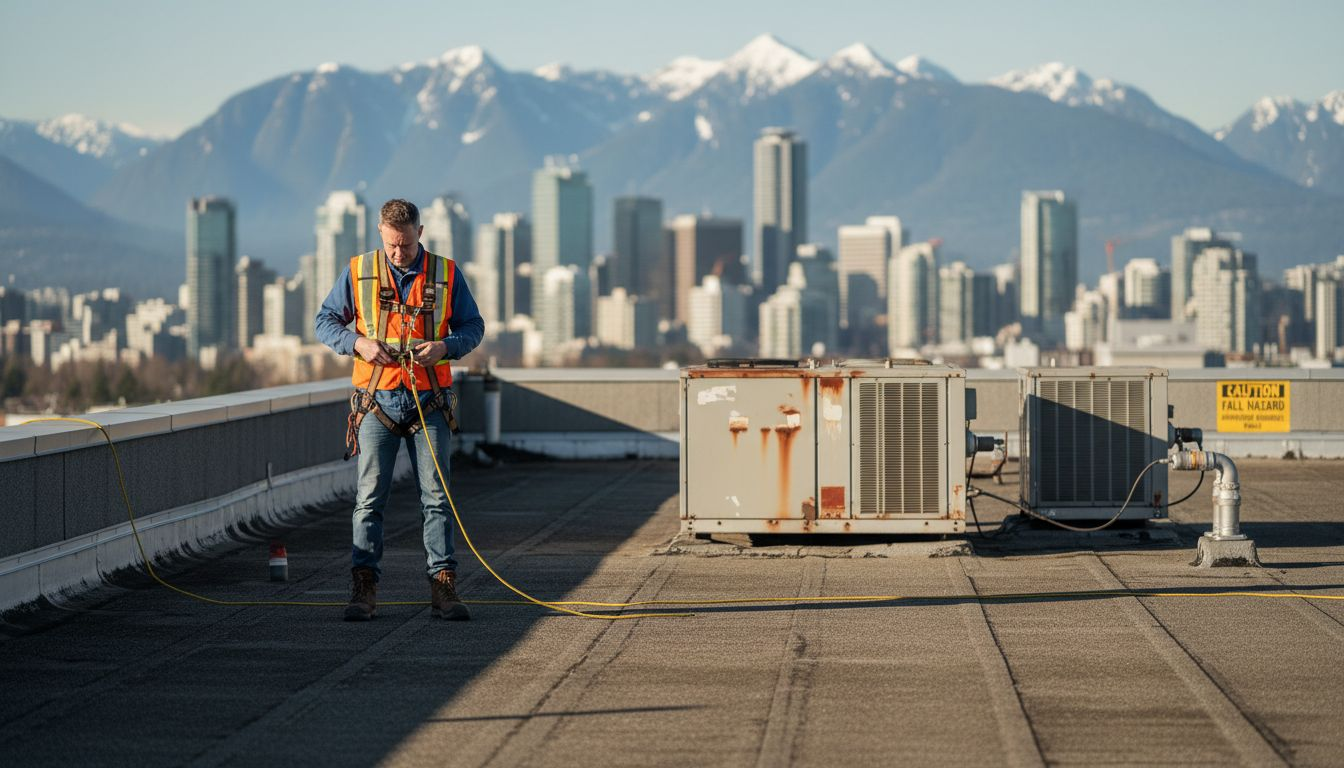
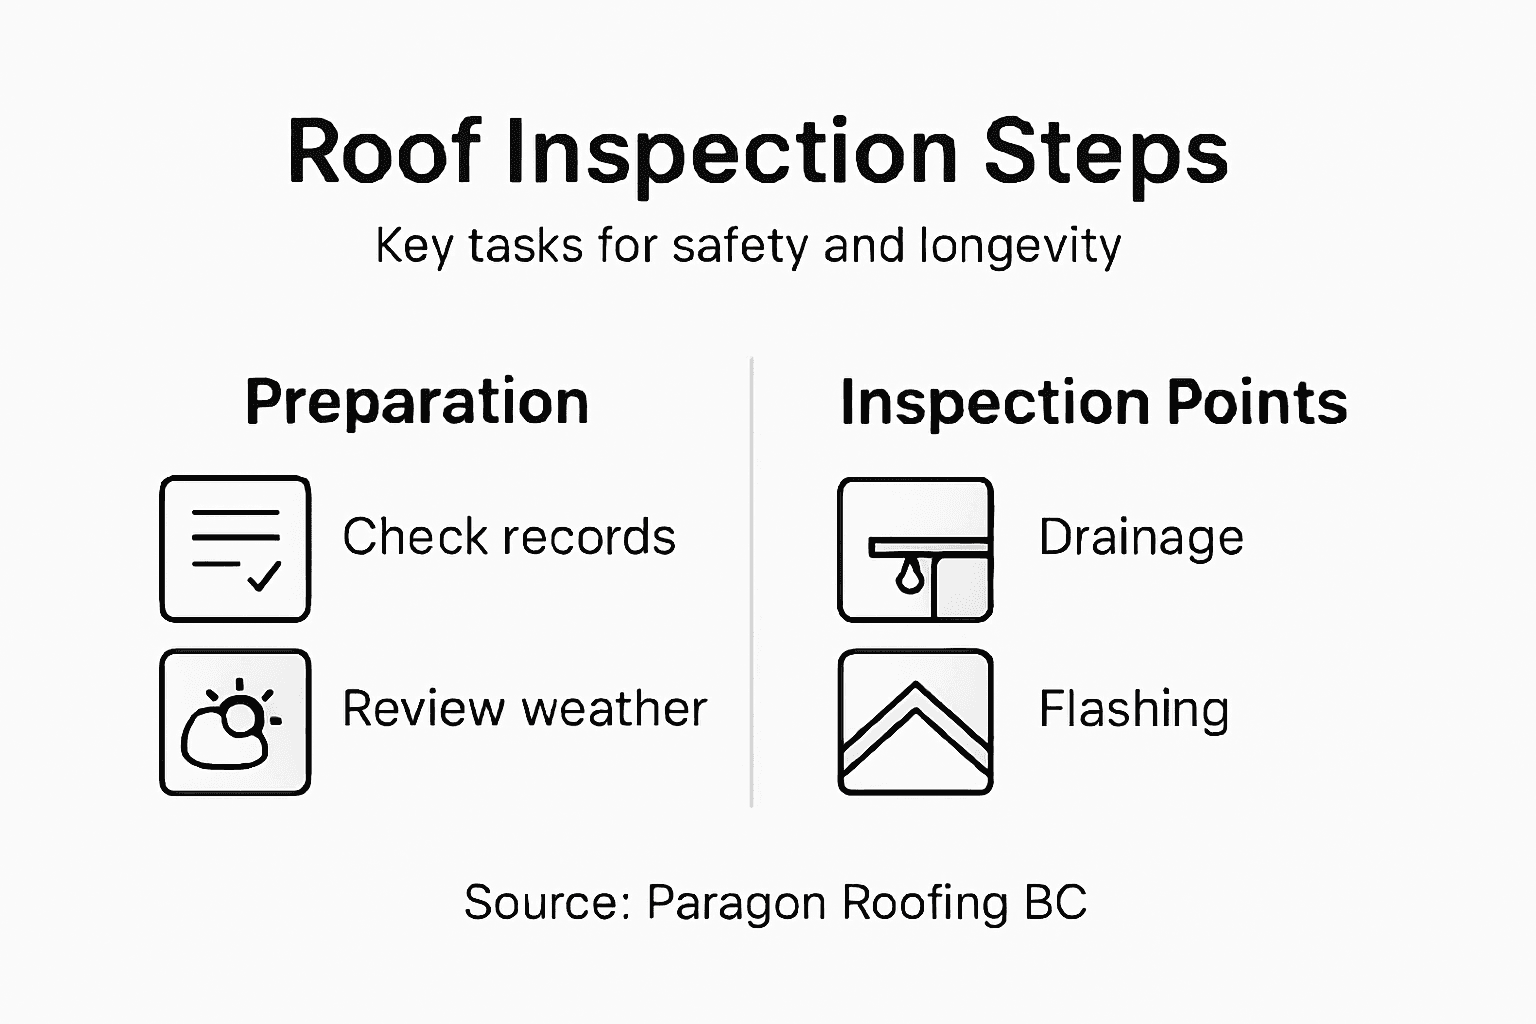
Before you ever set foot on your commercial roof, preparation is everything. This step determines whether your inspection runs smoothly and safely, or whether you face unnecessary hazards and wasted time. Proper preparation means gathering information, assessing conditions, and ensuring you have the right equipment and personnel in place to conduct a thorough evaluation without putting anyone at risk.
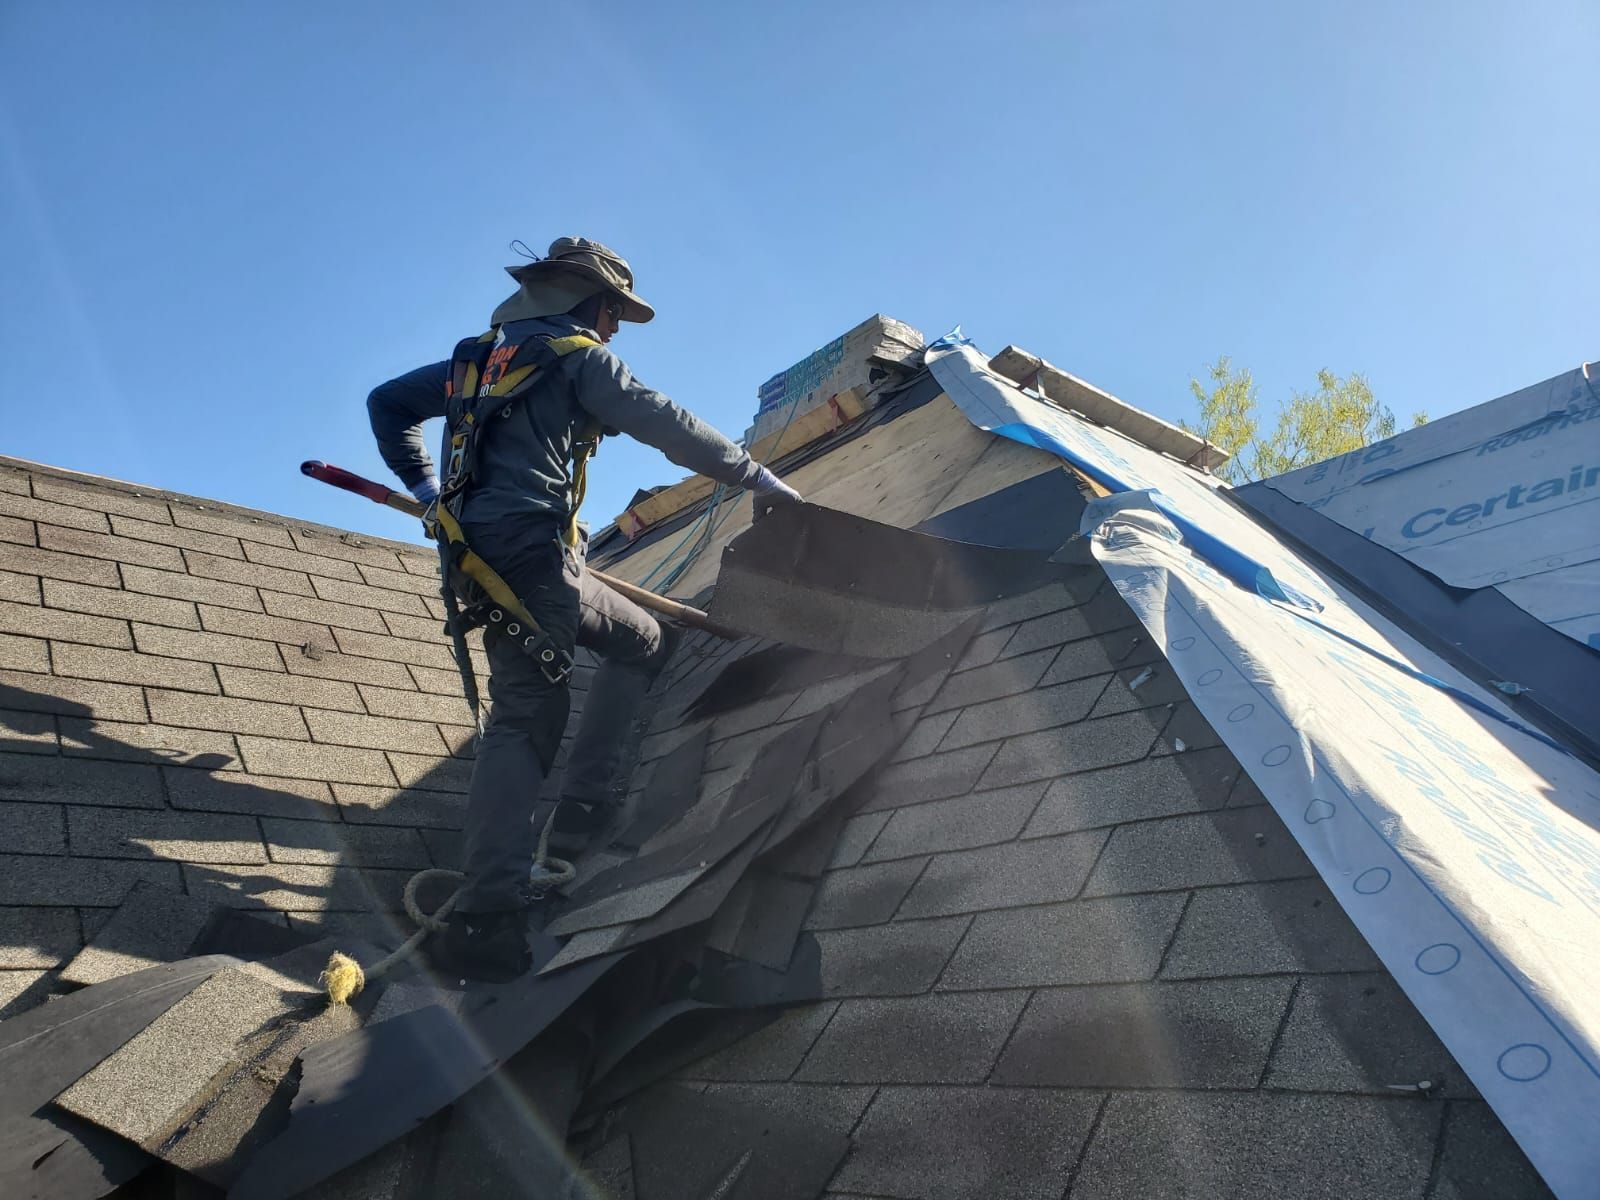
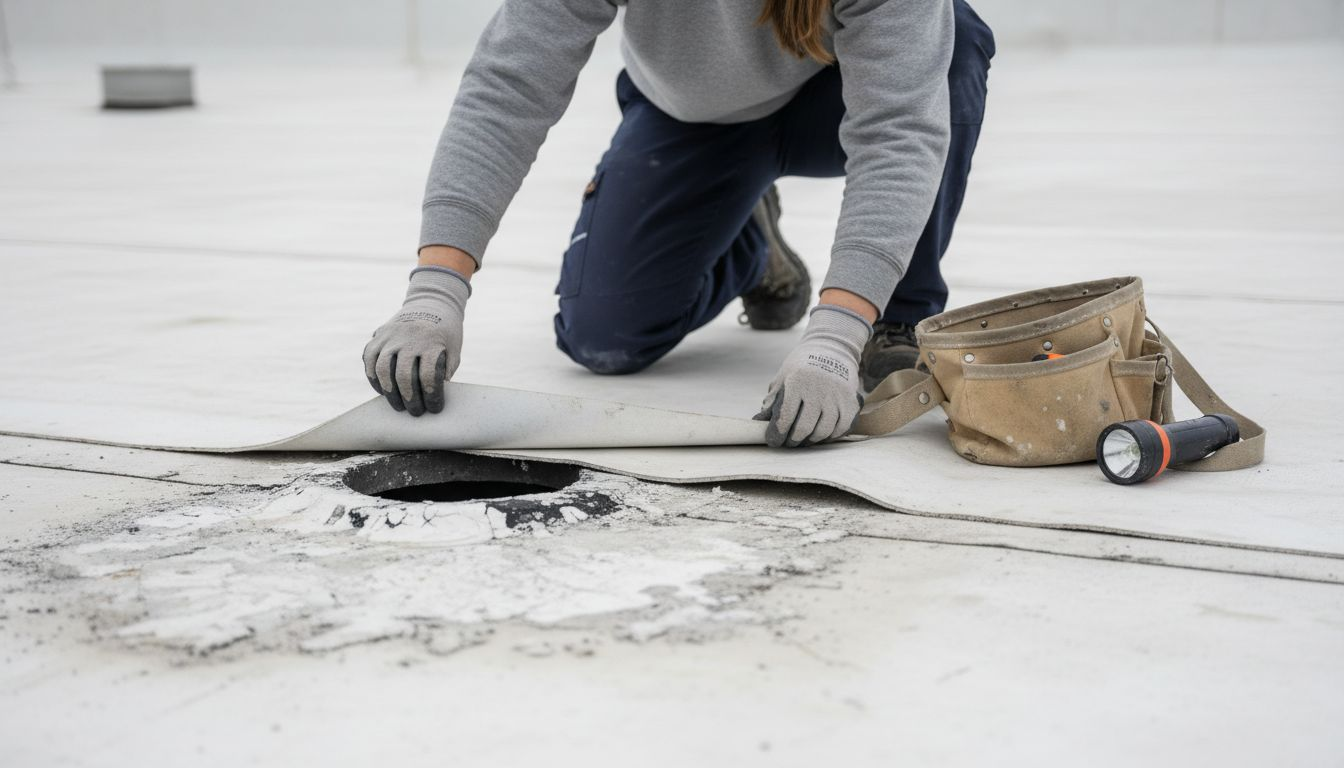
Start by reviewing your building’s roof documentation. Pull together records about the roof’s age, materials, previous repairs, and any known issues reported by tenants or maintenance staff. This background information guides your inspection priorities and helps you spot patterns. Next, clear the roof of debris before your inspection team arrives. In the Lower Mainland, we regularly deal with organic matter like leaves, moss, and branches accumulating on flat and low-slope roofs, which not only obscures defects but also creates slip hazards. Walk the perimeter and identify access points, noting which areas are safe to reach and which require fall protection systems. Check that all ladders, harnesses, and safety equipment meet current standards and show no signs of wear or damage. If your roof has areas with limited access or steep pitches, you’ll need proper fall protection equipment to work safely. Coordinate with your facility team to clear the roof of personnel and secure the area during inspection. You’ll also want to notify tenants if you’re accessing roofs above occupied spaces, so no one is surprised by activity overhead.
Weather conditions matter significantly in Vancouver and the surrounding regions. Schedule your inspection during dry conditions whenever possible. Wet surfaces become treacherous, and moisture obscures membrane damage you need to identify. Check the forecast and plan for a clear day with minimal wind. If rain or snow is expected within 24 hours, postpone to avoid slippery conditions and to ensure you can properly assess drainage performance without active precipitation. Ensure your inspection team has the right personal protective equipment on hand including hard hats, safety glasses, non-slip boots, and high-visibility clothing. Confirm that at least one person on your team knows first aid and that you have clear communication protocols in place, especially if working at height.
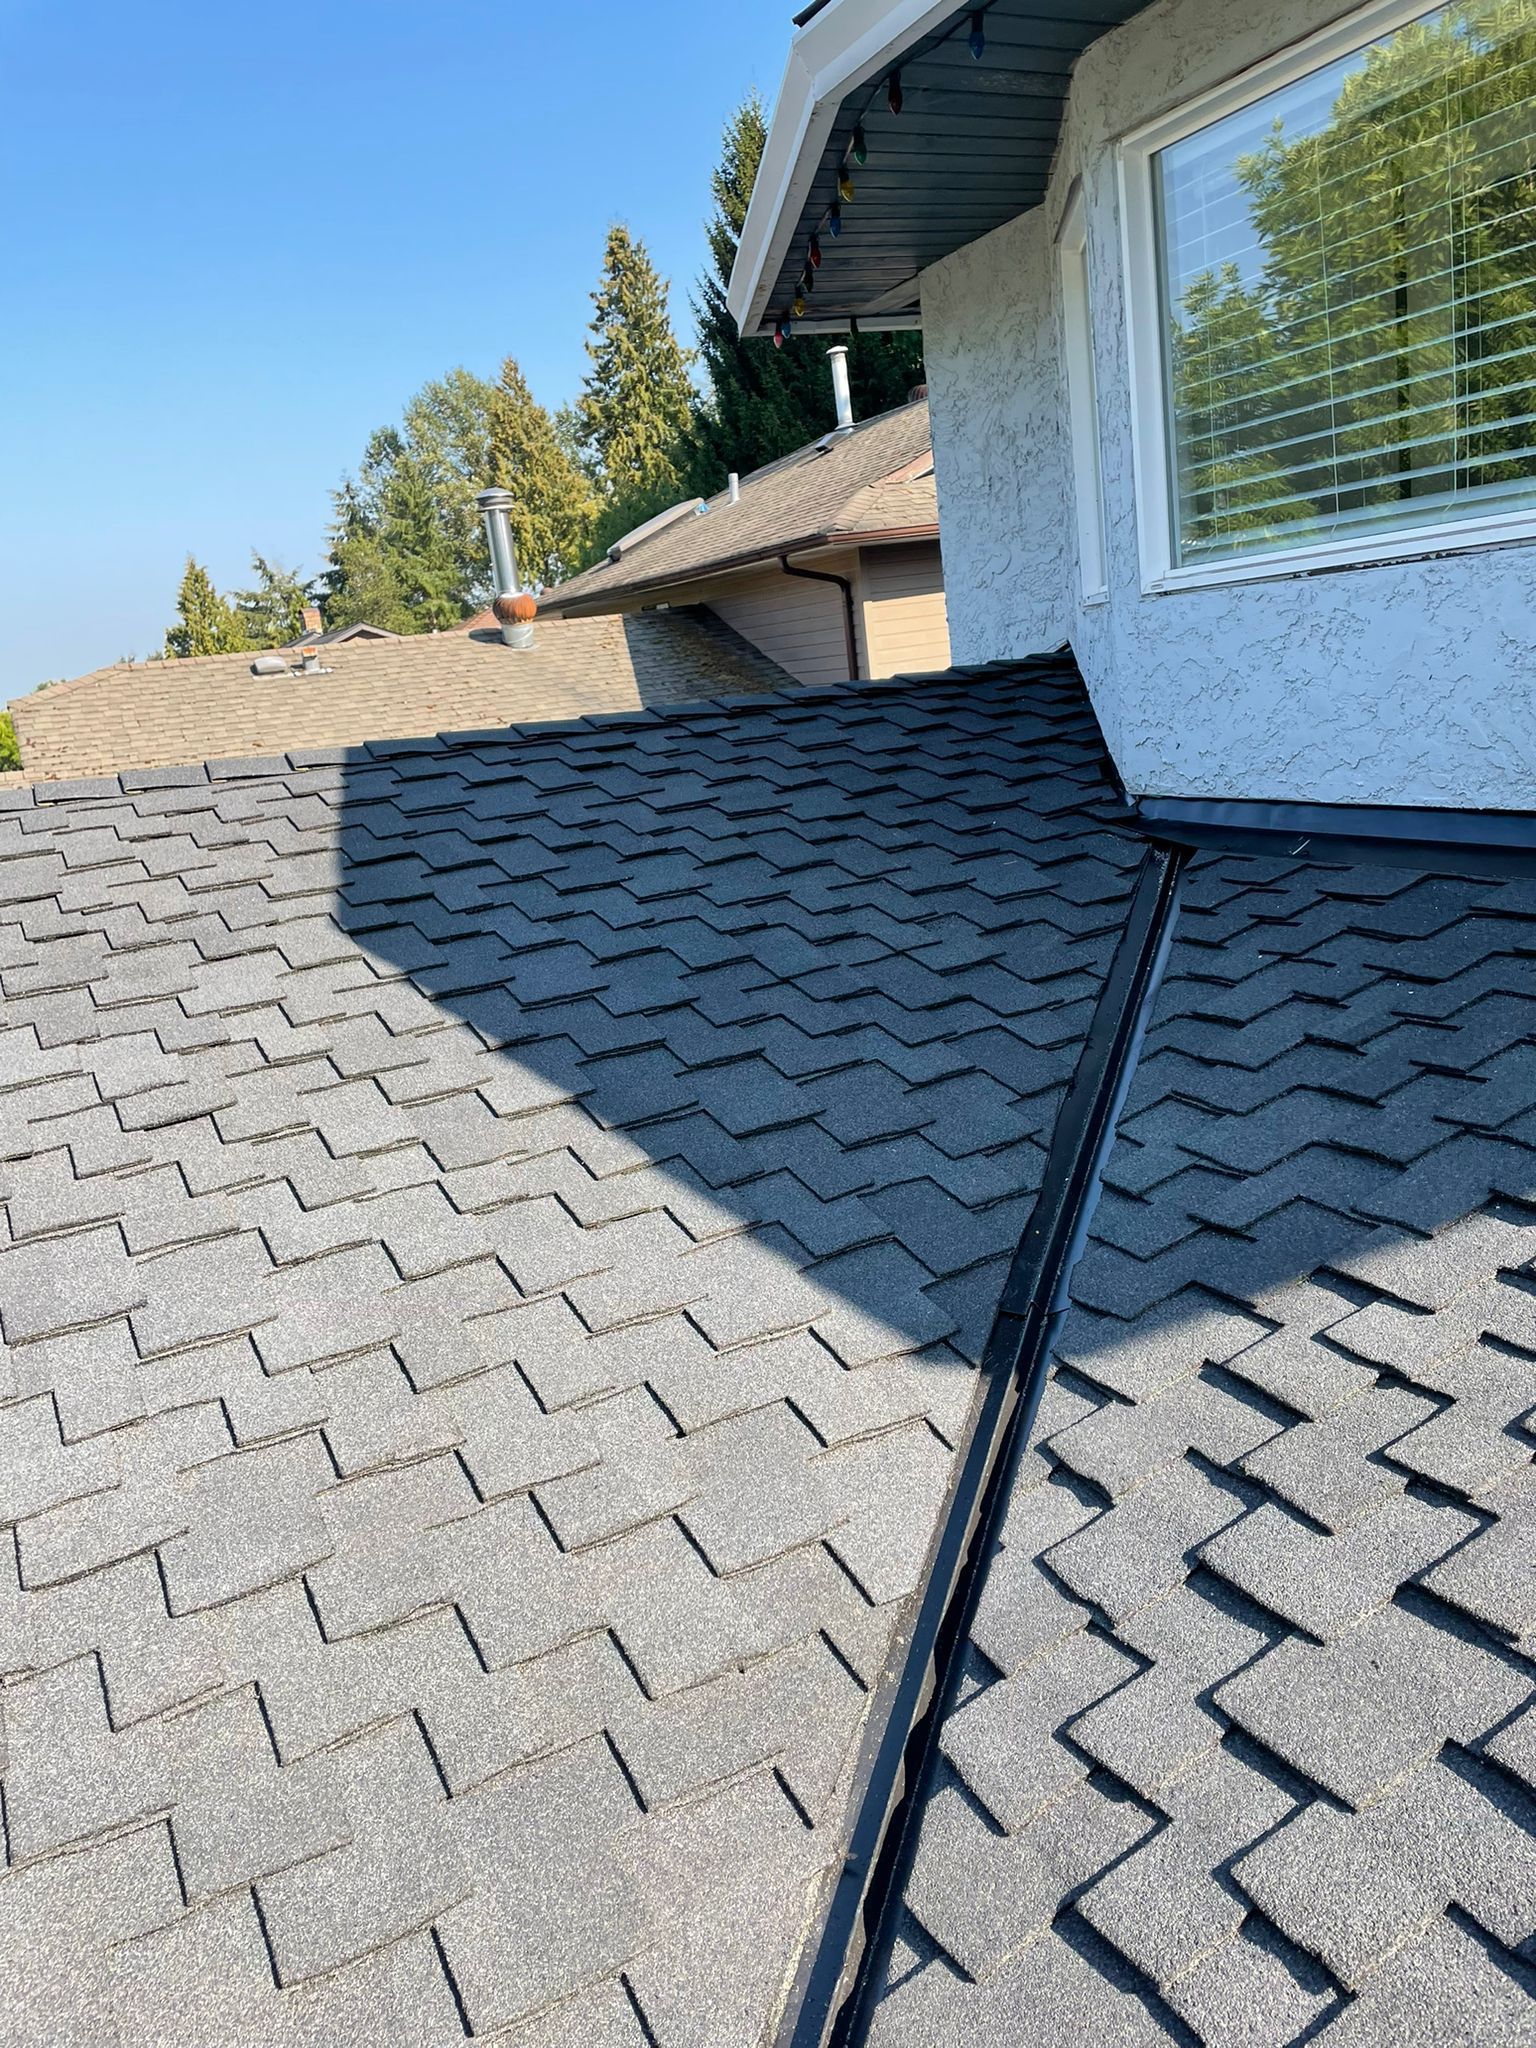
Pro tip Photograph the roof in its current state before the inspection begins, documenting overall condition, visible damage, and debris locations. These baseline images become invaluable for tracking changes between inspections and provide evidence if disputes arise about roof condition or maintenance history.
Step 2: Assess Roofing Materials and Membranes
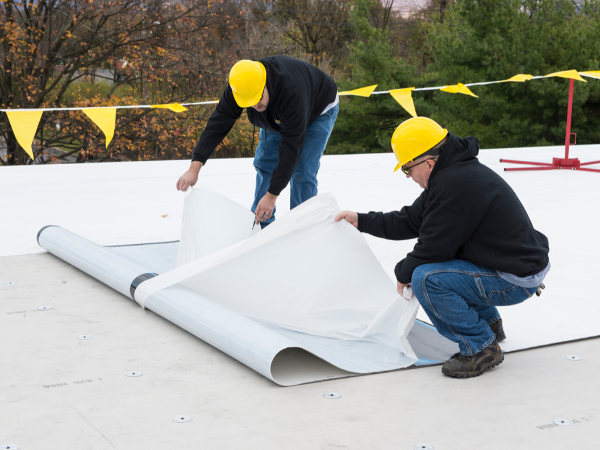
Knowing what you are looking at is half the battle. This step focuses on identifying your roof’s membrane type and material composition, then conducting a detailed visual evaluation for signs of wear, damage, or deterioration. Understanding your specific roof system helps you spot problems that are unique to that material and understand what longevity you should realistically expect.
Start by determining your roof’s membrane type. Commercial roofs in the Vancouver area commonly use TPO, EPDM, PVC, or modified bitumen membranes, each with distinct characteristics and failure patterns. Review your building records or speak with your facilities team to confirm what’s installed. If documentation is unclear, look at the seams and colour. TPO is typically white or light grey with heat welded seams. EPDM appears black or dark grey with tape seamed edges. PVC is often white or grey with chemically welded seams. Once you know what you are dealing with, you can focus your inspection on the specific vulnerabilities of that material. As you walk the roof surface, check for membrane cracks and punctures that may have developed from UV exposure, foot traffic, or weather events. Look for areas where the membrane appears lifted, blistered, or wrinkled. In our climate with heavy rainfall and freeze-thaw cycles, water can seep under lifted edges and cause catastrophic damage if left unchecked. Pay special attention to areas around penetrations, HVAC units, and roof edges where seams are more vulnerable.
Here’s a summary of common commercial roofing membrane types and their inspection focus points:
| Membrane Type | Common Colour | Key Inspection Focus | Typical Vulnerability |
|---|---|---|---|
| TPO | White/light grey | Check heat-welded seams | UV damage, seam failure |
| EPDM | Black/dark grey | Inspect tape-seamed edges | Shrinkage, punctures |
| PVC | White/grey | Look for chemical weld issues | Chemical degradation, seam splits |
| Modified Bitumen | Black/grey | Examine lap joints and surface | Blistering, adhesive failure |
Examine the condition of the membrane’s coating and surface. Inspect for chalking, which appears as a white powder residue and indicates UV degradation. Look for algae or moss growth, particularly in shaded areas or near vegetation, as these retain moisture and accelerate deterioration. Check for any pooling water or drainage issues, as standing water stresses membranes and creates leak pathways. Document everything you find with photographs and detailed notes. Maintain written records of your inspection findings, including the date, specific locations of damage, and photographic evidence. These records become invaluable for tracking roof performance over time and creating a maintenance roadmap that extends your roof’s lifespan.
Pro tip Take close-up photographs of any membrane damage you find, including the surrounding area for context, and mark the GPS coordinates or roof section on a digital map. This creates a searchable record that helps you prioritise repairs and prevents you from re-inspecting the same spots in future reviews.
Step 3: Evaluate Drainage and Flashing Systems
Drainage and flashing failures account for the majority of commercial roof problems. This step focuses on identifying how water moves off your roof and inspecting the critical seals and transitions where leaks most often originate. Getting these systems right is what separates a roof that lasts decades from one that fails prematurely.
Start by walking your roof’s perimeter and identifying all drainage points. Look at gutters, downspouts, roof drains, and scuppers. In Vancouver’s rainy climate, adequate drainage is non-negotiable. Clear any debris from gutters and roof drains, as leaves, moss, and dirt restrict water flow and cause pooling. Check that downspouts direct water away from the building foundation and that they are not cracked or separated. Next, examine the flashing systems around all roof penetrations. This includes chimneys, skylights, HVAC units, vents, and any other elements that penetrate the membrane. About 70 percent of roof failures stem from penetrations and drainage areas , so this deserves your closest attention. Look for cracks, gaps, separation, or deterioration in the sealant around each penetration. Pay special attention to corners and edges where flashing meets the membrane, as water finds these weak points quickly. Metal flashing should show no rust or corrosion. If you see orange or brown staining, that indicates moisture penetration and imminent failure.
Inspect all seams and transitions carefully. Where the membrane transitions to a wall or parapet, flashing should overlap properly and seal completely. Check for gaps where water could work underneath the flashing system. In the Lower Mainland, we see constant moisture working at these transitions, so any opening is a liability. Look for signs of previous water damage such as discolouration, soft spots, or mould growth around flashing areas. Document the condition of every penetration and transition with photographs. Schedule biannual inspections of your drainage and flashing systems so you catch small issues before they become expensive water damage inside your building.
Pro tip Create a simple roof map marking the location of every penetration, drain, and flashing detail, then photograph each one with a close-up and a wide shot showing its position on the roof. This visual inventory takes an hour but saves countless hours of troubleshooting when a leak occurs.
Step 4: Identify and Document Visible Damage
This is where the actual detective work happens. You are looking for every sign of deterioration, failure, or vulnerability that could compromise your roof’s integrity or safety. Thorough documentation at this stage creates a clear picture of your roof’s condition and gives you the data you need to prioritise repairs and budget accurately.
Walk methodically across the entire roof surface, paying attention to different zones. Look for visible damage including cracks, blisters, and punctures that indicate membrane failure or stress. Blistering appears as bubbles or swollen areas in the membrane, often caused by moisture trapped underneath or UV degradation. Cracks and tears are obvious leak pathways. Punctures from foot traffic, falling debris, or previous repairs are equally serious. Check for missing sections of membrane, particularly along seams where heat welding or adhesive may have failed. Look at the underside of any parapets or walls where moisture tends to accumulate. Watch for vegetation growth such as moss or algae, which signals excess moisture retention and accelerated deterioration. Pay special attention to shaded areas where moisture lingers longer in our wet Vancouver climate. Examine corners, valleys, and any area where water would naturally collect or flow during rain.
Now comes the critical part: document everything with photographs and detailed notes. Take a wide shot showing the damage location and its context on the roof, then a close-up showing the specific damage. Note the date, time, weather conditions, and exact location using a roof map or GPS coordinates. Describe the damage type, size, and severity. For cracks, measure the length and width. For pooling water or drainage issues, note how deep the water sits and whether it drains properly after rain. Review any past inspection reports so you can see whether damage is new or progressing. This comparison reveals patterns and helps you understand which areas are most vulnerable. Create a maintenance priority list based on damage severity, marking urgent issues that need immediate repair versus items that can be scheduled for the next planned maintenance cycle.
Below is a quick reference for documenting roof damage during inspection:
| Information To Record | Why It Matters | Example Tool |
|---|---|---|
| Photo (wide & close) | Confirms exact damage location | Smartphone camera |
| Date & time | Tracks ageing and progression | Inspection checklist |
| Location (map/GPS) | Pinpoints recurring trouble spots | Mobile inspection app |
| Damage measurements | Prioritises repair urgency | Measuring tape |
Pro tip Use a mobile app like Roofr or even a simple smartphone app with timestamp and GPS data to document damage as you find it, ensuring every photo is automatically tagged with date, time, and location for a comprehensive digital record.
Step 5: Verify Structural Integrity and Safety
Beyond the roof surface itself, you need to assess whether the structure supporting your roof can handle its load and environmental stresses. This step ensures your roof system is safe for occupants and capable of protecting your building through years of service. Structural failures are rare but catastrophic, so this inspection deserves careful attention.
Start by examining the roof deck and support structure from below if accessible. Look for signs of sagging, bowing, or uneven surfaces that suggest load problems or material failure. Check for water stains or discolouration on the underside of the deck, which indicates previous leaks that may have compromised structural integrity. Inspect support beams, trusses, and load-bearing walls for visible cracks, splitting, or deterioration. In commercial buildings across Vancouver, structural assessments should evaluate load-bearing capacity and material conditions to catch problems before they become dangerous. Look for rust on steel components, which weakens their load-carrying ability. Examine timber for rot, insect damage, or moisture saturation. Check that all connections between structural members are tight and properly fastened. Verify that the roof deck has adequate ventilation to prevent moisture accumulation that rots wood or corrodes metal. Pay special attention to areas where different materials meet, as these transitions often show stress first. In the Lower Mainland’s wet climate, moisture infiltration into structural cavities causes wood rot and metal corrosion that can take years to become visible.
Walk the roof surface itself and note any areas where the membrane or deck feels soft or spongy underfoot, which signals hidden structural decay. Check whether the roof remains flat or slopes properly toward drains without unusual dips or ridges. Significant deviations suggest underlying structural movement or failure. If you notice visible cracks in concrete decks, measure their width and length. Hairline cracks are generally cosmetic, but cracks wider than one-eighth of an inch may indicate structural stress. Document any safety concerns photographically and consult a structural engineer if you observe anything that raises red flags. Snow load capacity matters significantly in British Columbia, so ensure your roof can handle the maximum snow load expected in your area without deflecting excessively.
Pro tip If your building is more than twenty years old or has experienced significant weather events, consider hiring a structural engineer to conduct a detailed assessment rather than relying solely on visual inspection, as hidden damage inside the structure may not be obvious from the surface.
Protect Your Commercial Roof With Expert Inspection and Maintenance
The detailed steps outlined in the article reveal the challenges property owners face when trying to maintain commercial roofs in British Columbia. From safely preparing for inspection to evaluating membrane materials and verifying structural integrity, the process requires precise knowledge and reliable equipment. Common pain points include identifying invisible damage, managing drainage and flashing vulnerabilities, and ensuring safety compliance. Without expert guidance, small issues can quickly become costly repairs or safety hazards.
At Paragon Roofing BC, we understand these complexities and offer comprehensive commercial roofing solutions designed to extend your roof’s lifespan and protect your investment. Our team specialises in professional roof inspections, repairs, and maintenance services tailored specifically to British Columbia’s climate and building standards. Whether you need help with membrane assessment, drainage system evaluation, or structural analysis, we bring industry-leading expertise and detailed reporting to keep your roof in optimal condition.
Don’t wait for minor damages to turn into major expenses. Experience peace of mind through thorough inspections and trusted solutions provided by Paragon Roofing BC. Explore our professional roofing services and learn how proper roof maintenance can save you money and ensure safety. Ready to start? Contact us today for a free commercial roof inspection and take the first step toward a secure and long-lasting roof.
Frequently Asked Questions
What should I do before inspecting my commercial roof?
Before inspecting your commercial roof, gather all relevant documentation about the roof’s age, materials, and previous repairs. Clear debris and ensure all safety equipment is in place to create an efficient and safe inspection process.
How do I identify the roofing materials on my commercial roof?
To identify the roofing materials, review building records or observe the colour and seam types of the membrane. Commercial roofs commonly feature TPO, EPDM, PVC, or modified bitumen, each having specific characteristics that affect inspection focus.
What are the critical areas to check during a roof inspection?
Focus on checking the drainage points, flashing systems, and visible damage across the roof surface. Areas around penetrations, seams, and transitions are particularly vulnerable and should be documented meticulously during your inspection.
How can I document visible damage found during an inspection?
Document visible damage by taking wide shots for context and close-ups for detail, and note the date and specific location using a roof map or GPS coordinates. This thorough documentation helps establish a baseline for future inspections and allows you to prioritise repairs accurately.
What signs indicate structural problems during a roof inspection?
Signs of structural problems include sagging, bowing, discolouration, and soft or spongy areas underfoot. If you observe any of these issues, it’s critical to consult a structural engineer for a detailed assessment.
How often should I inspect my commercial roof for longevity and safety?
To ensure longevity and safety, conduct inspections at least biannually and after significant weather events. Regular assessments help you catch small issues before they escalate into costly repairs.