
Torch-On Roofing vs Other Flat Roof Systems
Flat roofs in Vancouver don’t all play by the same rules. Torch-on, TPO, and EPDM are three different ways of solving the same problem—keep water out on a low-slope roof—but they do it with very different personalities. If you’re staring at a quote with a bunch of acronyms on it, this is what’s actually going on behind those letters.
Torch-On vs TPO Roofing
Think of torch-on as the heavyweight boxer and TPO as the lean endurance athlete. Both can win, but in different rings.
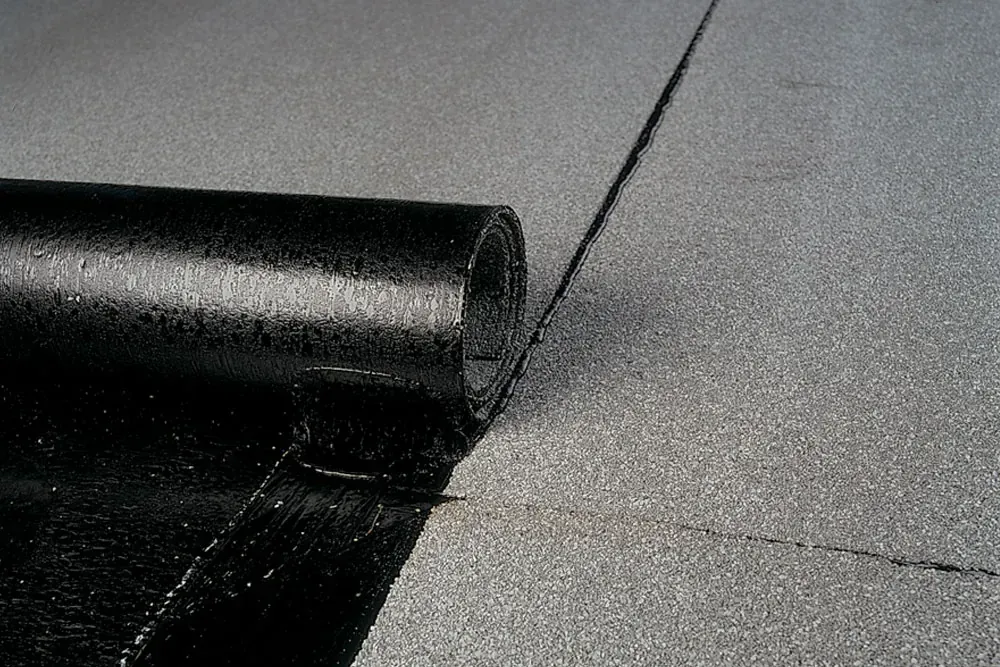
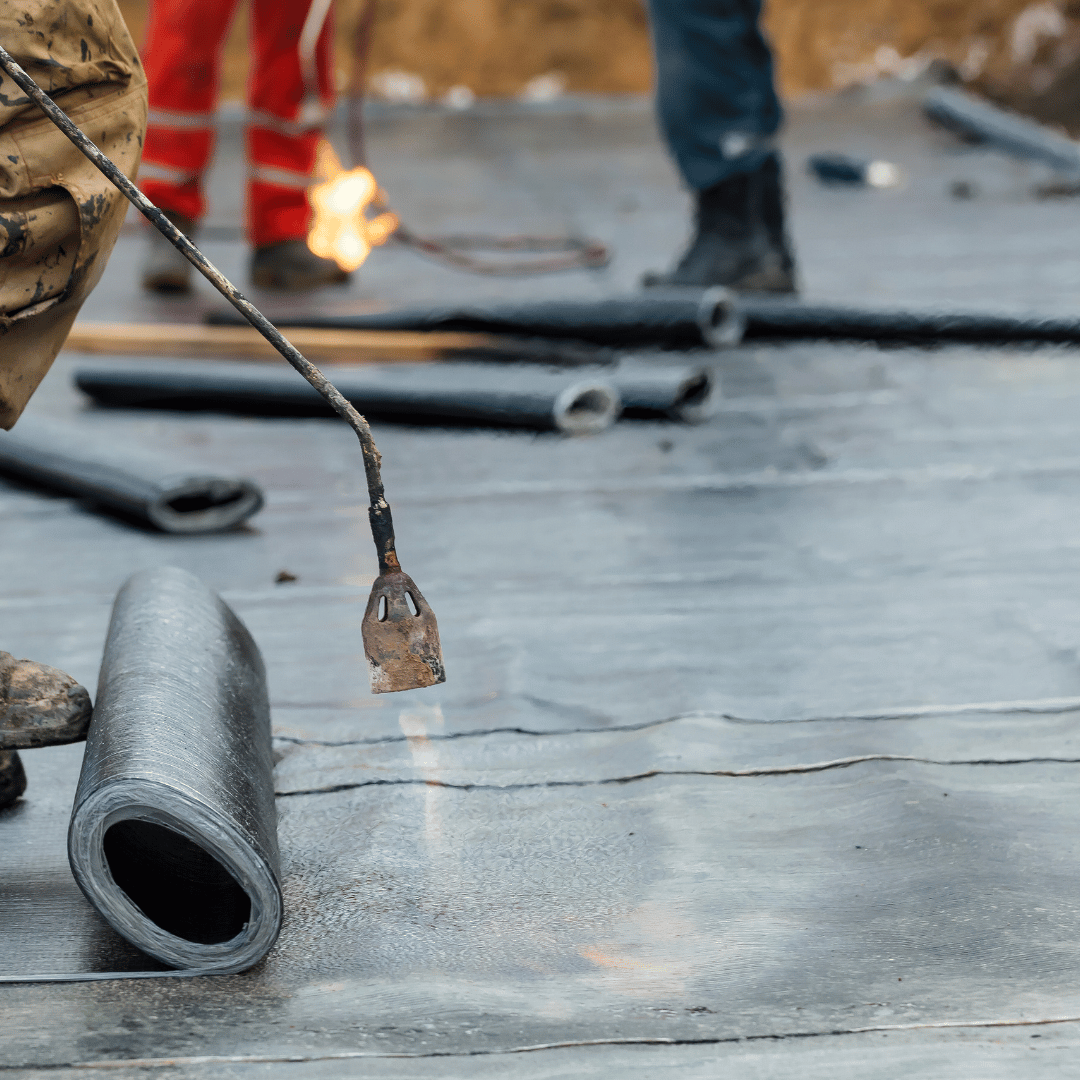
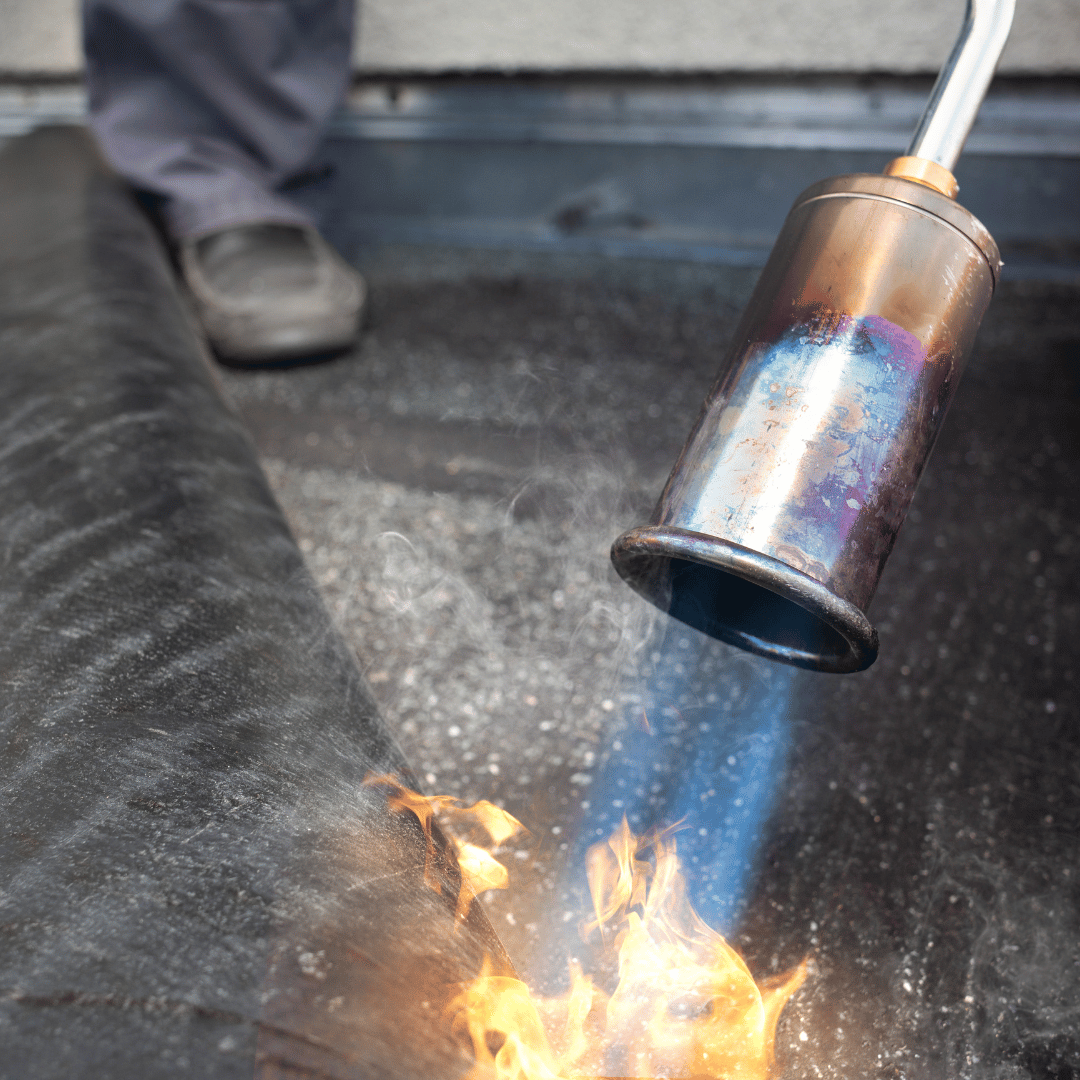
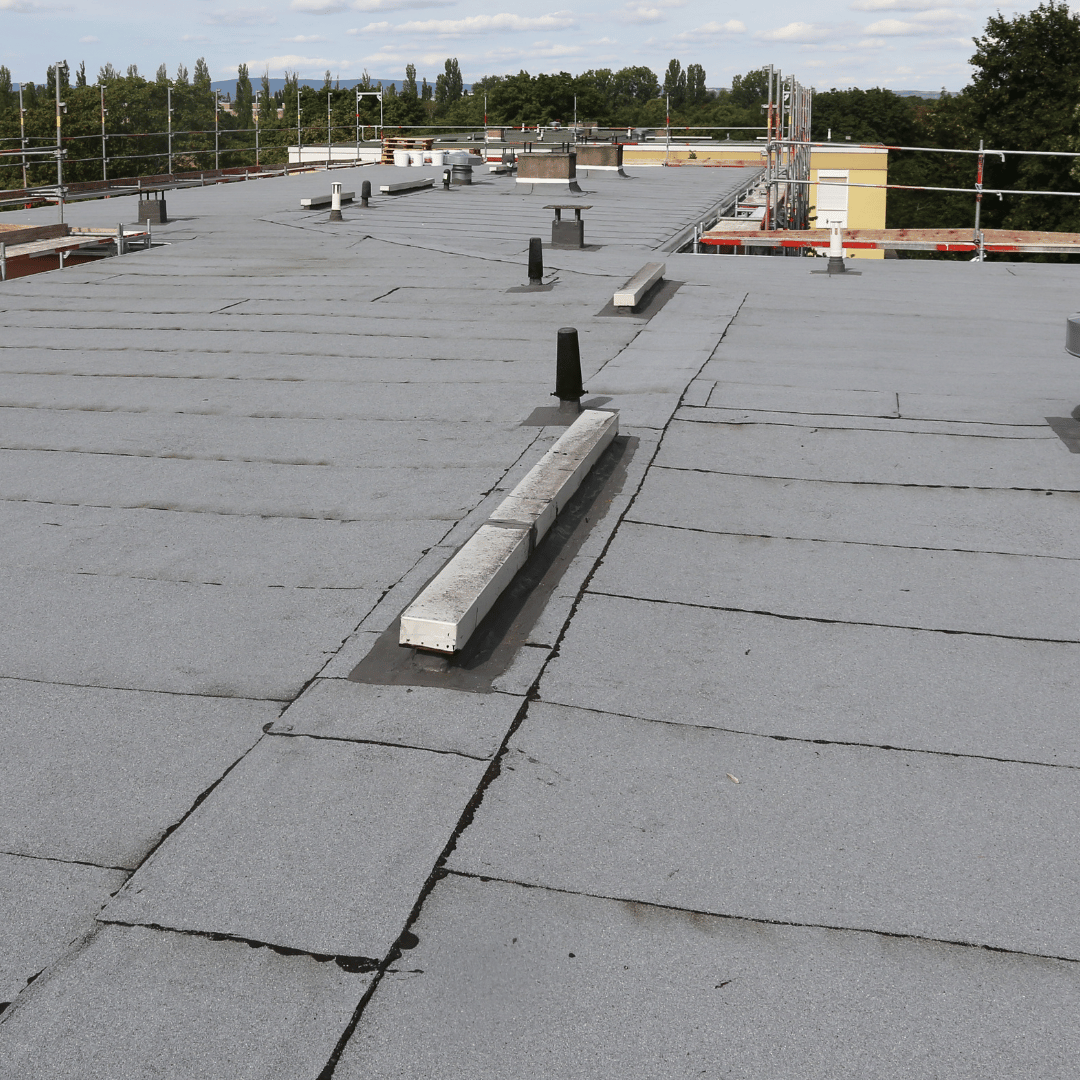
Torch-on (SBS-modified bitumen) is a thick, layered system: a base sheet plus a cap sheet, fused together with controlled heat. It gives you a dense, multi-layer membrane with welded seams and a bit of “give,” so it can handle foot traffic, small movement, and the kind of day-to-day abuse that happens on low-slope roofs near the coast. If someone drags a ladder across it or a tradesperson drops a tool, torch-on has a decent margin for forgiveness.
TPO is a single-ply thermoplastic membrane. Instead of layering bitumen, you have one sheet of material, heat-welded at the seams. Its biggest visible advantage? Reflectivity. TPO membranes are often light-coloured and highly reflective, which can help with heat gain on big commercial roofs. On large-box stores and sprawling warehouses, that’s a real operational benefit.
Durability-wise, both can be strong systems when installed properly. The differences show up in:
- Repairability – Torch-on can be patched locally with more torch-on, fusing new material into the existing assembly. TPO can be repaired too, but it’s more finicky about surface cleanliness, weather, and technique.
- Detailing – Torch-on is extremely good at wrapping tight corners, complex parapets, and odd transitions. TPO can handle details as well, but often needs pre-formed accessories or very precise workmanship.
- Cost – On smaller to medium roofs, torch-on is often more cost-effective. TPO’s advantages tend to shine on larger commercial footprints where energy savings and material economies of scale come into play.
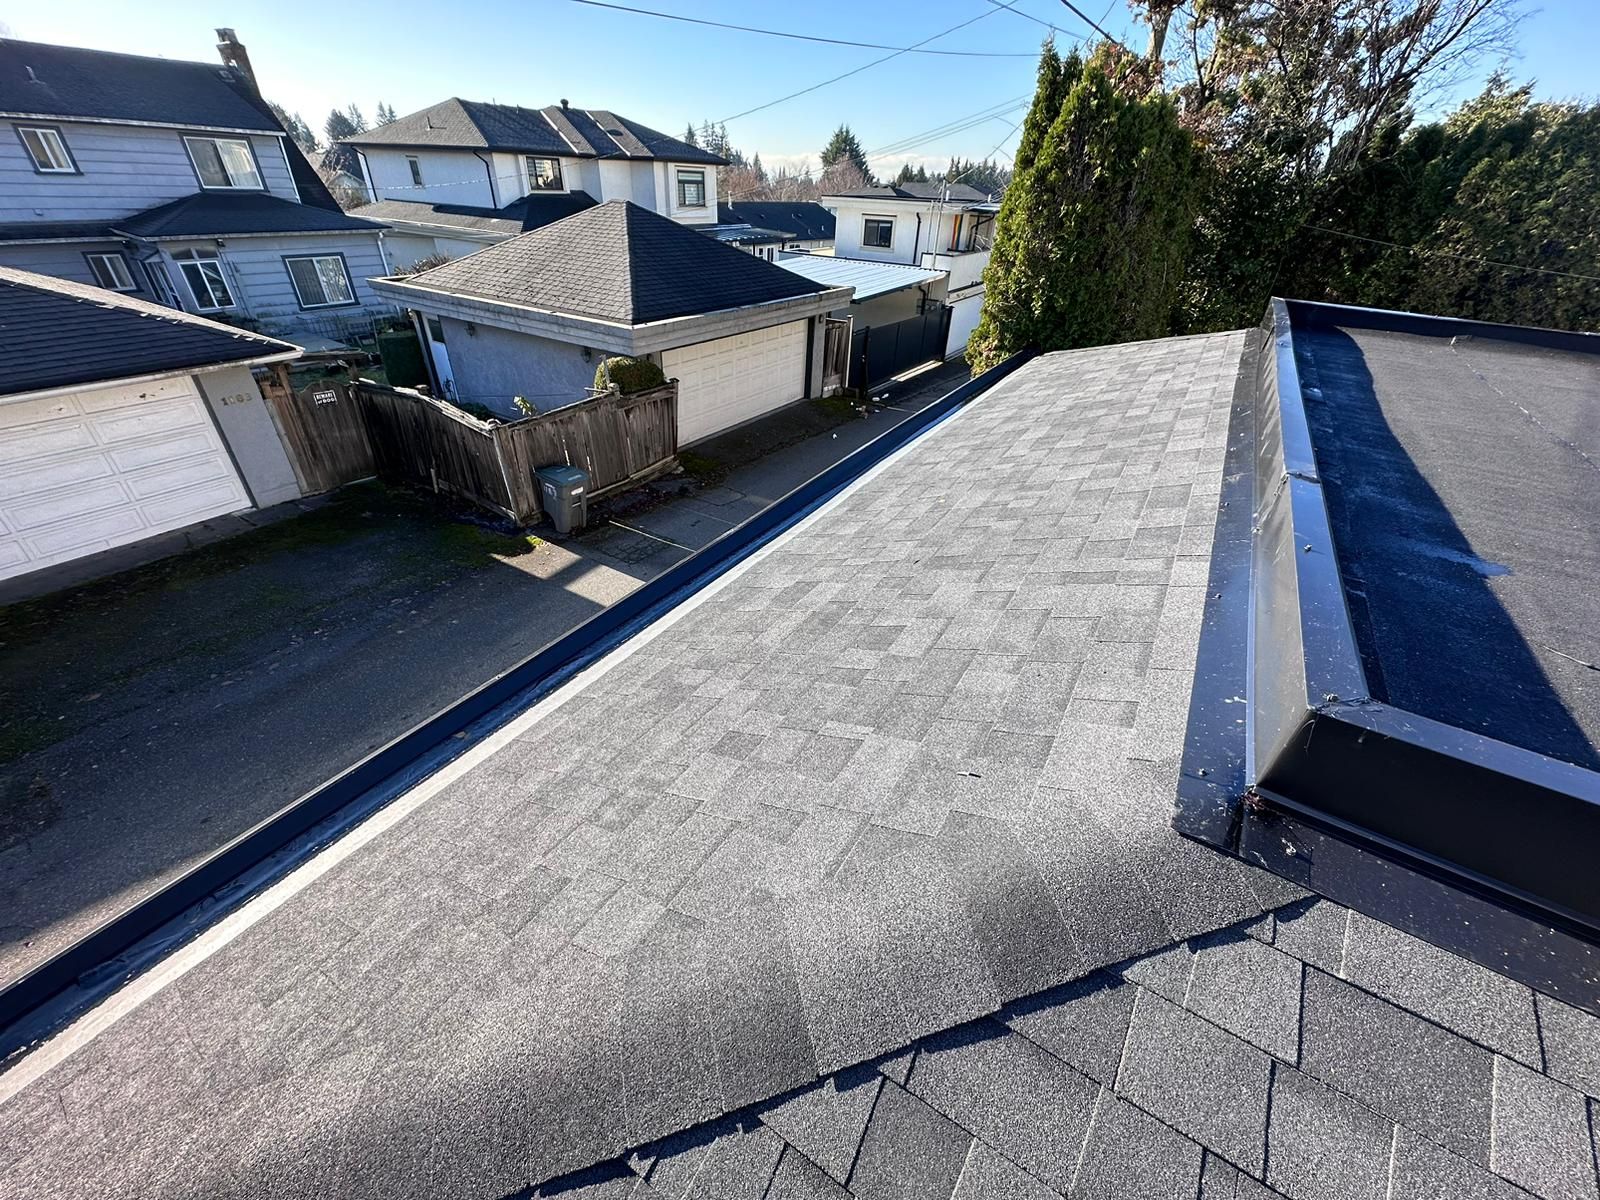
If you’ve got a Vancouver garage, laneway home, townhouse carport, or compact commercial roof, torch-on usually feels like the more “down-to-earth” workhorse. TPO often steps in for big, clean commercial roofs where reflectivity and long runs of membrane are the priority.
Torch-On vs EPDM Roofing
EPDM is the veteran of the flat-roof world—a rubber membrane that’s been used for decades, especially in industrial and commercial settings. When you put torch-on beside EPDM, a few big differences jump out.
First, seam technology. Torch-on relies on seams that are thermally bonded between layers of SBS-modified bitumen. You get a full, welded assembly that—when done right—behaves like one continuous waterproof layer.
EPDM traditionally uses taped or glued seams. Modern seam tapes are far better than the old-school glues, but you’re still dealing with adhesive-based joints that depend heavily on prep and long-term adhesion. If a seam fails on EPDM, it’s usually because that bond has broken down under UV, movement, or water exposure.
Then there’s flexibility and handling. EPDM is a large, flexible rubber sheet that can be rolled out in big sections with very few seams on wide, open roofs. That’s its superpower. On a big warehouse, that simplicity can be a major advantage.
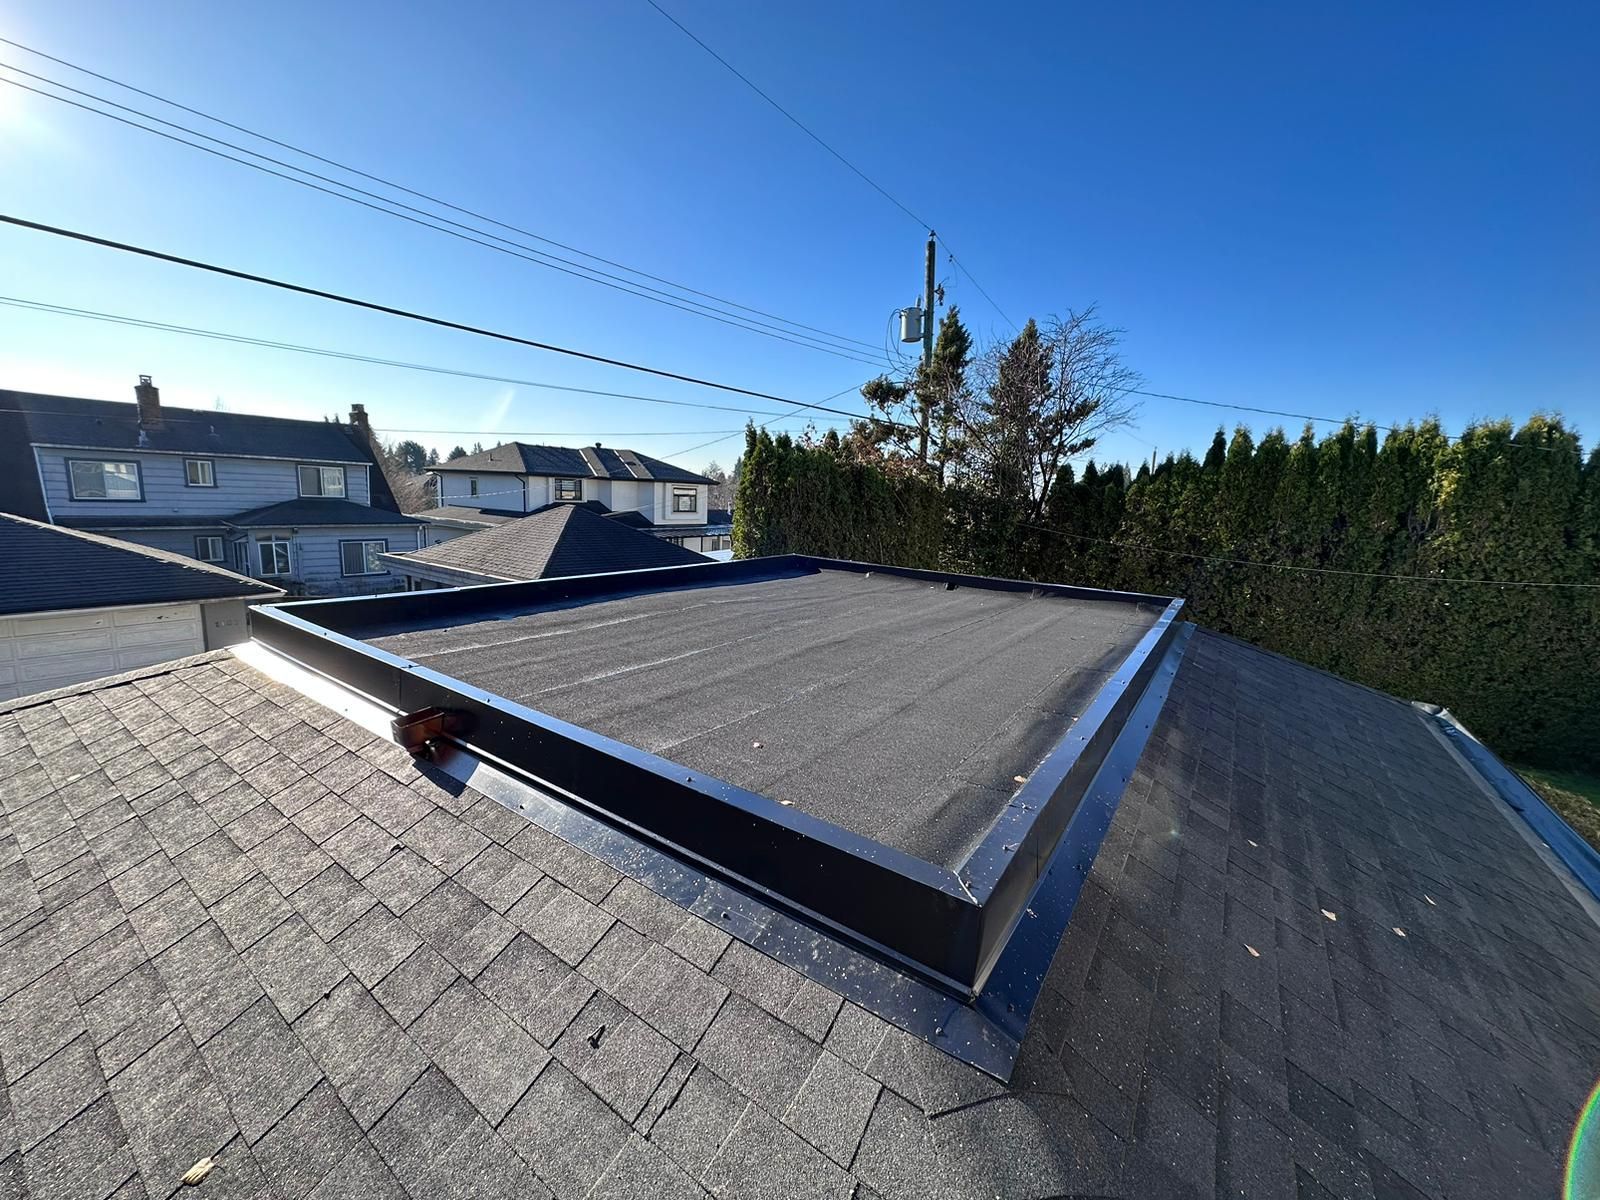
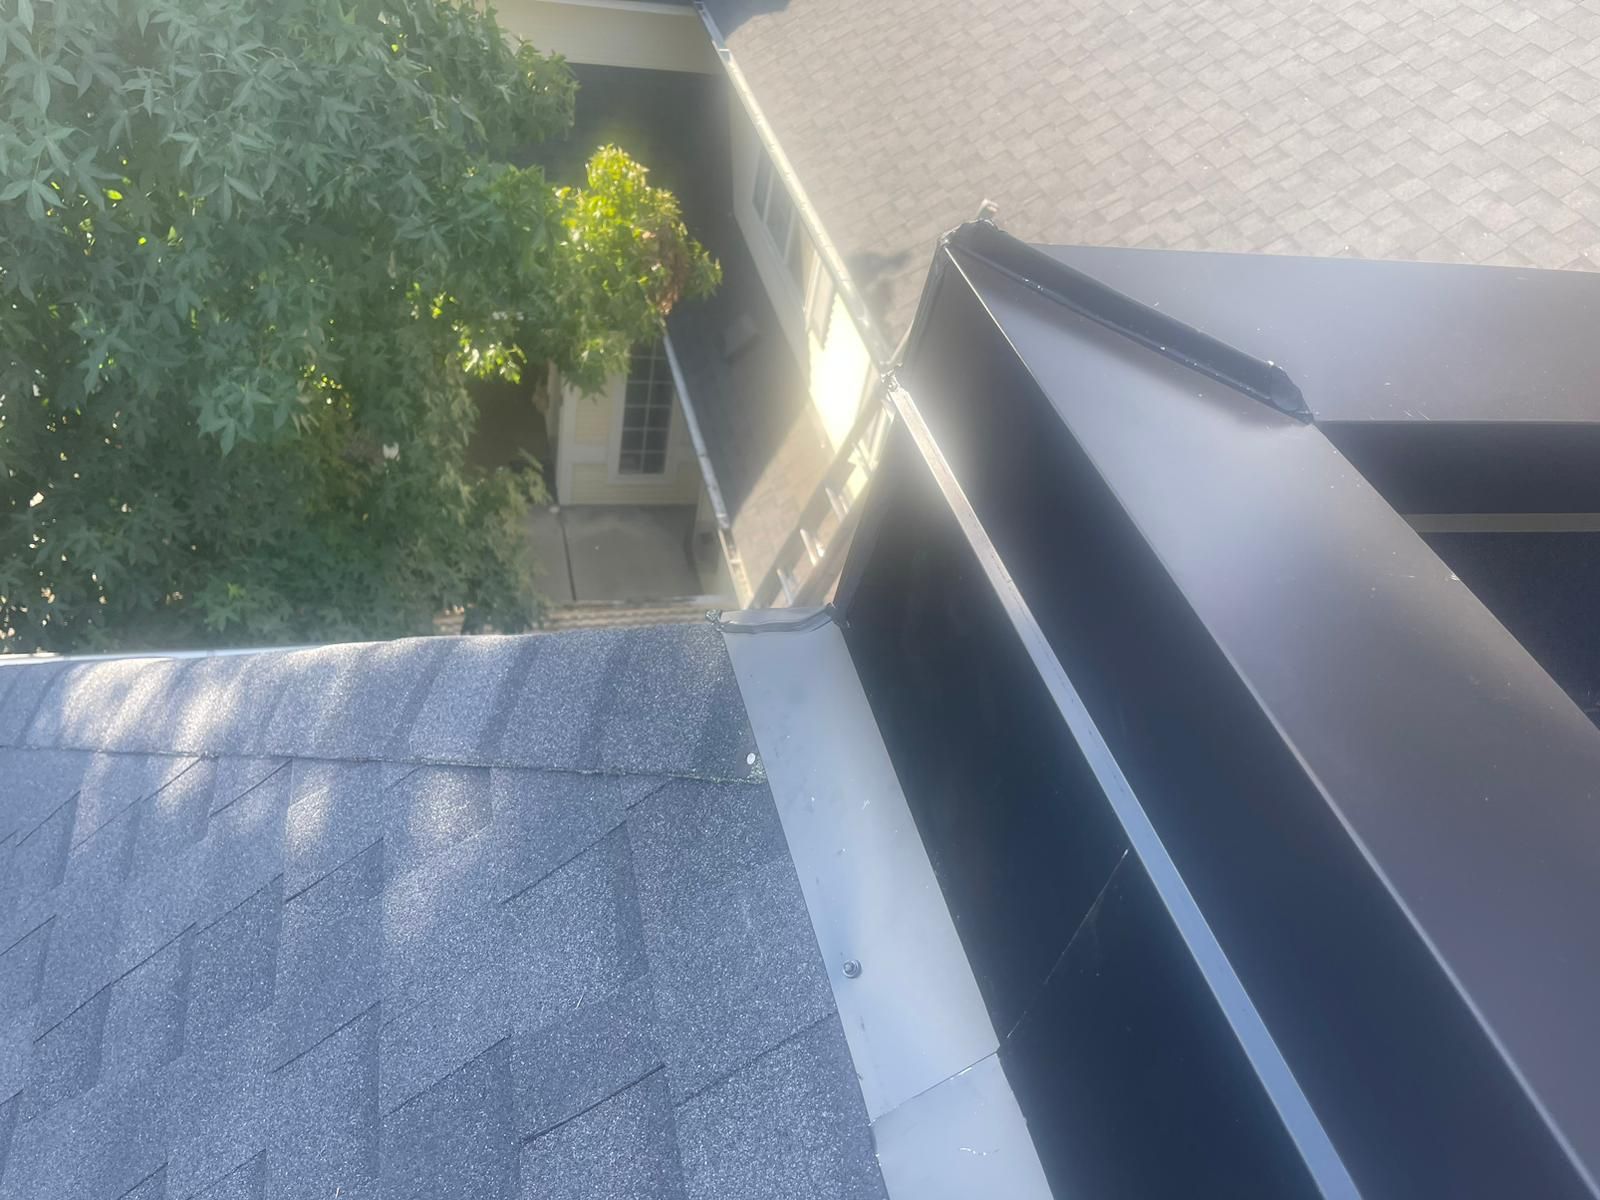
Torch-on’s strength shows up in complex detailing and multi-layer resilience. It can climb walls, wrap edges, tuck into parapets, and create multi-ply reinforcement at problem areas. When you have lots of penetrations (vents, skylights, mechanical curbs) or tight parapet conditions, torch-on often gives more confidence at those intersections.
Use cases in a nutshell:
- EPDM: great for big industrial roofs with simple layouts, long runs, and minimal clutter.
- Torch-on: excels on more compact roofs, mixed-use buildings, and any scenario where drains, parapets, and intricate edges are the main threat.
When Torch-On Is the Best Choice in Vancouver
In Vancouver’s climate, torch-on becomes the default answer more often than not for small and mid-sized flat roofs. Here’s why.
You’ve got constant rain, recurring freeze-thaw near the shoulders of winter, moss growth, and roofs that are rarely as simple as the drawings made them look. Drains get clogged, leaves pile into corners, and parapets and balcony details end up doing a lot of the heavy lifting. In that environment, you want a system that:
- Handles constant wetting and drying without giving up at the seams
- Can be patched, overlaid, or reinforced without tearing everything back to zero
- Wraps parapets, scuppers, internal drains, and transitions without relying solely on glued accessories
- Stands up to occasional foot traffic from trades, owners, and maintenance crews
Torch-on tends to shine on:
- Small and medium flat roofs – garages, additions, laneway homes, smaller commercial units
- Townhouse and strata sections – carports, walkway roofs, amenity structures, low-slope blocks
- Mixed roofs – where a shingle or metal main roof ties into flat sections that need real waterproofing, not improvisation
If you want a deeper technical breakdown of how torch-on stacks up against TPO and EPDM specifically in Vancouver’s climate, the most direct resource to study is the comparison on our site here: Comparing torch-on, TPO, and EPDM for low-slope roofs in Vancouver.

Torch-On Roof Repair & Maintenance in Vancouver
Torch-on roofs are tough, but they’re not invincible—especially in a city that sees as much sideways rain, wet debris, and freeze-thaw cycling as Vancouver. The good news? Most torch-on systems don’t suddenly “fail”; they slowly telegraph warning signs first. If you know what to look for and you stay on top of maintenance, you can squeeze many extra years out of an existing membrane before you even think about replacement.
Common Torch-On Roof Problems We See
On Vancouver torch-on roofs, the same villains show up again and again. Once you know their names, you start spotting them everywhere.
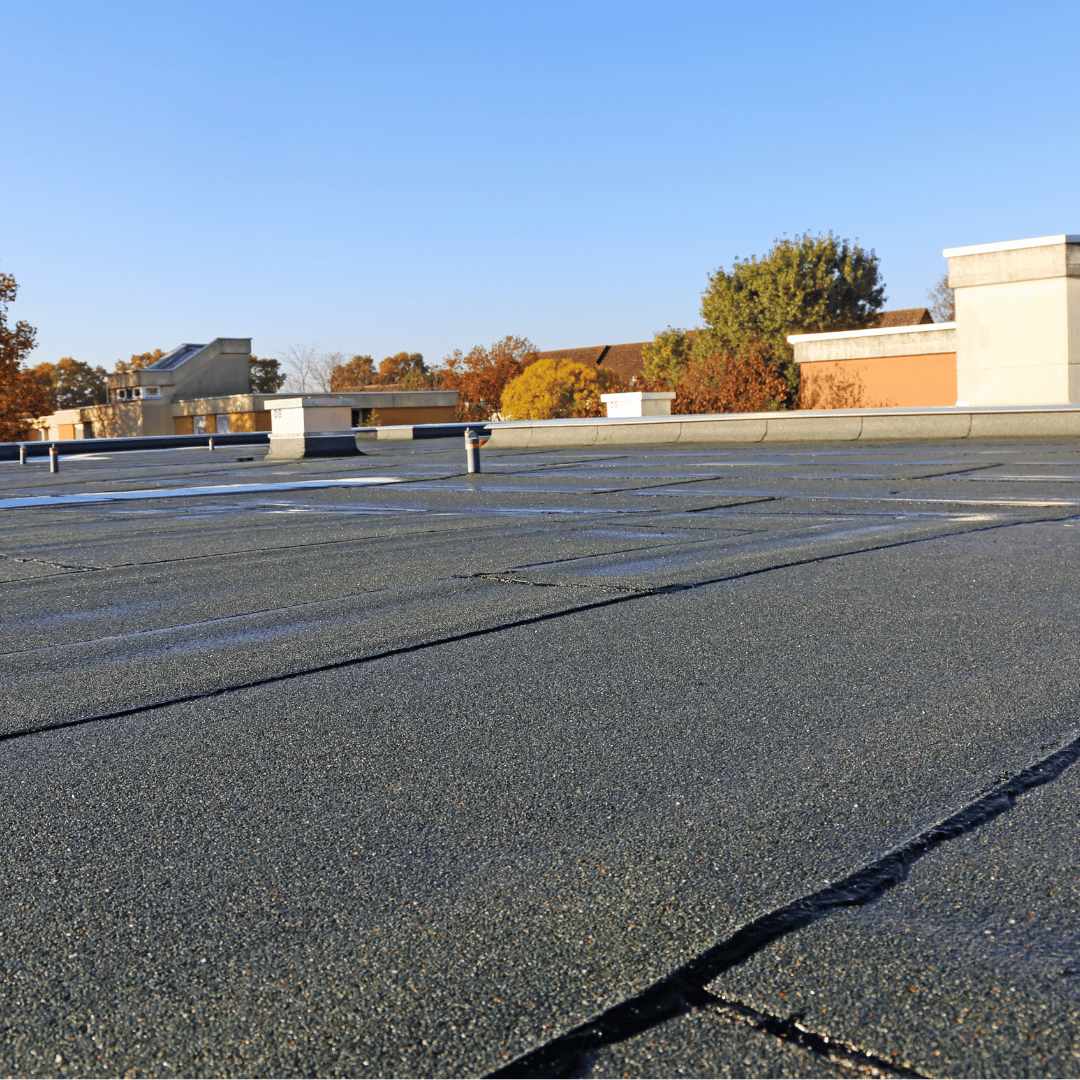
- Blisters – Little (or large) bubbles under the cap sheet where moisture or trapped air has expanded. Left alone, blisters can crack, tear under foot traffic, or open at the edges, letting water in.
- Splits & cracks – Often along stress lines, seams, or transitions where the roof moves a bit with temperature and structural shifts. Over time, UV and ponding accelerate that fatigue.
- Open seams – Cap sheet laps that were under-torched, over-torched, or just aged out. You’ll see slight openings at the lap line where water can creep in and travel.
- Failed flashings – Around parapet walls, chimneys, vent stacks, skylight curbs, and HVAC curbs. This is where flat roofs really get tested; if the detailing isn’t right, water finds its way behind the membrane.
- Old, sloppy patches – Random square patches slapped on over the years without cutting out the bad membrane underneath. They may look “fixed,” but they often hide saturated layers and just push the problem sideways.
Individually, these issues can be repaired. The danger is when they stack up and get ignored season after season, especially on roofs that are already past their midlife.
Torch-On Leak Detection & Repair
One of the hardest truths for flat-roof leaks: water rarely shows up directly under the problem. You might see a ceiling stain in the middle of a room, but the actual entry point could be at a parapet ten feet away, at a drain, or at a wall transition on the other side of the space.
Proper torch-on leak detection means:
- Starting at the most likely entry points: drains, scuppers, inside corners, seams, flashings
- Looking for subtle detail failures—tiny openings at laps, hairline splits, lifted edges, bad terminations
- Using test cuts in suspicious areas to check for moisture in the membrane and insulation below
Once we find the source, repair isn’t just about slapping a patch over the top. A typical professional torch-on repair usually involves:
- Cutting out the damaged or blistered material in a controlled shape (often rounded corners to reduce stress points).
- Drying and cleaning the exposed area, ensuring there’s no trapped moisture or loose material.
- Rebuilding with reinforcement plies —a base patch overlapped properly, then a cap patch that ties generously into the existing membrane.
- Torching the patch in carefully, watching for proper bleed-out at seams so the new material truly welds into the old system.
When done right, a targeted repair blends into the roof and restores full waterproofing at that point, rather than becoming yet another weak spot.
Maintenance to Extend Torch-On Roof Life
A well-installed torch-on roof can realistically run 20–25+ years in Vancouver, if it gets a bit of love along the way. The formula isn’t complicated, but it does require consistency.
Good maintenance usually looks like:
- Annual or bi-annual inspections – Walk the roof, check seams, inspect parapets, look for blisters, splits, or soft spots, and note any areas with standing water after a rain.
- Clearing drains and debris – Flat roofs are debris magnets. Leaves, needles, and dirt pile up around drains and scuppers, creating mini dams that lead to ponding. Regular cleaning is one of the cheapest life-extenders you can buy.
- Early repair of minor defects – A tiny open lap now is a cheap, easy fix. Ignore it for three winters and it becomes a saturated insulation problem, interior ceiling damage, and possibly deck repair.
- Monitoring high-traffic zones – Areas near access hatches, service paths to rooftop units, and around equipment will always age faster due to foot traffic and dropped tools.
A simple maintenance cycle—inspections plus small, recurring repairs—almost always costs less over five to ten years than “wait until it fails and panic.” That’s exactly the logic behind structured services like our Vancouver roof maintenance programs, where the goal is to keep your roof predictable instead of letting it surprise you in the middle of a storm.
When It’s Time for a Full Torch-On Replacement
No flat roof lasts forever, even with good care. At some point, repair stops being smart and starts being a band-aid on a system that’s already done its job.
Signs it’s time to talk about full replacement:
- Widespread aging – The whole surface looks tired: granule loss, extensive alligatoring/cracking, seams that are opening in multiple areas, and a general “baked” appearance.
- Saturated insulation – Test cuts reveal wet or deteriorated insulation. If the system is holding water, you’re dealing with more than just surface issues.
- Patch-on-patch roofing – When there are so many old repairs that you’re essentially walking on a quilt of patches, tracing new leaks becomes painful and unreliable.
- Multiple recurring leaks – If new leaks keep popping up in different areas each season, the system is likely at or beyond its service life.
At that stage, continuing to spend money on reactive repairs is usually throwing good money after bad. A full tear-off and new torch-on system can feel like a bigger number up front, but it resets the clock, restores proper insulation and drainage, and brings you back into a place where maintenance is strategic instead of desperate.
In short: torch-on roofs can serve Vancouver buildings incredibly well—but only if you respect their limits, pay attention to the early warning signs, and know when to stop patching and start planning for a new system.