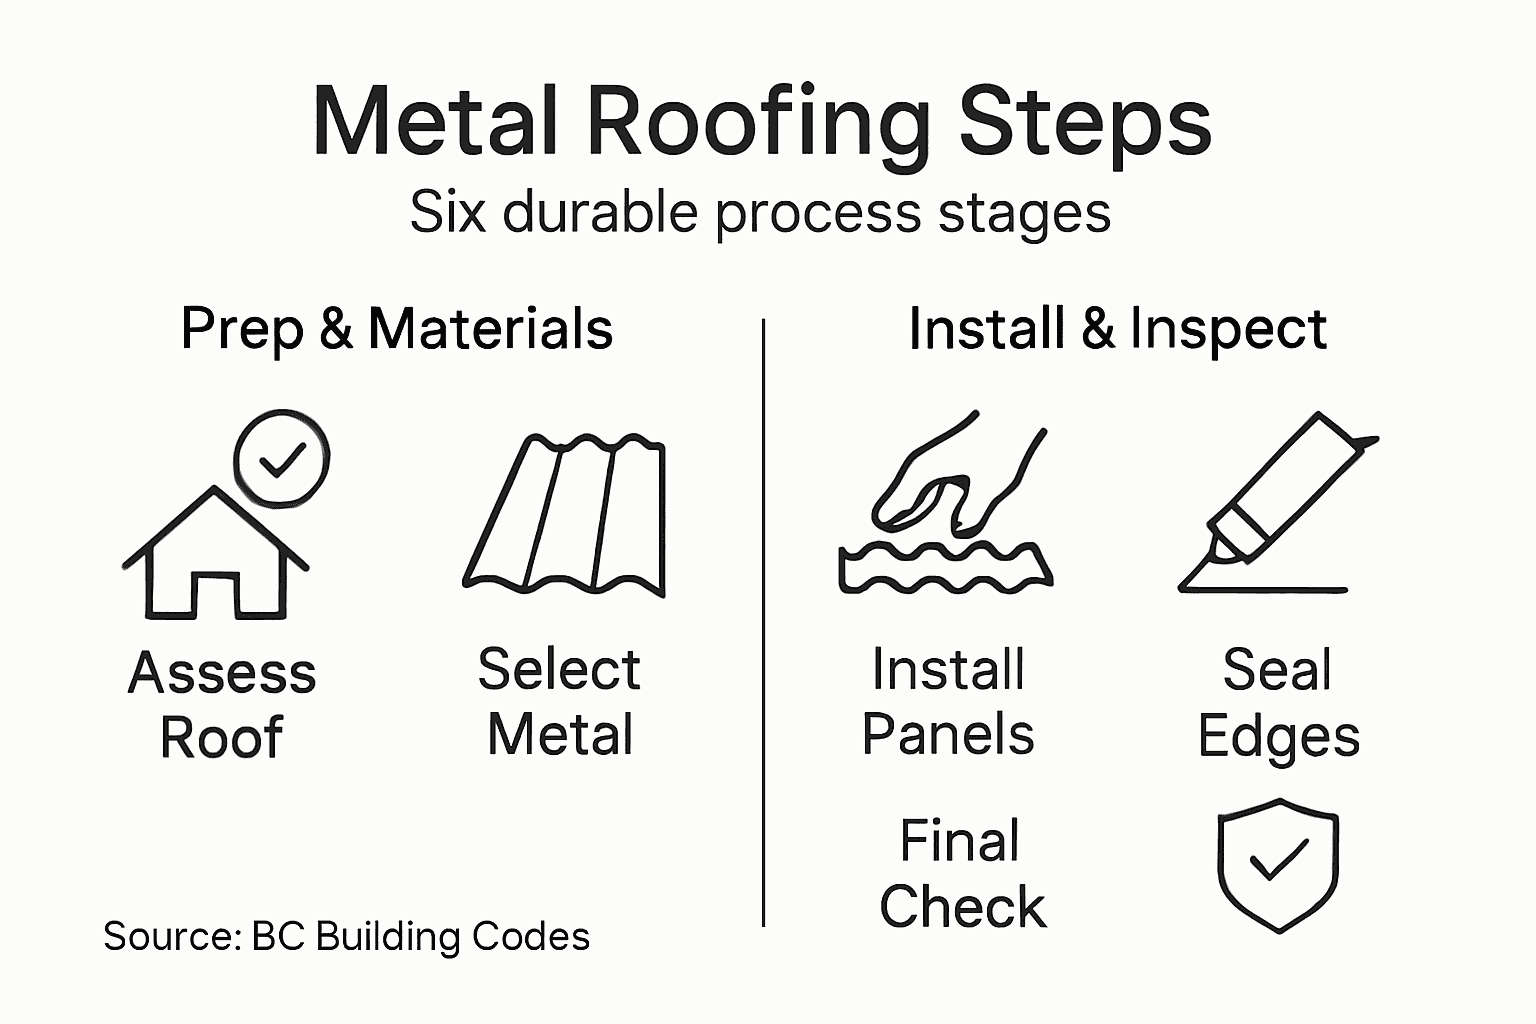
Metal Roofing Process Steps for Durable Installation
Most Canadian homeowners in Vancouver and Burnaby are surprised to learn that metal roofs can last over 40 years, offering serious protection against the region’s heavy rainfall and snow. With energy costs rising and unpredictable weather common, making the right roofing choice has never been more important. This guide walks through every key step—from assessing your current structure to picking the most durable material—so you can invest confidently in your home’s long-term strength and energy savings. See our professional metal roofing installation services
Table of Contents
- Step 1: Assess Existing Roof Structure And Requirements
- Step 2: Select Appropriate Metal Roofing Material
- Step 3: Prepare Surface And Install Underlayment
- Step 4: Install Metal Panels And Fasteners Properly
- Step 5: Seal Edges And Flashings For Weatherproofing
- Step 6: Inspect Installation For Safety And Quality
Quick Summary
| Key Insight | Explanation |
|---|---|
| 1. Assess Existing Structure | Check your roof’s structural integrity to ensure it can bear metal roofing’s weight and requirements. |
| 2. Choose Suitable Material | Select a metal roofing material that is appropriate for your local climate and offers durability and cost effectiveness. |
| 3. Proper Surface Preparation | Clean and inspect the roof deck before installing underlayment to ensure long-lasting performance. |
| 4. Secure Fasteners Correctly | Use appropriate fasteners and installation techniques to accommodate movement and prevent leaks. |
| 5. Conduct a Final Inspection | Perform a thorough final inspection to ensure roofing integrity and prevent future issues such as leaks or buckling. |
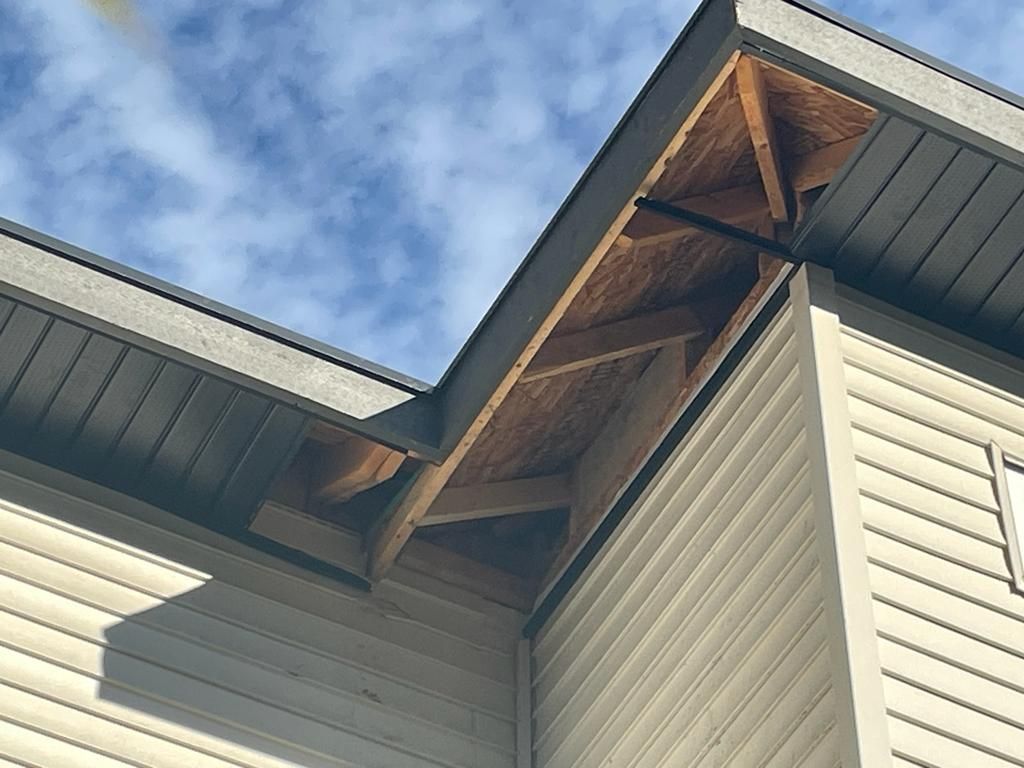
Step 1: Assess Existing Roof Structure and Requirements
Before installing a metal roof, understanding your current roof structure is critical. This assessment determines whether your existing roof can support the weight and specific requirements of metal roofing. In the Lower Mainland, our climate demands rigorous structural evaluation due to heavy rainfall, snow loads, and wind exposure.
Starting with a comprehensive review, we examine the current roof deck, rafters, and structural integrity using structural condition assessment guidelines from professional engineering standards. We inspect for critical factors like wood rot, water damage, existing underlayment condition, and load bearing capacity. Our team checks the framing to ensure it can handle metal roofing, which typically weighs more than traditional asphalt shingles.
Additionally, we verify compliance with National Building Code requirements specific to British Columbia. This means assessing slope, ventilation, and structural reinforcement needs. Some homes might require additional support or modifications to accommodate metal roofing safely.
Pro tip: Always budget for potential structural reinforcement during your initial metal roofing assessment to avoid unexpected expenses later in the project.
Step 2: Select Appropriate Metal Roofing Material
Selecting the right metal roofing material is a crucial decision that impacts your roof’s performance, durability, and long-term value. In the Lower Mainland, where we experience diverse weather conditions, choosing a material that withstands heavy rainfall, snow loads, and coastal moisture becomes paramount.
Our team recommends carefully evaluating metal roofing material characteristics for your specific Vancouver climate needs. Steel and aluminum emerge as top contenders due to their exceptional durability and cost effectiveness. Steel roofing offers remarkable advantages, providing protection that is approximately three times longer than traditional asphalt shingles and requiring minimal maintenance. Each metal type brings unique properties aluminum provides lightweight corrosion resistance, while galvanized steel offers superior strength and affordability.
Consider factors beyond basic material selection. Colour options, thermal performance, local building codes, and your home’s architectural style all influence the ideal metal roofing choice. Our experts conduct comprehensive assessments to match your specific requirements with the most suitable metal roofing solution for your property.
Pro tip: Request material samples and colour swatches to visualize how different metal roofing materials will actually look on your specific home before making a final selection.
Here is a comparison of metal roofing materials commonly used in the Lower Mainland:
| Material Type | Durability | Corrosion Resistance | Weight |
|---|---|---|---|
| Galvanized Steel | 40+ years | Moderate | Heavier |
| Aluminium | 35+ years | High | Lightweight |
| Copper | 60+ years | Excellent | Moderate |
| Zinc | 50+ years | High | Moderate |
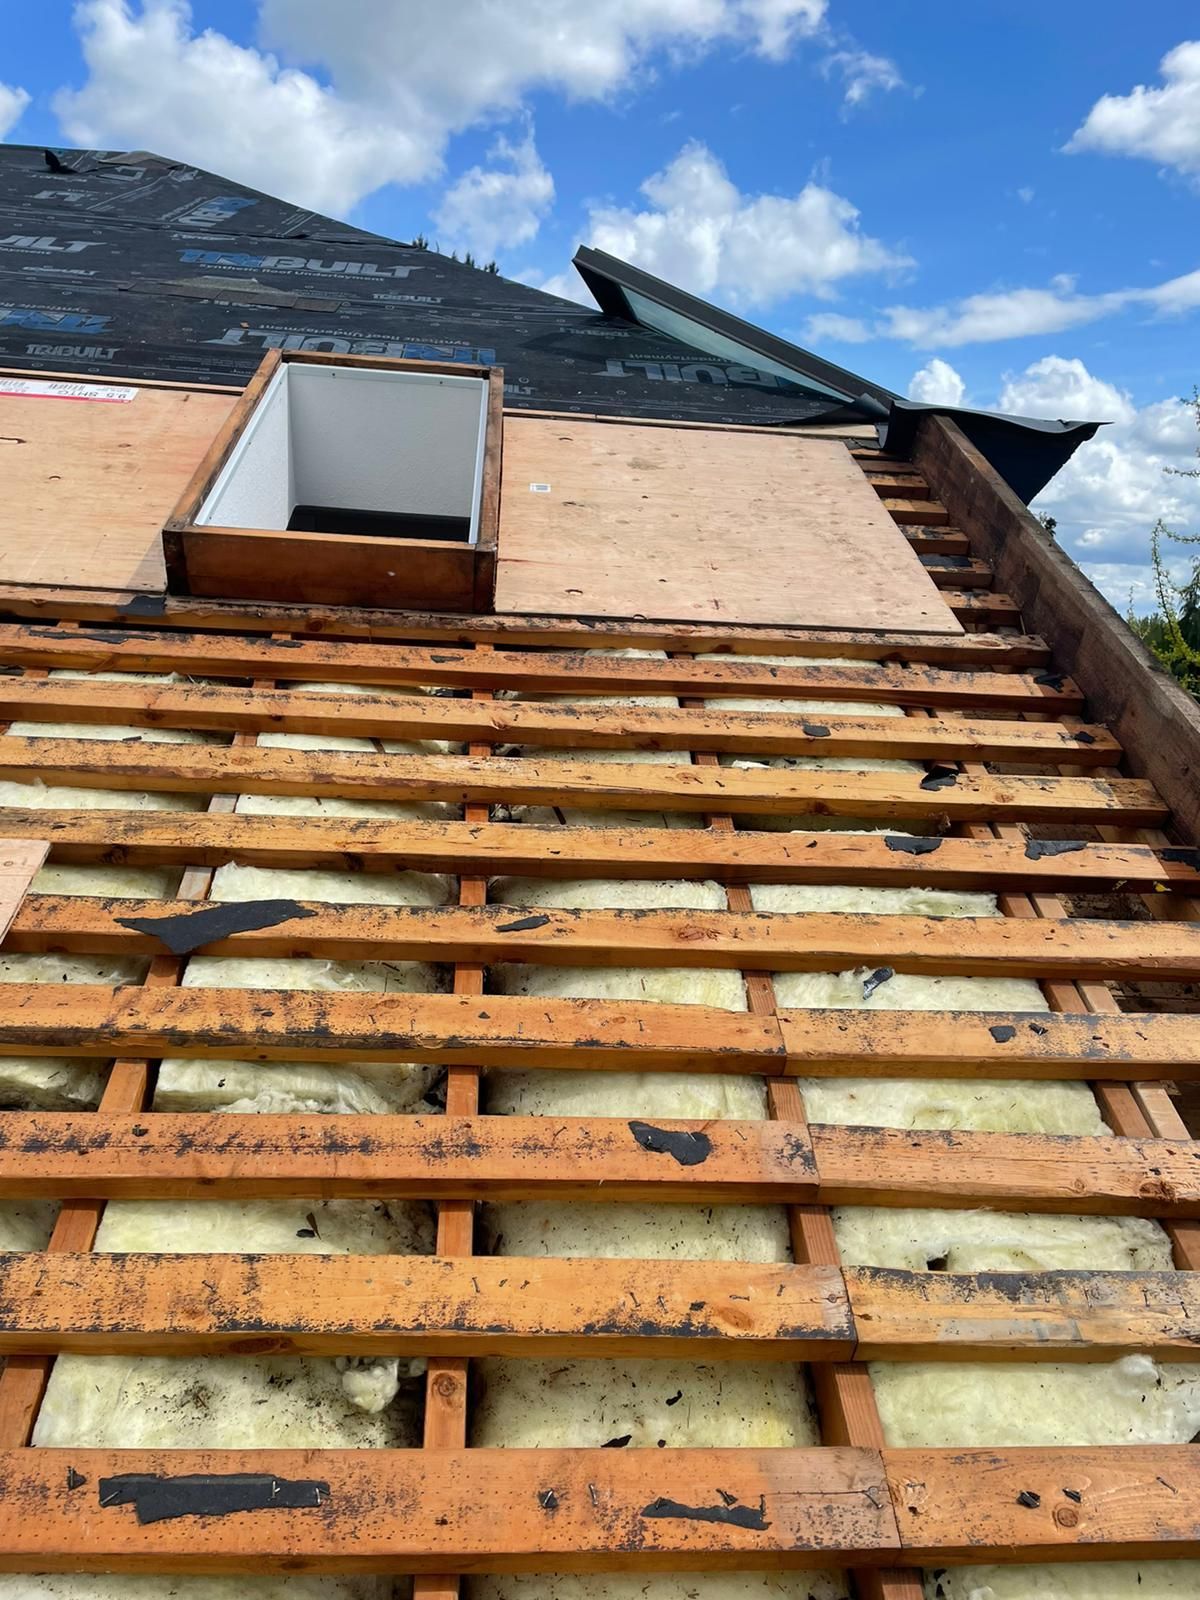
Step 3: Prepare Surface and Install Underlayment
Preparing the roof surface and installing underlayment are critical steps that determine the long-term performance and protection of your metal roofing system. In the challenging Lower Mainland climate, where moisture and temperature fluctuations are constant, this preparation becomes even more essential.
We start by thoroughly inspecting and cleaning the roof deck, ensuring it meets specific British Columbia Building Code requirements for structural integrity and surface preparation. This involves removing any existing debris, checking for wood rot, repairing damaged sections, and creating a smooth, clean surface. The deck must be completely dry and free from any contaminants that could compromise the underlayment’s adhesion. According to Roof Decks guidelines , the roof deck serves as a critical structural component that supports loads and provides protection against environmental elements.
Next, we carefully install the appropriate underlayment, selecting materials specifically designed for our coastal climate. This involves precise placement, ensuring complete coverage with minimal overlap, and using specialized fasteners that prevent water infiltration. The underlayment acts as a secondary barrier against moisture, providing an additional layer of protection beneath the metal roofing panels.
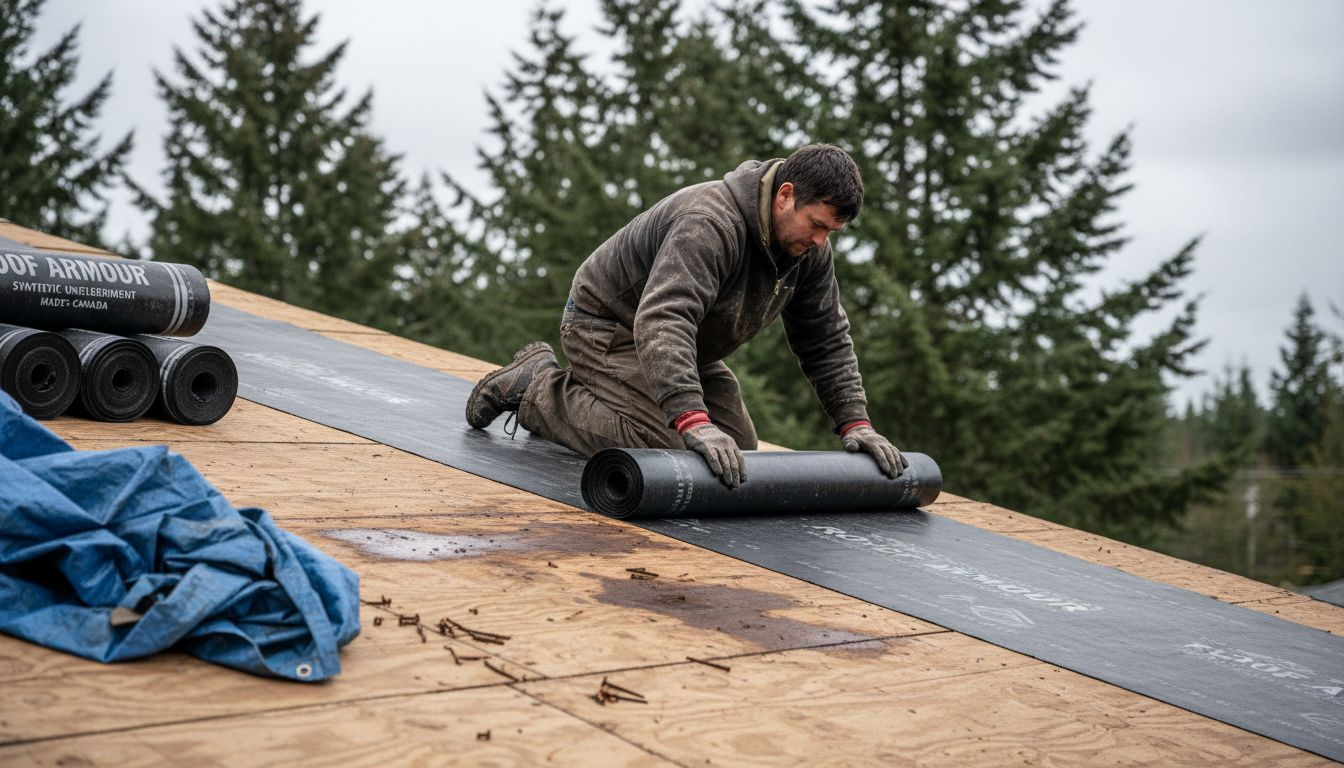
Pro tip: Invest in high quality breathable synthetic underlayment that allows moisture escape while preventing water penetration, especially crucial in our damp Vancouver climate.
Step 4: Install Metal Panels and Fasteners Properly
Installing metal roofing panels and fasteners requires precision and expertise, especially in the challenging Vancouver climate where wind exposure and moisture create unique installation challenges. Our approach ensures your metal roof will withstand the most demanding environmental conditions.
We follow specific metal roofing fastening techniques that accommodate thermal expansion and prevent potential structural issues. This means carefully selecting fasteners that allow panels to move and flex without compromising the roof’s integrity. Our technicians understand that incorrect fastening can lead to premature wear, water infiltration, and reduced roof lifespan. Each panel requires strategic placement of fasteners to distribute load evenly and prevent stress points.
In the Lower Mainland, we pay special attention to fastener selection and placement, considering factors like wind uplift, snow load, and moisture exposure. According to roofing installation guidelines , proper control joints and structural support are critical. We use corrosion resistant fasteners specifically rated for our coastal environment, ensuring your metal roof remains secure and watertight through years of challenging weather conditions.
Pro tip: Always purchase fasteners rated for marine or coastal environments and avoid mixing different metal types to prevent galvanic corrosion.
Step 5: Seal Edges and Flashings for Weatherproofing
Sealing edges and flashings is the critical final barrier that protects your metal roof from water infiltration, particularly in Vancouver’s challenging coastal environment. This process demands meticulous attention to prevent moisture penetration and ensure long term roof integrity.
Following international building code specifications , we systematically seal all roof transitions and potential water entry points. This involves carefully applying specialized flashing materials at roof edges, around chimneys, vents, skylights, and any structural penetrations. We use corrosion resistant materials that can withstand our region’s constant moisture and temperature fluctuations, creating a continuous weatherproof membrane that prevents water from seeping underneath the metal panels.
In the Lower Mainland, our approach goes beyond standard installation. We understand that managing metal corrosion and moisture exposure requires strategic detailing. Our technicians overlap flashing materials precisely, use sealants specifically designed for metal roofing, and ensure every seam and edge receives multiple layers of protection against wind driven rain and potential leakage points.
Pro tip: Use silicone-based sealants designed for metal roofing that maintain flexibility and remain waterproof even after repeated thermal cycling.
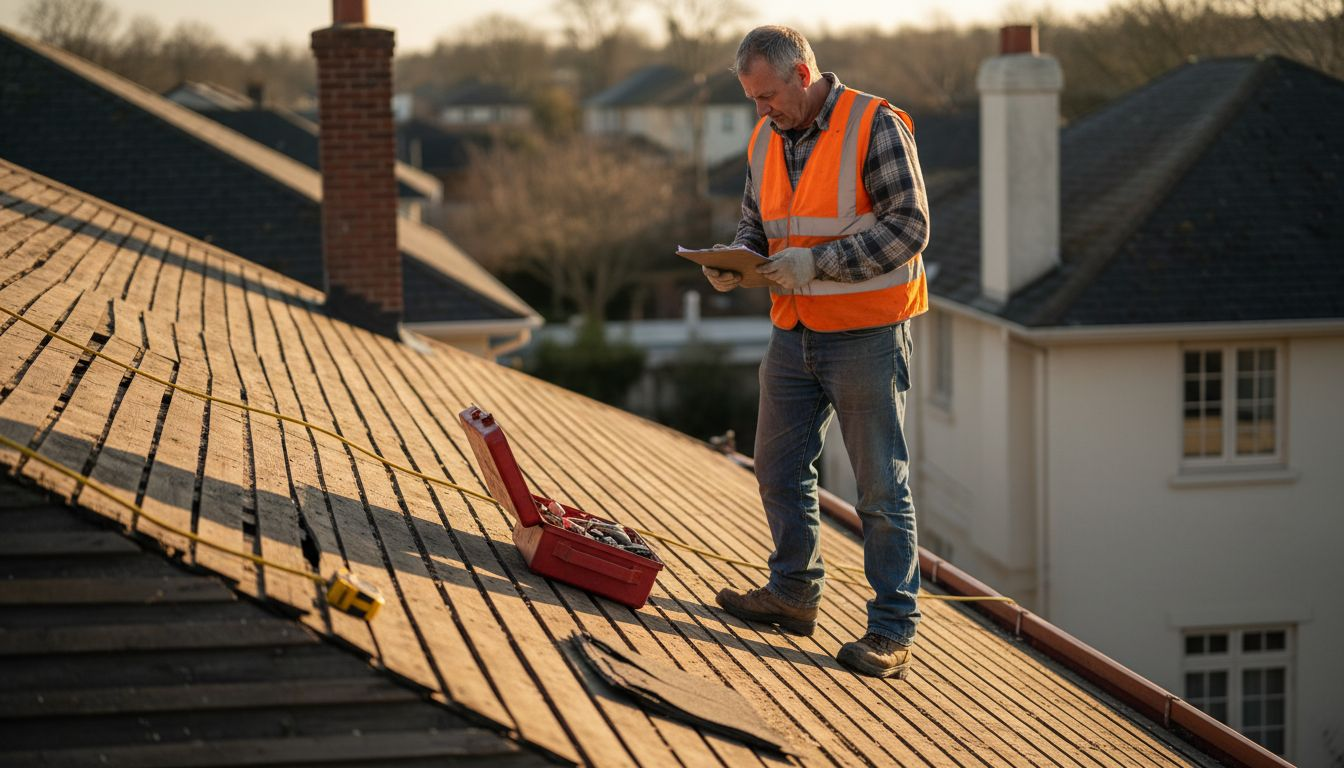
Step 6: Inspect Installation for Safety and Quality
A comprehensive final inspection is crucial to validate the integrity and performance of your newly installed metal roof. This meticulous process ensures every aspect of the installation meets professional standards and provides long lasting protection for your property.
Following professional structural assessment guidelines , our inspection covers multiple critical dimensions. We systematically verify fastener placement, confirm proper panel alignment, check seal integrity, and assess overall structural compatibility. This means examining each panel connection, verifying that expansion joints allow appropriate movement, and ensuring no potential water entry points exist.
In line with National Building Code requirements, our quality assessment goes beyond visual examination. We perform detailed measurements to confirm load bearing capacity, check for potential stress points, and validate that every installation component meets stringent safety standards specific to British Columbia’s unique environmental conditions. Our goal is not just completion but delivering a roofing system that will protect your property for decades.
Below is a summary of key inspection points during final metal roof installation:
| Inspection Aspect | Why It Matters | Typical Issues Detected |
|---|---|---|
| Fastener Placement | Ensures structural safety | Missing or poorly seated fasteners |
| Panel Alignment | Prevents leaks and stress | Misaligned panels, gaps |
| Seal Integrity | Blocks moisture intrusion | Inadequate sealing, water ingress |
| Load Bearing Check | Confirms roof strength | Excessive flex or stress points |
Pro tip: Request a professional thermal imaging scan during final inspection to identify any hidden moisture or installation inconsistencies that might not be visible to the naked eye.
Ensure a Durable Metal Roof with Expert Installation and Inspection
Choosing metal roofing offers unmatched durability but requires precise steps like structural assessment, material selection, surface preparation, and careful sealing to withstand British Columbia’s demanding climate. If you are concerned about the details in your metal roofing project such as supporting structures, corrosion-resistant fasteners, or thorough final inspections, Paragon Roofing BC has you covered. We specialize in delivering professional metal roof installation that meets national and local building codes while protecting your investment for decades.
Don’t risk costly mistakes from improper installation or overlooked sealing that may lead to leaks or damage. Take the next step toward a worry-free, long-lasting metal roof by contacting our experts today. Visit Paragon Roofing BC for a free inspection and discover how our trusted residential and commercial roofing solutions can provide peace of mind with quality workmanship and materials tailored for Vancouver and the Lower Mainland. Learn more about our comprehensive services and let us handle your roofing challenges with precision and care.
Frequently Asked Questions
What steps are involved in the metal roofing installation process?
The metal roofing installation process involves assessing the existing roof structure, selecting appropriate materials, preparing the surface and installing underlayment, installing panels and fasteners, sealing edges and flashings, and conducting a final inspection. Follow these steps to ensure a durable and long-lasting installation of your metal roof.
How can I prepare my current roof structure for metal roofing?
To prepare your current roof structure for metal roofing, conduct a comprehensive assessment of the roof deck, rafters, and overall structural integrity. Inspect for issues like wood rot and load-bearing capacity, and budget for any necessary structural reinforcements prior to installation.
What type of metal roofing material should I choose?
Choosing the right metal roofing material is essential for durability and longevity. Evaluate options such as steel, aluminium, copper, and zinc based on their characteristics and your local climate to find the best fit for your home.
How do I ensure proper installation of metal roofing panels and fasteners?
To ensure proper installation of metal roofing panels and fasteners, focus on precise placement and use corrosion-resistant fasteners rated for your environment. Follow recommended fastening techniques to accommodate thermal expansion and distribute loads evenly across the roof.
What should I do to seal edges and flashings effectively?
Effectively seal edges and flashings by applying specialized materials at potential water entry points, like roof edges and around penetrations. Take care to overlap materials and use suitable sealants to create a continuous weatherproof barrier against moisture infiltration.
Why is it important to conduct a final inspection after metal roofing installation?
Conducting a final inspection after installation is critical to verify the integrity and performance of your metal roof. Examine fastener placement, panel alignment, and seal integrity to ensure everything meets safety standards and your roofing system will last for decades.