
Avoid Warranty Loss in Surrey: Starter Strip Failure Checklist
Avoid Warranty Loss in Surrey: Starter Strip Failure Checklist
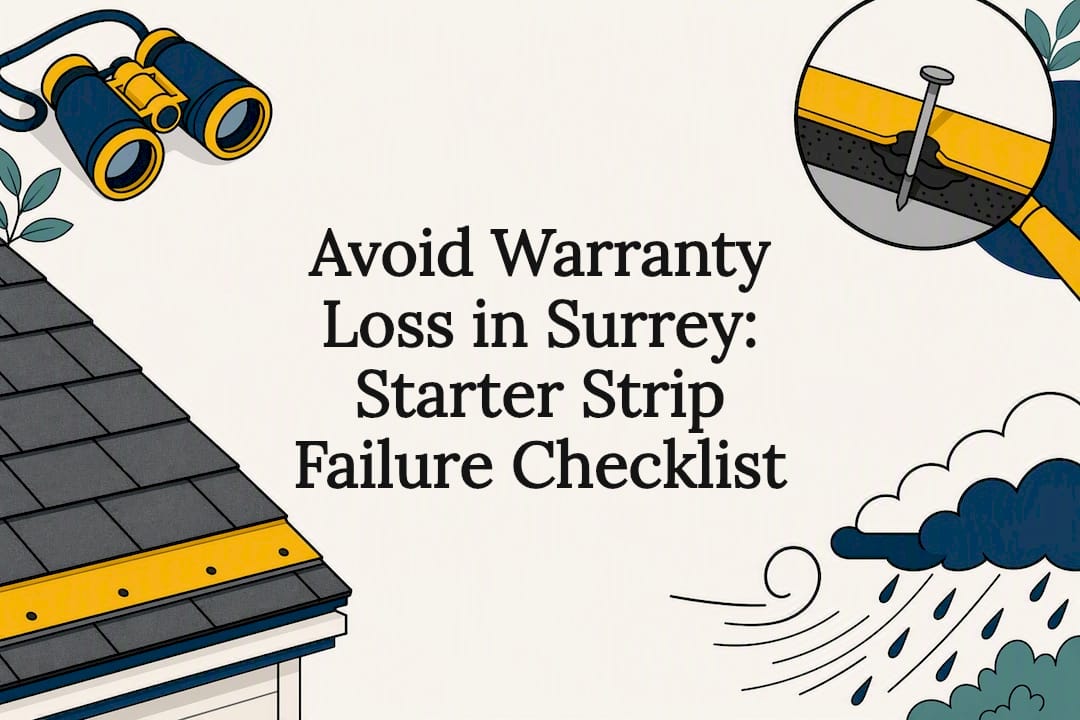
If the lowest row of shingles on your Surrey roof is lifting, curling, or flat-out missing at the eaves or rakes, starter strip failure is the most likely culprit. It causes a distinctive “unzipping” pattern that starts at the edge and works inward. Set out a bucket or tarp for any active leak, and get a Surrey roofer out within days, sooner if a windstorm is forecast. The permanent fix means installing proper starter strips at both eaves and rakes and reseating or replacing the first course of shingles, and a contractor needs to inspect first to confirm how much of the edge is affected.
TL;DR:
- Proper starter strips must be installed at both eaves and rakes using manufacturer-approved products to ensure wind warranty coverage.
- Installer errors like missing, misoriented, or improperly sealed starter strips are common culprits behind unzipping patterns and roof damage over time.
- Small localized repairs may be completed within days, but widespread starter failure often requires a full re-roof or partial tear-off, which can take up to two weeks.
- Homeowners should insist on detailed product specifications, nailing patterns, and pre- and post-installation photos to verify proper starter installation.
- Regular inspection of roof edges after storms or wind events helps catch early signs of starter strip failure, preventing more extensive damage.
Table of Contents
- What does starter strip failure look like on a Surrey roof?
- Why do starter strips fail in the first place?
- What actually fixes a failing starter strip?
- What happens when a pro inspects and repairs it in Surrey?
- How do you stop it from happening again?
- What should you ask a roofing contractor before hiring?
- Paragon Roofing BC field perspective: typical starter-strip cases in Surrey
- Get your Surrey starter strip checked before the next storm
- Sources
- FAQ
What does starter strip failure look like on a Surrey roof?
Starter strip damage rarely shows up as one dramatic event. It usually starts small, a lifted corner here, a gap there, and gets worse with every windstorm that rolls through from English Bay.
From the ground, you’re looking for specific patterns along the roof’s edges:
- Lifted, curled, or completely missing tabs on the lowest row of shingles, especially at corners
- Visible gaps between the fascia and the first course where there should be tight contact
- Shingles that flap in moderate wind instead of lying flat against the deck
- Whole shingles gone after a storm that left the rest of the roof untouched
Inside the house, the tells are different but just as telling. Watch for staining on ceilings near the exterior walls, damp soffits or fascia boards after a hard rain, and active drips right at the eave line during a downpour, not in the middle of a room.
You can check most of this safely without a ladder. Grab a pair of binoculars, walk the perimeter of the house, and photograph every eave and rake edge you can see clearly. That’s exactly the kind of documentation a roof leak detection and repair technician will want before they even show up. Skip the roof climb unless you do this for a living. A slick, mossy edge in Surrey’s wet season is not the place to learn otherwise.
Why do starter strips fail in the first place?
Most starter strip failures trace back to the day the roof was installed, not to bad luck with weather. The starter strip is the first row of shingles laid at the eaves and rakes, and it exists specifically to give the first visible course something to grip against wind uplift. Skip it, or install it wrong, and you’ve built a weak point into the roof from day one, one that commonly leads to the exact “unzipping” pattern homeowners spot years later.
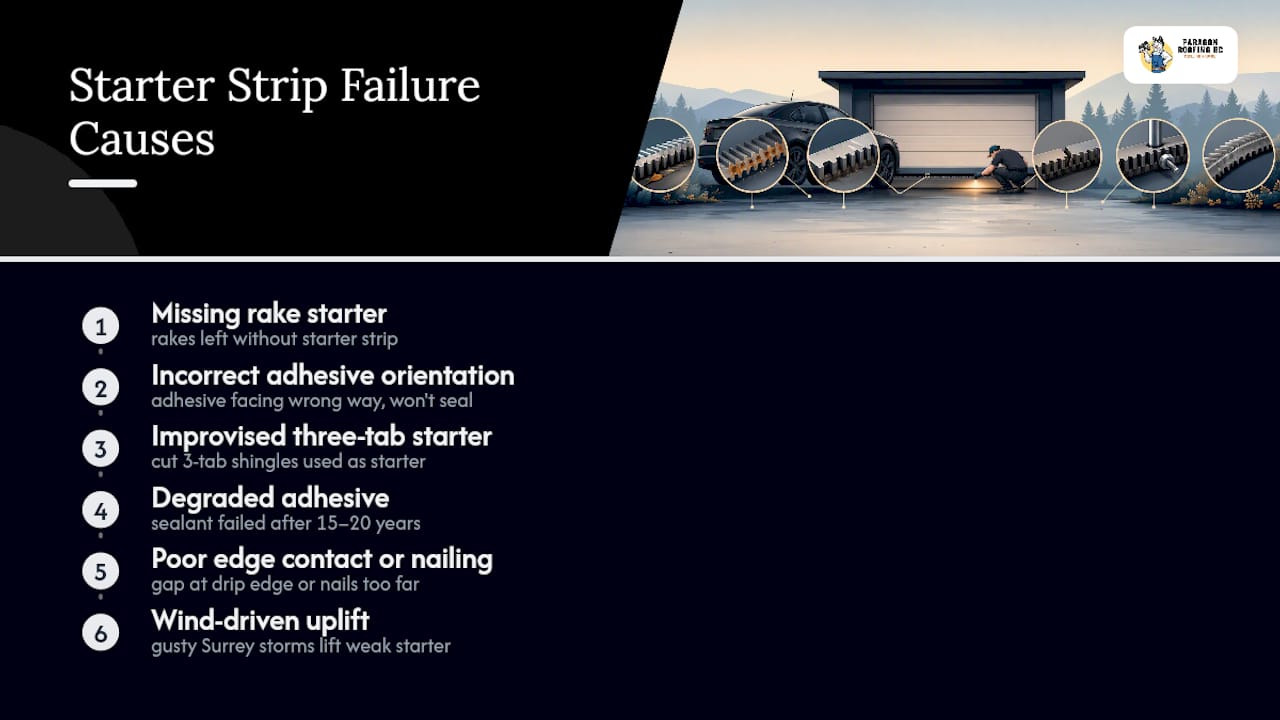
The most common error we see on Surrey re-roofs is starter missing entirely at the rakes, the sloped side edges, while the eaves got proper treatment. Rake starter gets overlooked constantly, yet it’s just as important for wind warranty eligibility as the eave starter is.
The second big culprit is orientation. Starter strip shingles have their adhesive strip positioned to bond the first course correctly. Install that strip facing the wrong way, or worse, cut regular 3-tab shingles down to fake a starter, and the sealant ends up in the wrong spot entirely, which does nothing useful and often voids the manufacturer’s wind warranty outright.
Beyond installation shortcuts, we also see adhesive that’s simply degraded over 15 or 20 years, poor contact between the starter and the drip edge or housewrap beneath it, nails placed too far from the edge, and straightforward wind-driven uplift during the kind of gusty, wet storms that blow through Surrey every winter.
What actually fixes a failing starter strip?
Not every repair option is equal, and the right one depends on how much of the edge is compromised and whether the deck underneath is still sound.
- Hand-seal the first course. This means applying roofing cement under lifted tabs by hand. It works as a short-term patch on a small, accessible area, but it’s weather-sensitive, degrades faster than a proper install, and was never meant as a permanent fix.
- Install proper starter and reseat the affected courses. A roofer lifts the first course of shingles, installs purpose-made starter strip at the eave and rake, then reseats or replaces the first one to three courses. This is the standard fix for isolated failures.
- Full-edge or partial re-roof. When starter failure is widespread, or the decking underneath has taken on moisture damage, a broader tear-off and rebuild of that section is the only real option. For rakes exposed to direct wind, peel-and-stick starter gives you extra holding power that standard adhesive strips can’t match.
Pro Tip: If a contractor offers to “just hand-seal it and call it done” on a large or exposed section, ask why they’re not proposing proper starter. Hand-sealing buys you time, not a solution, and it won’t satisfy a manufacturer wind warranty claim down the road.
Whichever approach fits your situation, it changes your warranty position. Proper starter installation keeps you eligible for manufacturer wind coverage; a patch job generally doesn’t, and that gap matters if a future storm causes bigger damage.
What happens when a pro inspects and repairs it in Surrey?
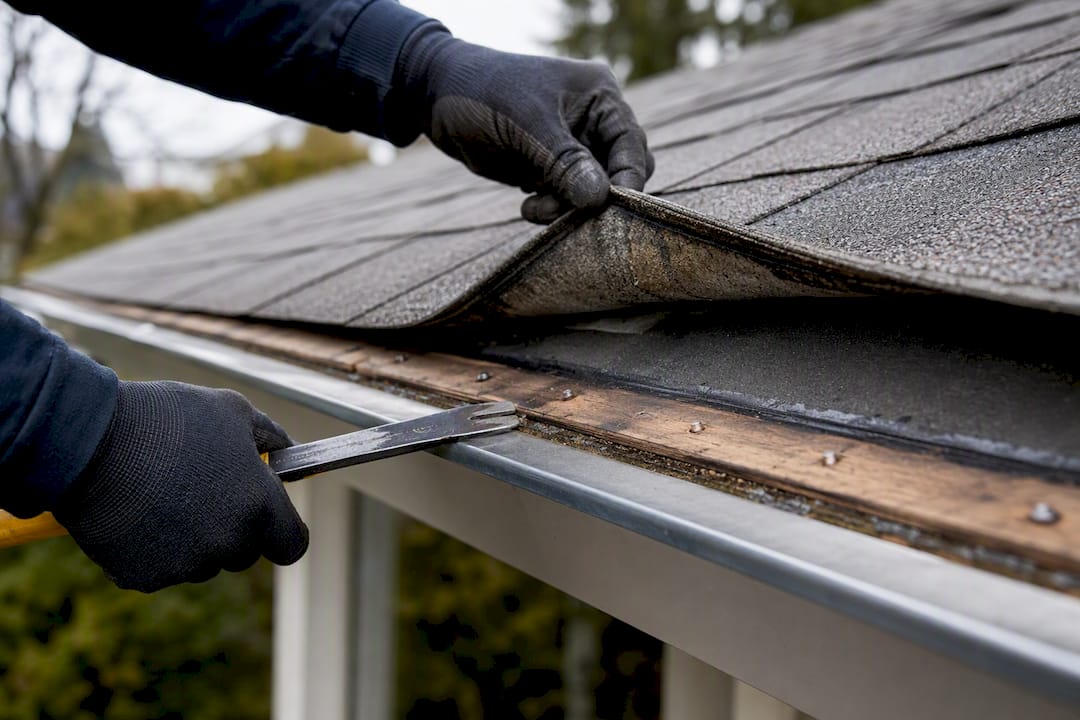
A proper inspection starts by physically lifting the first course of shingles wherever it’s safely accessible, not just eyeballing it from a ladder. We’re confirming three things: is starter present at all, is it oriented correctly, and are the nails placed where they should be. We also check the drip edge underneath, the underlayment condition, and whether the deck itself has softened from years of water intrusion.
Timelines vary with scope. A small starter repair on a single problem area, one damaged corner or a short stretch of rake, is often a same-day job or wrapped up within a few days. Partial edge replacements covering a longer run of eave or rake typically run one to two weeks, factoring in material lead time and, for strata properties, getting the work scheduled around council approval and resident notice.
Documentation matters more than most homeowners expect going in. Photos of the lifted starter, the exposed nail pattern, and the finished repair aren’t just for your own records, they’re what a strata council needs on file and what an insurer will ask for if the damage followed a specific storm event rather than years of gradual wear.
How do you stop it from happening again?
The fix only holds if the spec is right the second time around. When you’re reviewing a quote, insist on specifics rather than a vague promise that “starter will be installed.”
- Purpose-made starter strip with the sealant positioned roughly half an inch to one inch from the shingle edge, never cut 3-tab shingles pressed into service as starter
- Continuous starter at both the eaves and the rakes, since rake starter is the piece most commonly skipped
- A clear nailing pattern with correct distance from the edge, and joints offset from the first course’s joints above
- Starter and field shingle from a matched or manufacturer-approved compatible pairing, following the correct install sequence of drip edge, underlayment, then starter
- Peel-and-stick or double-seal starter on rakes with heavy wind exposure, and hand-sealing only as a cold-weather workaround, never a substitute
These aren’t fussy upgrades. They’re the difference between a roof edge that survives a Surrey windstorm and one that unzips again in three years.
What should you ask a roofing contractor before hiring?
A short conversation before signing anything catches most bad workmanship before it becomes your problem.
- Ask for the exact starter product being specified, and confirm it matches your field shingle manufacturer or is a documented compatible equivalent.
- Ask for the nailing schedule and starter orientation in writing, plus whether peel-and-stick starter will be used on any exposed rake sections.
- Request pre-install and post-install photos as a standard part of the job, not an afterthought you have to chase down later.
Watch for red flags while you’re at it. A contractor who suggests cutting 3-tab shingles to use as starter is cutting a corner that costs you the wind warranty. So is anyone who won’t put their approach in writing or can’t produce photos from past jobs showing proper starter installation. If they can’t show you the work, assume they haven’t been doing it right.
Paragon Roofing BC field perspective: typical starter-strip cases in Surrey
Hey, it’s Harman here. The starter-strip failures we see most often in Surrey cluster around garage tie-ins and strata roof edges, spots where the roofline changes and installers get sloppy with continuity. Catching a lifted corner early, before it drags moisture into the fascia, has saved more than a few homeowners a much bigger bill. On strata jobs, we document every starter repair with before-and-after photos specifically because councils need that paper trail for warranty and insurance conversations later.
— Harman
Get your Surrey starter strip checked before the next storm
Paragon Roofing BC is the direct, local option for diagnosing and fixing starter strip failure in Surrey, no subcontractor layers, no guesswork about who actually did the work on your roof. We inspect the first course by hand, document every finding with before-and-after photos, and we’ve done this on enough strata roofs and garage tie-ins around Surrey to spot the difference between a quick patch and a repair that will actually hold through winter.

If your eaves or rakes are showing the signs covered above, the next step is simple: book an inspection through our Surrey residential roofing page and get a written scope before any work starts. Strata councils and property managers can request a documented quote covering starter product specs, nailing schedule, and photo records for board files. Either way, you’ll know exactly what’s wrong and exactly what fixing it properly involves.
Sources
FAQ
Is starter strip failure the same as shingle failure?
No. Starter strip failure specifically affects the first row of shingles at eaves and rakes, while general shingle failure can occur anywhere on the roof field.
Can I hand-seal a lifted starter strip myself?
You can apply roofing cement to a small, accessible lifted tab as a temporary measure, but it degrades quickly and isn’t a permanent fix; a proper repair still needs correct starter strip installation.
How much of my roof edge usually needs replacing?
It depends entirely on scope. A single lifted corner might need only a few shingles reseated, while widespread rake starter omission can require a full-edge replacement.
Does starter strip failure affect my roof warranty?
Yes. Manufacturers typically require properly installed starter strip for wind warranty coverage, and using cut 3-tab shingles as a substitute can void that coverage.
How fast does Paragon Roofing BC respond to starter strip issues in Surrey?
Small starter repairs on Surrey homes are often completed same-day to within a few days, while larger edge replacements typically take one to two weeks depending on material lead time and scope.
Recommended
Our Roofing Blog
Have more questions about roofing?
Check out our FAQs or give us a call today to speak to an expert roofer in Vancouver Lower Mainland, BC. We're here to help our neighbours make educated decisions about their roof. For our team, we value helping clients save money while making their roofs last.
