Essential roof flashing repair steps for BC homeowners
If you’ve noticed water stains on your ceiling after a heavy BC rainstorm, faulty roof flashing is often the culprit. Flashing is the thin metal barrier installed at vulnerable roof joints, and when it fails, water finds its way in fast. BC’s wet climate accelerates corrosion and water damage, especially when flashing is poorly maintained. The good news? With the right knowledge and preparation, many flashing repairs are manageable for a capable homeowner. This guide walks you through every practical step, from spotting the problem to sealing the fix, so you can protect your home and extend your roof’s life.
Table of Contents
- Understanding roof flashing and why it fails
- Safety and preparation before you repair
- Step-by-step roof flashing repair process
- After the repair: Inspection, maintenance, and knowing when to call a pro
- Professional help for long-lasting roof flashing repairs in BC
- Frequently asked questions
Key Takeaways
| Point | Details |
|---|---|
| Act fast on flashing leaks | Prompt repairs to flashing prevent water damage and extend your roof’s lifespan. |
| Use code-compliant materials | Choose the correct metal and fasteners to meet BC’s building and climate demands. |
| Follow safe, stepwise methods | Preparation, installation, and sealing should follow expert-backed steps for best results. |
| Inspect and maintain regularly | Biannual checks and maintenance help avoid expensive problems down the road. |
| Know your limits | Call a roofing professional for complex repairs or hard-to-reach areas to stay safe and compliant. |
Understanding roof flashing and why it fails
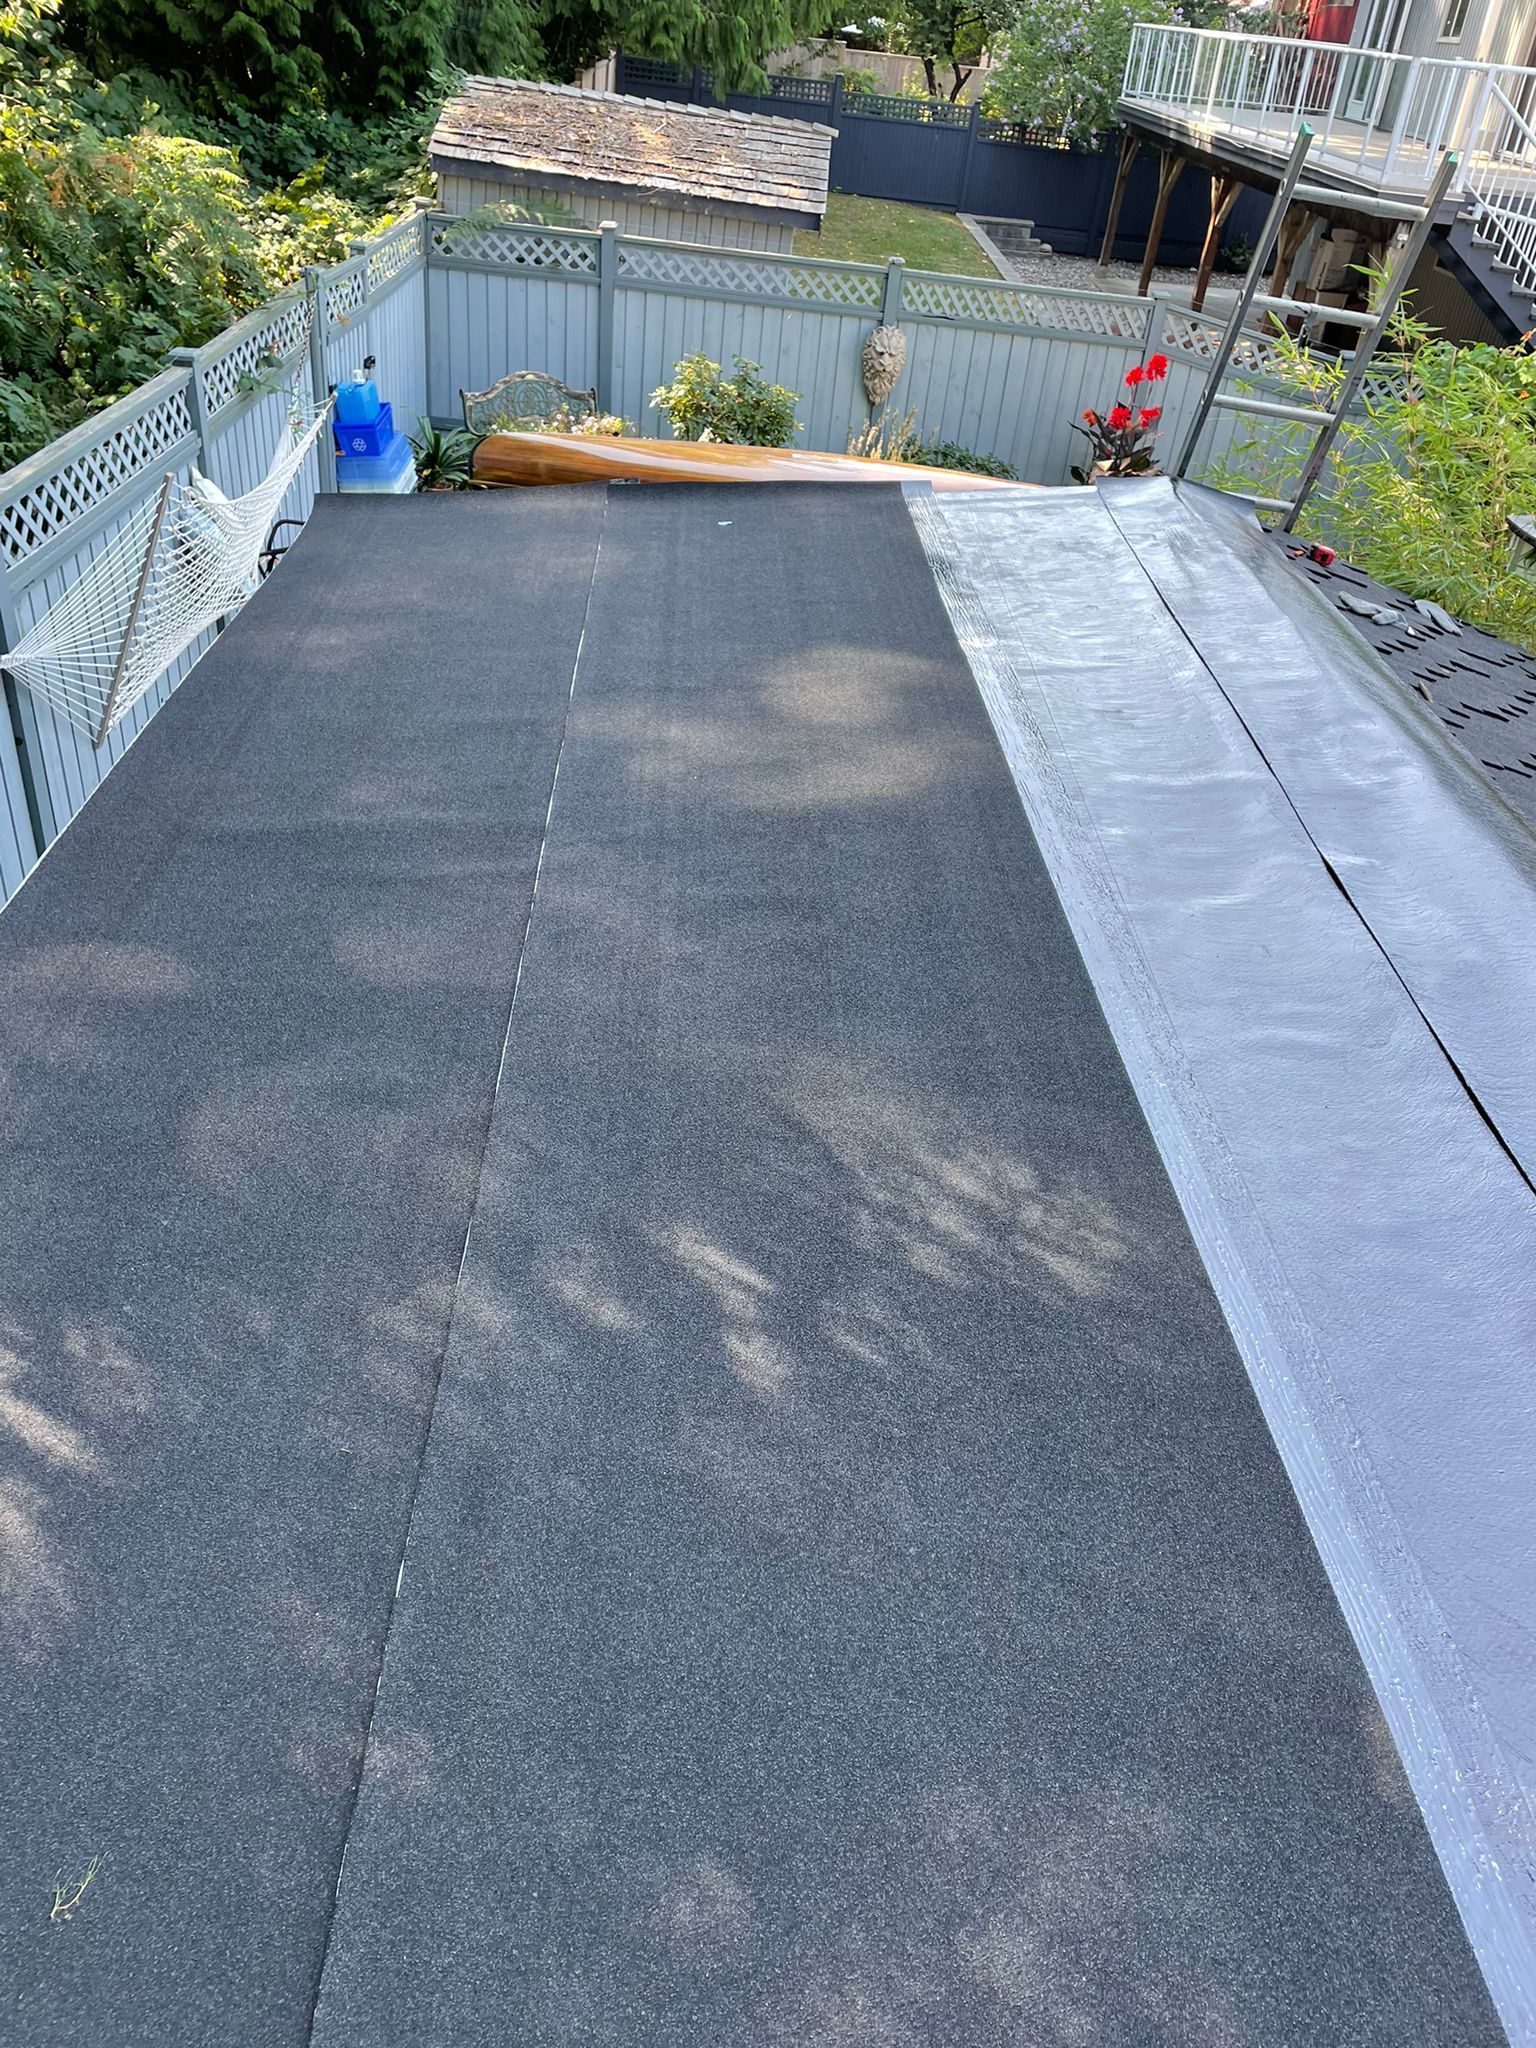
Flashing is thin metal sheeting, typically aluminium, galvanized steel, or copper, installed wherever your roof meets another surface. Think chimneys, dormers, skylights, and roof valleys. Its entire job is to redirect water away from these joints and into your gutters. Without it working properly, water pools and seeps into your home’s structure.
There are several common types you’ll encounter on BC homes:
- Step flashing: L-shaped pieces layered with shingles along walls and dormers
- Kick-out flashing: Diverts water away from walls at the roof’s lower edge
- Chimney flashing: A combination of base, step, and counter flashing around the chimney
- Valley flashing: Runs along the V-shaped channels where two roof planes meet
Understanding the flashing basics helps you identify which type needs attention. Flashing failure is a leading source of roof leaks in BC homes, often due to deterioration, rust, or improper installation.
So why does flashing fail? A few reasons come up again and again:
- Metal corrosion from BC’s persistent moisture and salt air near the coast
- Cracked or dried-out sealant that no longer forms a watertight seal
- Sections that were never properly overlapped or fastened during installation
- Physical damage from falling branches or ice buildup in colder inland areas
The BC Building Code for flashing requires corrosion-resistant metals installed with proper overlaps and compatible fasteners. Cutting corners here is what leads to leaks years down the road.
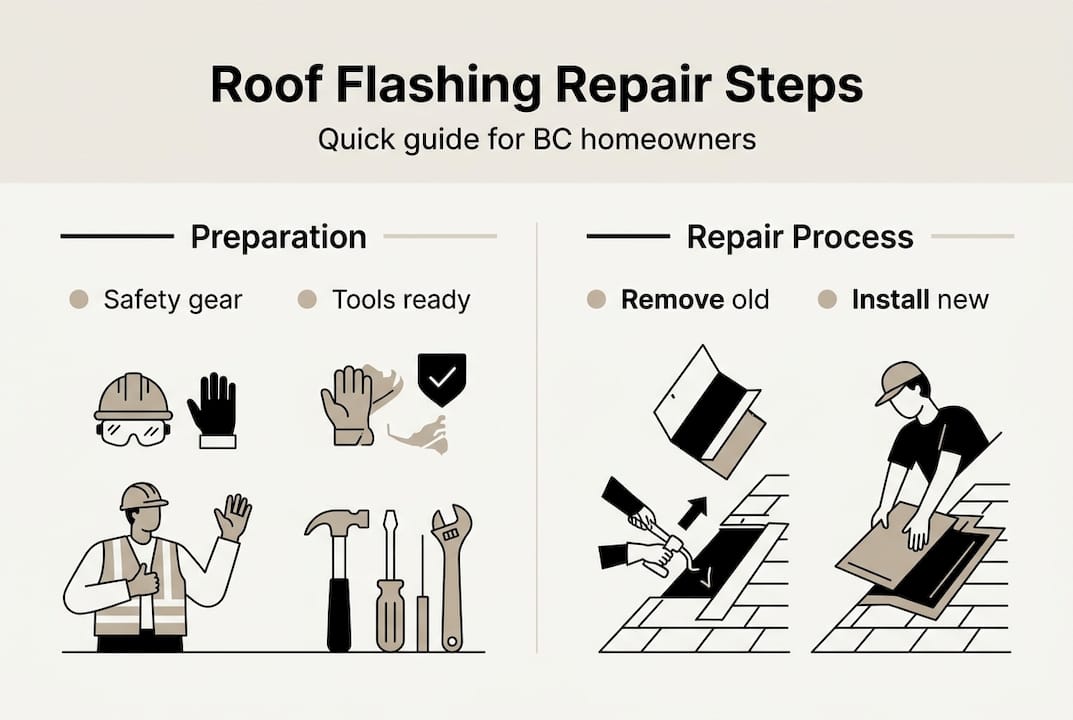
Safety and preparation before you repair
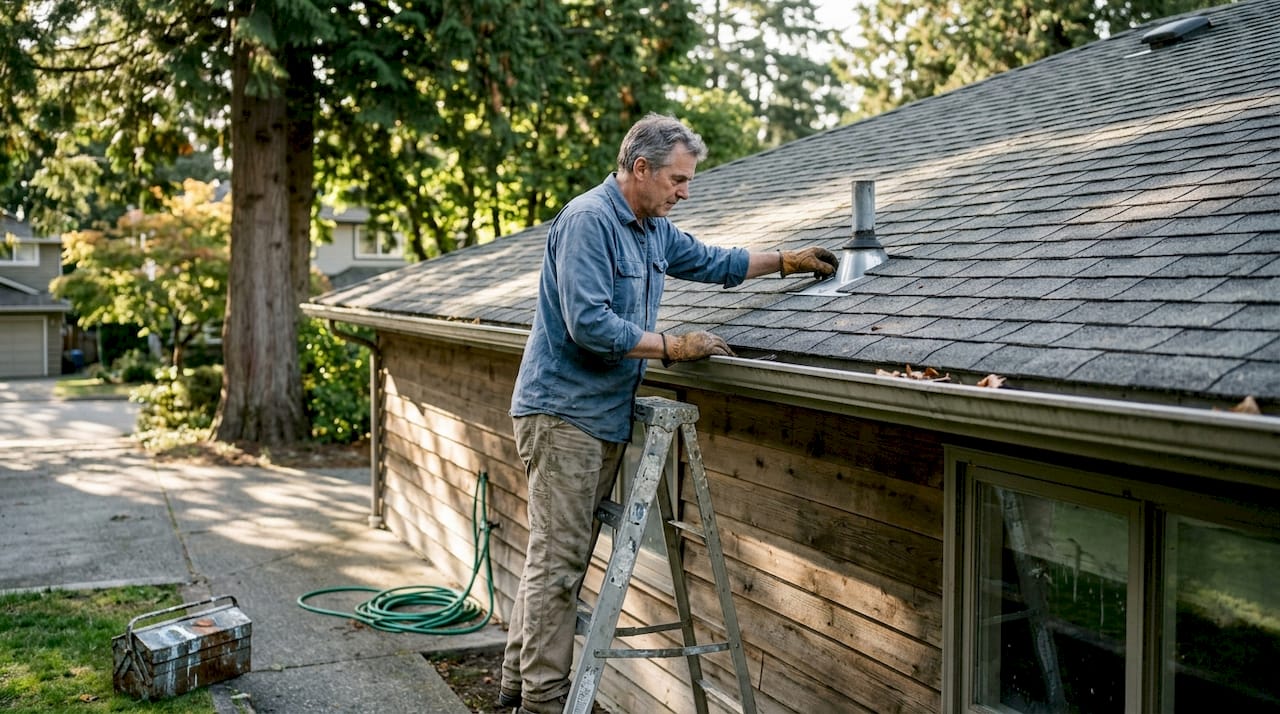
Knowing how flashing fails is one thing. Getting up on your roof safely to fix it is another. Before you grab a ladder, take an honest look at the job ahead.
DIY flashing repairs are suitable only for experienced homeowners handling basic tasks. Professionals should handle complex jobs, steep roofs, or chimney flashing. If your roof pitch is steep, the flashing is around a chimney, or you’re not comfortable at heights, call a pro. No repair is worth a fall.
For repairs you’re confident tackling, here’s what you’ll need:
| Tool or material | Purpose |
|---|---|
| Replacement flashing metal | Matching existing type and thickness |
| Tin snips | Cutting metal to size |
| Pry bar | Removing old flashing and shingles |
| Roofing nails or screws | Fastening new flashing |
| Roofing sealant (polyurethane) | Sealing joints and edges |
| Safety harness and non-slip boots | Preventing falls |
| Stable extension ladder | Safe roof access |
Review a solid roof repair checklist before you start, and always check out proper roof safety gear guidelines before climbing up.
Preparation matters as much as the repair itself. Choose a dry, calm day with no rain forecast for at least 48 hours. Wet roofs are slippery and sealant won’t bond properly on damp surfaces.
Pro Tip: Lay out all your tools and materials on the ground before climbing up. Making multiple trips up and down a ladder is where accidents happen.
Step-by-step roof flashing repair process
Once you’re geared up and the weather cooperates, follow these steps carefully. Rushing any stage is how small repairs turn into big problems.
-
Inspect the flashing thoroughly. Walk the perimeter of your roof from the ground first, using binoculars if needed. Look for lifted edges, rust stains, gaps, or missing sections. Then, from the roof, press gently on flashing to feel for looseness or cracking underneath.
-
Remove damaged shingles carefully. Use your pry bar to lift shingles overlapping the flashing. Work slowly to avoid cracking shingles you plan to reuse. Set them aside in order so reinstallation is straightforward.
-
Pull out the old flashing. Remove nails or screws holding the flashing in place. If sealant is holding it down, score it with a utility knife first. Inspect the underlayment beneath for moisture damage or rot before proceeding.
-
Cut and fit new flashing. Use tin snips to cut replacement pieces to size. Replace cracked, rusted, or missing flashing with code-compliant materials and techniques. Match the metal type to what’s already on your roof to avoid galvanic corrosion between dissimilar metals.
-
Install with correct overlaps and fasteners. Proper overlaps of minimum 75mm downhill and fastener compatibility are essential for flashing durability and performance. Nail through the top edge only, never through the face of the flashing where water flows.
-
Re-lay shingles over the flashing. Work from the bottom up, overlapping each course. Nail shingles back in their original positions and check alignment as you go.
-
Apply sealant sparingly at joints. Use a polyurethane roofing sealant at seams and edges. Less is more here. A thin, even bead is all you need. Thick globs of sealant crack faster and trap moisture. Follow the roof flashing installation steps recommended by manufacturers for best results.
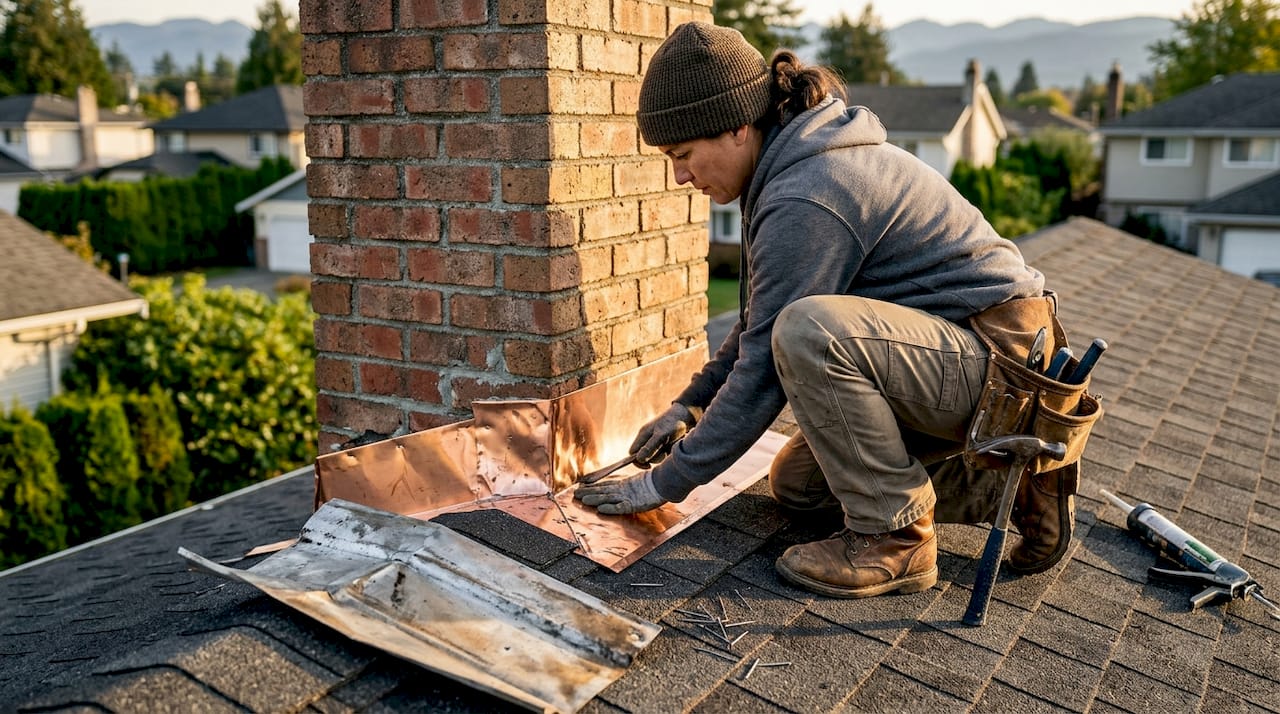
For detailed guidance on detailing flashing at every transition point, especially valleys and kick-out areas, it’s worth reading up before you start. Chimneys in particular require a two-part system: base flashing that moves with the roof and counter flashing embedded in the mortar joints above. Getting this wrong is one of the most common causes of persistent leaks.
Pro Tip: When working around a chimney, use copper or stainless steel flashing rather than aluminium. It holds up far better against the alkaline runoff from masonry.
| Repair type | DIY suitability | Risk level | Estimated cost |
|---|---|---|---|
| Step flashing replacement | Moderate | Medium | $150 to $400 |
| Valley flashing repair | Low | High | $300 to $700 |
| Chimney flashing | Very low | Very high | $500 to $1,500 |
| Kick-out flashing | Moderate | Medium | $100 to $300 |
| Sealant touch-up only | High | Low | $20 to $80 |
Also check these essential repair tips to make sure you haven’t missed anything before wrapping up.
After the repair: Inspection, maintenance, and knowing when to call a pro
You’ve done the work. Now make sure it holds. A quick post-repair inspection can catch small issues before they become expensive ones.
Here’s what to check right after finishing:
- Look for any lifted edges or gaps in the new flashing from the ground
- Check inside your attic for daylight or moisture around the repaired area
- Run a garden hose over the repaired section for a few minutes and watch for drips inside
- Confirm all shingles are lying flat and nails are not exposed
Inspect flashing biannually, re-seal every 5 to 6 years, and fully replace step flashing or caulk after major storms or visible damage. In BC, that means a check every spring and fall, plus a quick look after any significant windstorm or heavy snowfall.
For ongoing maintenance, keep these habits going:
- Clear gutters regularly so water doesn’t back up against flashing edges
- Remove debris like leaves and branches from valleys and around chimneys
- Touch up sealant at the first sign of cracking, before water gets underneath
- Document your repairs with photos and dates so you know what’s been done
Flashing metal has a typical lifespan of 25 to 30 years on BC’s coast if properly cared for. That’s a long service life, but only if you stay on top of maintenance. Neglect it and you could be looking at full replacement in half that time.
Pro Tip: After any repair, photograph the area from multiple angles. If a leak returns, those photos help a professional pinpoint exactly what went wrong without guesswork.
Knowing when to stop and call a professional is just as important as knowing how to repair. If you notice sagging decking, widespread rust, or water stains that keep returning despite repairs, those are signs of a deeper problem. Read up on roof lifespan tips and consider whether it’s time to repair or replace your roof entirely. Sometimes the most cost-effective move is a full assessment from a qualified roofer.
For ongoing flashing maintenance advice specific to BC conditions, it’s worth bookmarking a reliable resource and revisiting it each season.
Professional help for long-lasting roof flashing repairs in BC
Sometimes a repair goes smoothly and you feel great about the result. Other times, you get up there and realise the problem is bigger than expected. Either way, having a professional take a look after a DIY repair gives you real peace of mind.
At Paragon Roofing BC, our roof repair professionals handle everything from straightforward step flashing replacements to complex chimney and valley work across the Lower Mainland and beyond. We follow BC Building Code standards on every job, and we’re not happy until the repair is watertight. If you’d rather leave the maintenance side to us, our roof maintenance experts offer scheduled inspections and upkeep programmes designed for BC’s wet climate. Before the autumn rains arrive, book an inspection and go into winter knowing your roof is solid.
Frequently asked questions
How often should I inspect roof flashing in BC?
Inspect your roof flashing at least twice a year and after major storms to detect early signs of damage. BC’s wet climate demands biannual checks to catch corrosion or sealant failure before it becomes a leak.
What type of metal is required for roof flashing in BC?
BC Building Code requires corrosion-resistant metals like aluminium, galvanized steel, or copper with minimum thickness standards. Specifically, minimum thickness standards are 0.48mm for aluminium, 0.33mm for galvanized steel, and 0.46mm for copper.
Can I use sealant alone to fix roof flashing leaks?
Sealant should not be used as the only repair; proper metal replacement and installation are essential. Relying on sealant alone is a temporary patch that typically fails within a season or two.
How long does roof flashing usually last in BC?
Galvanized step flashing lasts about 25 to 30 years when installed properly and maintained. The expected lifespan for step flashing drops significantly without regular inspections and sealant upkeep.