How to prepare for roof installation: homeowner’s guide

TL;DR:
- Proper preparation, including professional roof inspection and clear responsibilities, ensures a smooth BC roof installation.
- Adhering to code requirements for materials, ventilation, and permits minimizes risks of delays, costly repairs, and inspection failures.
Planning a roof installation in British Columbia and feeling overwhelmed by where to start? You’re not alone. Many BC homeowners dive into booking a roofing crew without realising there’s a critical preparation phase that comes first, and skipping it can mean delays, unexpected costs, failed inspections, or a roof that doesn’t meet local building code. This guide gives you a practical, step-by-step approach to get your home, your household, and your project fully ready, drawing on BC Building Code standards and real-world contractor experience so nothing falls through the cracks.
Table of Contents
- What to do before booking your roof installation
- Tools, materials, and code requirements: what you’ll need
- Timeline and preparation checklist for a smooth installation
- Key code requirements and final pre-installation checks in BC
- Most missed steps, and why upfront preparation pays off
- Get expert roof installation support in BC
- Frequently asked questions
Key Takeaways
| Point | Details |
|---|---|
| Hire qualified professionals | Insist on certified inspections and reputable contractors for your project. |
| Meet BC code requirements | Verify all ventilation and moisture management standards specific to your roof are planned in advance. |
| Clarify roles and materials | Use a checklist so everyone knows which materials and prep tasks they are responsible for. |
| Avoid common pitfalls | Always confirm schedule, weather plan, and ownership of all permits and code compliance before installation starts. |
What to do before booking your roof installation
Here’s the thing most homeowners don’t expect: the work begins long before a single shingle gets nailed down. Getting the groundwork right is honestly the difference between a smooth installation and a project that drags on for weeks with nasty surprises.
Start with a professional inspection, not a DIY walkthrough. It’s tempting to climb up yourself and have a look around, but a qualified roofing contractor or roof inspector will catch issues you simply can’t see, such as compromised decking beneath the surface, early-stage rot, or inadequate ventilation. As the Consumer Guide to Roofing advises, homeowners should insist on assessments by qualified professionals rather than acting as their own installer or inspector.
Only a qualified roofing professional can accurately evaluate the true condition of your roof structure, membrane, and drainage systems. Relying on a visual glance from a ladder is like self-diagnosing a broken bone.
Once you have an inspection report in hand, you’re in a much stronger position to make material choices, set a realistic budget, and understand the full scope of what needs replacing. This is also the right moment to think carefully about choosing a roofing contractor because not every roofer is created equal.
When vetting contractors, look for the following:
- Valid BC contractor licence and proof of WorkSafeBC registration
- General liability insurance of at least $2 million (ask for the certificate, not just a verbal assurance)
- Experience with your specific roof type, whether that’s a steep-sloped asphalt shingle roof or a low-slope membrane system
- Familiarity with BC Building Code requirements for your municipality
- Written scope of work that spells out materials, responsibilities, timelines, and warranty terms
Understanding your roof replacement workflow before you sign anything will help you ask smarter questions and avoid being caught off guard once the crew shows up.
Pro Tip: Always request a written scope of work before any deposit changes hands. If a contractor is vague about who supplies the underlayment, who disposes of old materials, or who pulls the permit, that vagueness will cost you money later.
Tools, materials, and code requirements: what you’ll need
Think of this phase like packing for a camping trip. If you forget the rain fly, everything else suffers. The same logic applies here: missing even one material component or code requirement can stall your project or create moisture problems down the road.
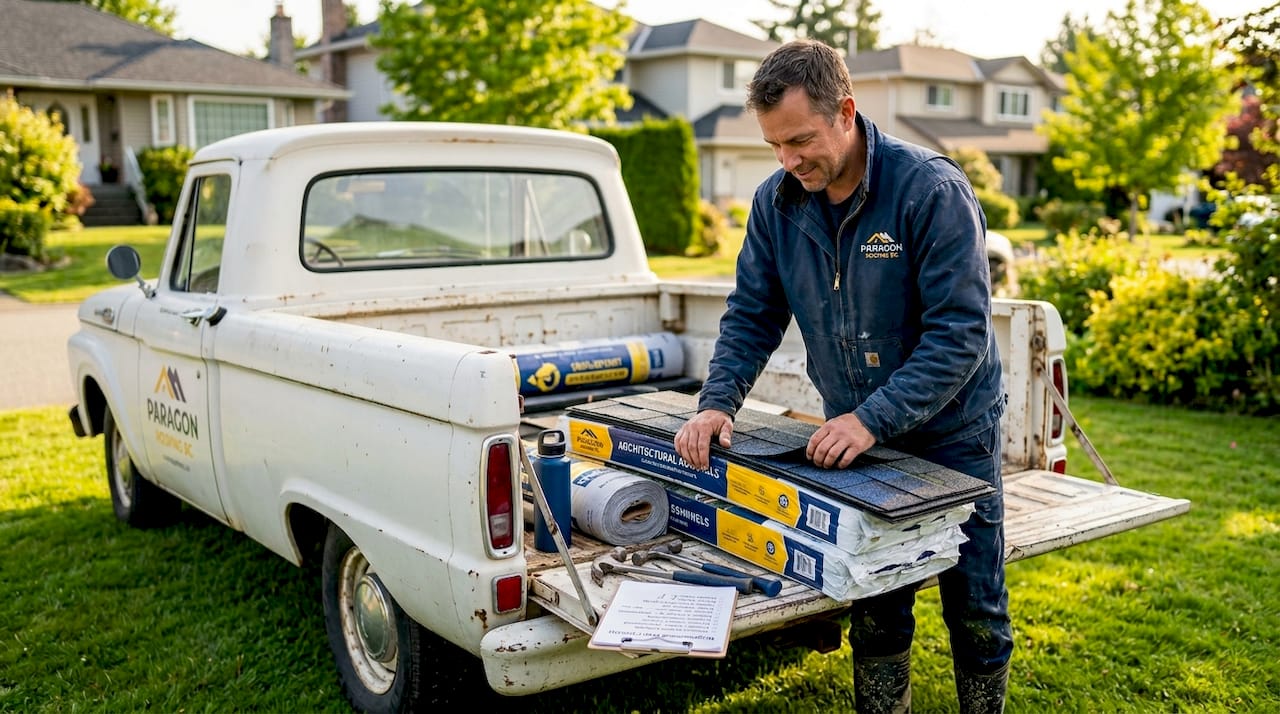
Start by reviewing a complete materials checklist with your contractor. A BC-compliant roof installation typically requires:
- Roofing underlayment(felt or synthetic, selected based on slope and exposure)
- Ice and water shield membrane for eaves, valleys, and penetrations
- Ventilation components including ridge vents, soffit vents, or baffles depending on roof type
- Approved fasteners suitable for your shingle manufacturer’s warranty requirements
- Drip edge flashing along rakes and eaves
- Deck sheathing if any sections need replacement
- Pipe boots and flashing for all penetrations
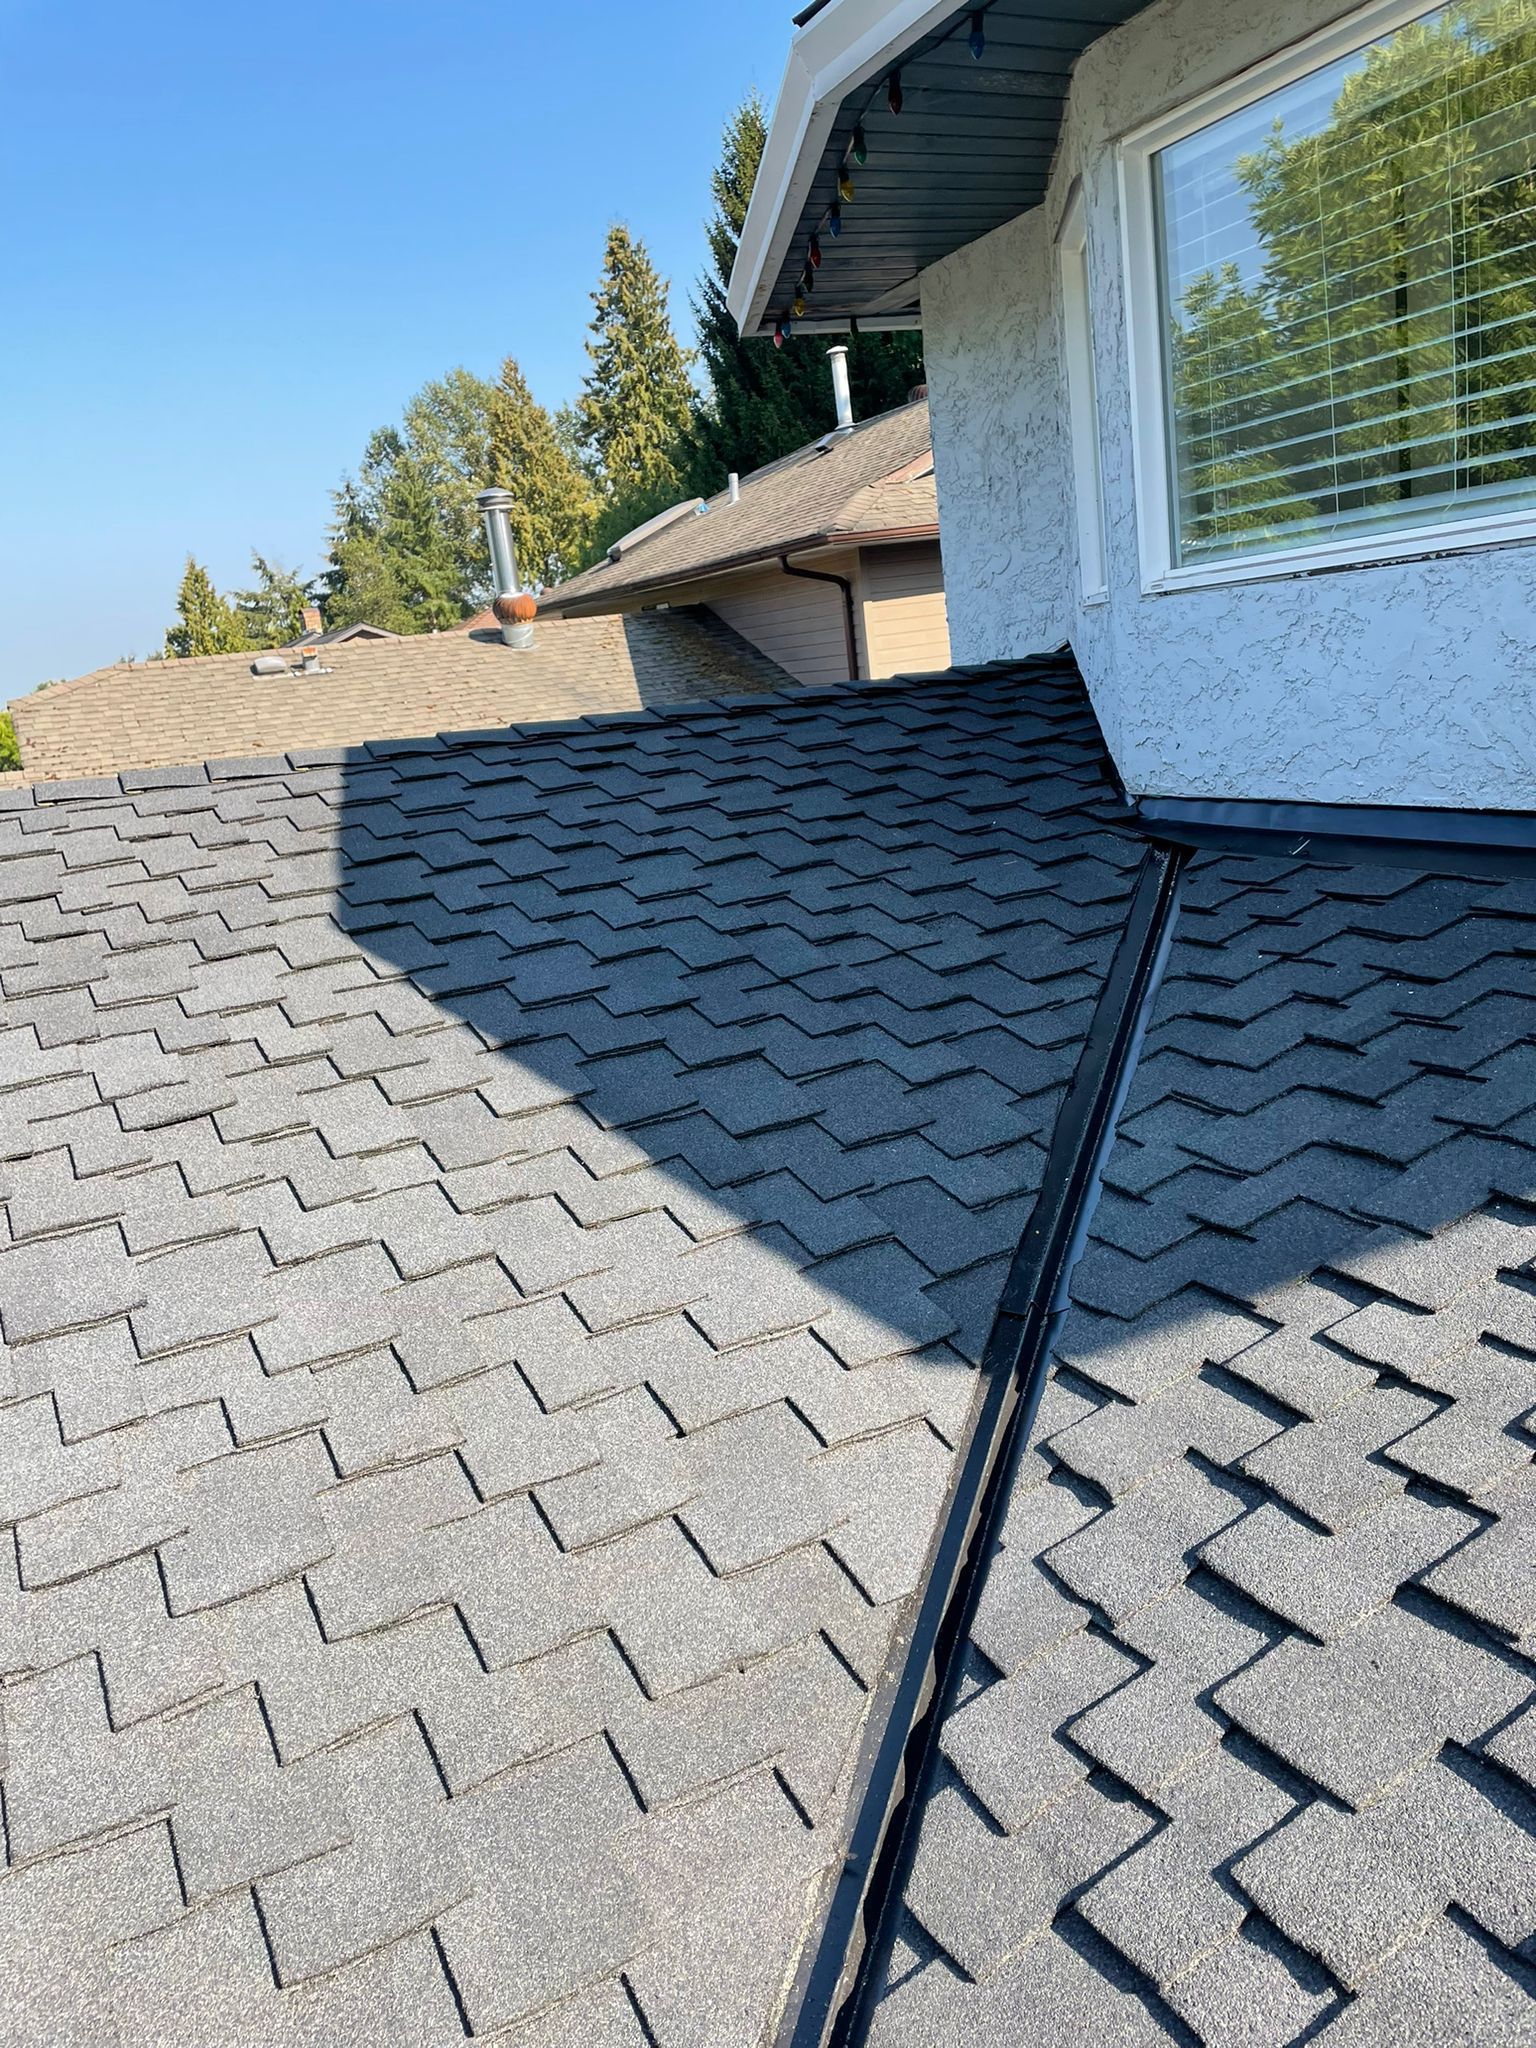
When it comes to roofing material options , BC homes vary widely. A rancher in Langley with a low-slope roof has very different needs from a heritage home in North Vancouver with steep gables. Understanding those differences early saves you from costly substitutions mid-project.
The BC Housing Builder Insight on low-slope vented roofs makes it clear that code-compliant roof assemblies depend on proper moisture protection and ventilation, with specific vent area ratios required for low-slope vented assemblies. Getting those details right at the planning stage is far cheaper than retrofitting after the fact.
Use this table to track your key materials and responsibilities before the project starts:
| Item | Code or standard requirement | Who is responsible |
|---|---|---|
| Underlayment | BC Building Code minimum per slope | Contractor supplies and installs |
| Ice and water shield | Required at eaves and valleys | Contractor supplies and installs |
| Ridge and soffit vents | 1/150 of ceiling area (vented assembly) | Contractor specifies, homeowner confirms |
| Drip edge flashing | Required at all eave and rake edges | Contractor supplies and installs |
| Deck sheathing repairs | Condition verified at tearoff | Contractor to identify, homeowner to approve |
| Permit documentation | Required before work starts | Contractor pulls permit, homeowner retains copy |
Use this as a starting point for your own roof repair checklist or pre-installation verification document. It’s also a great reference for the roof compliance guide standards that apply across roof types in BC.
Pro Tip: Bring a printed version of this checklist to your initial contractor meeting. Go through it line by line. If the contractor can’t explain their approach to each item clearly, that’s a red flag worth noting.
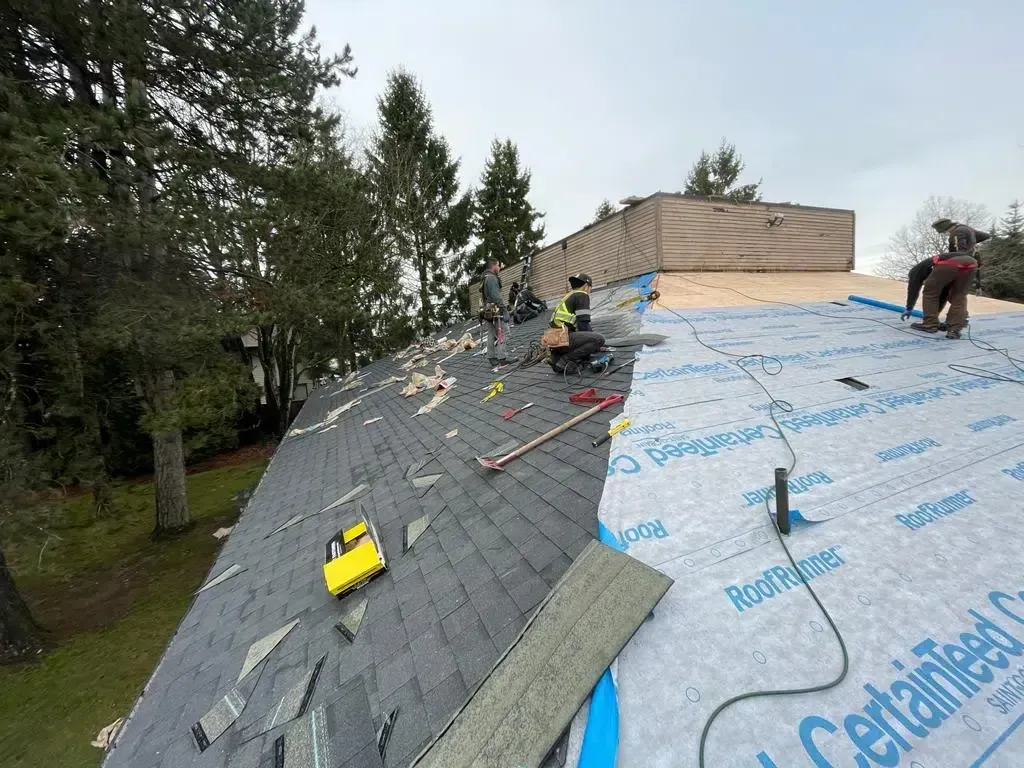
Timeline and preparation checklist for a smooth installation
Most BC homeowners underestimate how much logistical preparation happens in the week before installation day. Think of it like having a small construction site temporarily attached to your home. A little advance planning makes the experience far less stressful for your whole household.
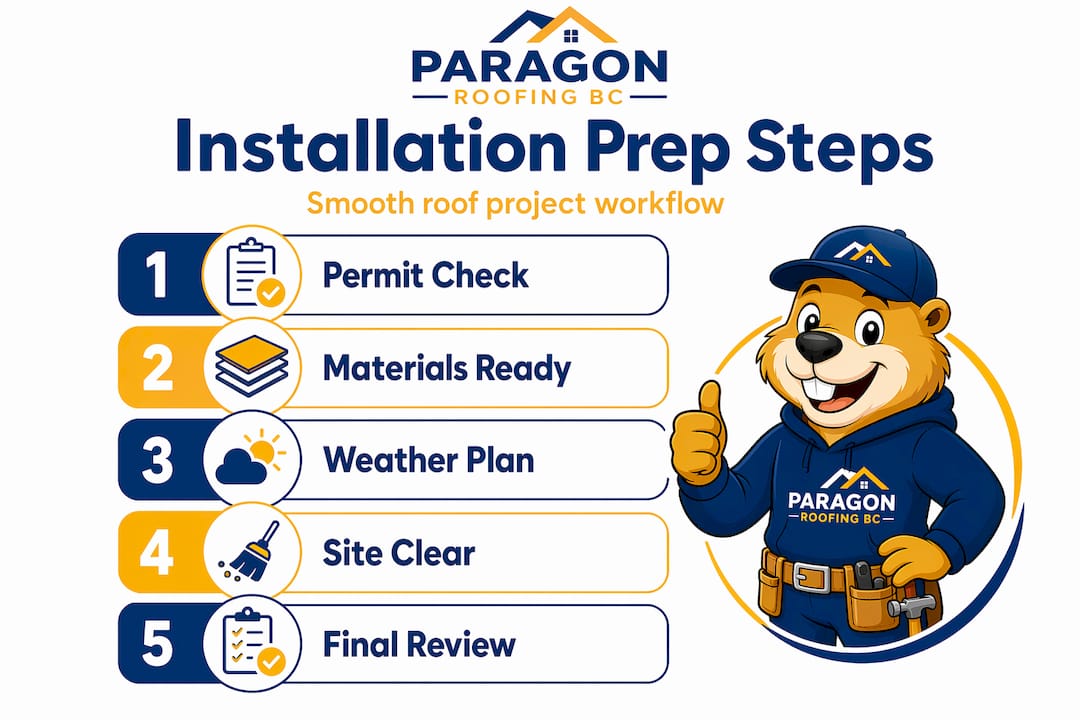
A realistic preparation timeline looks something like this:
- Three to four weeks out: Finalise your contractor selection, sign the written scope of work, and confirm permit applications are submitted.
- Two weeks out: Confirm material delivery dates and verify that the contractor has ordered everything specified in the contract.
- One week out: Check the long-range weather forecast. For asphalt shingle installation , sustained temperatures above 5°C are generally required for proper sealing.
- Three days out: Clear your driveway and any parking areas near the home for material deliveries and crew access. Move vehicles to alternate parking.
- One day out: Protect items in your attic and upper-floor rooms from vibration and dust. Lay drop cloths over attic storage and remove anything fragile from shelving.
- Morning of installation: Confirm start time, emergency contact, and weather contingency plan with your contractor. Secure pets and ensure children are away from the work zone.
- During installation: Avoid entering the work zone. Stay in contact with the site supervisor if you have questions.
- End of day one: Walk the perimeter with the crew leader to check for debris, exposed sections, and any areas requiring tarping overnight.
The underlayment options your contractor selects also play a role in timeline planning. Synthetic underlayment, for instance, can withstand short-term weather exposure better than traditional felt, which matters if your installation spans multiple days in typical BC coastal weather.
For roofs with different complexity levels, preparation needs vary. Here’s a quick comparison:
| Preparation step | Standard asphalt shingle roof | Low-slope or specialty roof |
|---|---|---|
| Permit requirements | Standard building permit | May require engineering review |
| Underlayment type | Synthetic or felt, slope-dependent | High-performance membrane system |
| Ventilation planning | Ridge and soffit vent confirmation | Custom baffle or mechanical review |
| Timeline buffer | 1 extra day for weather | 2 to 3 extra days minimum |
| Final walkthrough | Standard post-installation check | Code inspector sign-off recommended |
As the BC Roofing Code guidance on asphalt shingle pitches explains, very low-slope conditions require more robust membrane waterproofing approaches rather than standard shingle installation. If your roof is close to the minimum slope threshold, this is a conversation to have with your contractor before any materials are ordered.
Pro Tip: Confirm weather contingencies in writing. Ask your contractor exactly what happens if a heavy rain system rolls in mid-installation. A reputable contractor will have a clear protocol for tarping and protecting your home overnight.
Key code requirements and final pre-installation checks in BC
British Columbia’s building code is not optional guidance. It’s the minimum legal standard, and failing to meet it can invalidate your home insurance claim, trigger a failed inspection, and force costly rework. Here’s a plain-language summary of what matters most.
Critical code mandates for BC roof installations:
- Vented roof assemblies must meet a minimum unobstructed vent area ratio, typically 1/150 of the ceiling area served, as outlined in the vented roof assembly standards
- Underlayment must meet the minimum specification for the roof’s slope; steeper pitches allow felt, while low-slope roofs require self-adhered or torched membranes
- Ice and water shield membrane is required at all eaves, valleys, and around penetrations in BC’s rain-heavy climate
- Asphalt shingles are only code-compliant on slopes meeting minimum pitch requirements; below the threshold, a different system must be used
- All flashing must be installed according to manufacturer specifications and code to qualify for warranty coverage
Ventilation and moisture management are not finishing details. They are foundational code requirements. A roof that looks beautiful from the street but lacks proper venting will develop moisture damage, mould, and structural decay, often within just a few years of installation.
Before the crew arrives, run through this final checklist with your contractor during the pre-installation walkthrough:
- Vent placement confirmed on the plans and matching the actual roof layout
- Underlayment type verified as matching the slope requirements in the signed scope of work
- Membrane specifications reviewed for all low-slope or transition zones
- Permit posted on site and inspection schedule confirmed
- Material delivery checked for completeness against the contract
- Emergency contacts exchanged between homeowner and site supervisor
Understanding ventilation and moisture management is especially critical in BC’s coastal climate, where persistent moisture and temperature swings put constant pressure on roof assemblies. Do not assume your contractor has these details covered. Ask them directly to walk you through their compliance approach for your specific roof type.
Most missed steps, and why upfront preparation pays off
Here’s my honest take after years of working on roofs across BC. The biggest, most expensive problems we see on installation jobs almost never come from bad materials or poor craftsmanship. They come from unclear preparation and undefined responsibilities.
I’ve seen jobs where a homeowner assumed the contractor would pull the permit, only to discover on installation day that nobody did. I’ve seen attic insulation destroyed because the owner didn’t protect it before tearoff began. Most commonly, I see ventilation specs left vague in the contract, with the homeowner assuming “standard” is good enough, until a moisture problem surfaces two winters later.
The roof replacement workflow should never be a verbal understanding between two people standing in a driveway. Every single responsibility needs to be documented.
Here’s what truly separates a seamless installation experience from a stressful one. The homeowners who come out ahead are the ones who asked this one question at every stage: “Who is responsible for verifying this detail before the crew arrives?” If the answer is uncertain, that uncertainty is where cost overruns and problems are born.
DIY preparation, however well-intentioned, is another common pitfall. Homeowners who partially prep their own attic or attempt to assess decking condition themselves often miss issues that cost far more to address mid-project than they would have upfront. A professional pre-installation assessment is an investment, not an expense. In almost every case, it pays for itself by surfacing problems while solutions are still inexpensive.
Upfront preparation also protects you legally. A fully documented scope of work, materials list, and permit trail gives you leverage if something goes wrong. Without it, disputes are much harder to resolve in your favour.
Get expert roof installation support in BC
Feeling more confident about your preparation process? Good. That’s exactly the outcome this guide was built to deliver. The next step is connecting with a local expert who understands BC Building Code from the inside out and can walk you through a personalised installation plan.
At Paragon Roofing BC, we manage the entire process from inspection to final sign-off, so you’re never left guessing about permits, materials, or compliance. Whether you need roof installation in Vancouver or are looking for roof installation in Coquitlam , our certified team brings local knowledge and a commitment to code-compliant, long-lasting results. We also offer drone roof inspection services to get a precise picture of your roof’s condition before any work begins. Reach out today for a free assessment and let’s build a plan that protects your home for decades.
Frequently asked questions
Who is responsible for getting roof installation permits in BC?
Typically, the roofing contractor handles permits, but homeowners should confirm this in writing before work begins to avoid compliance issues on installation day.
Can I do my own roof inspection before installation?
While a basic visual check is possible, best practice is always a qualified contractor assessment, as trained inspectors identify structural and moisture issues that aren’t visible to the untrained eye.
What’s the most common roof code violation with new installations in BC?
Improper venting and moisture management, especially for low-slope roofs, is a frequent code issue, since vented assemblies require specific vent area ratios that are easy to miss without deliberate planning.
How should I prepare my house and family for installation day?
Clear driveways, secure valuables and attic items, plan for sustained noise throughout the day, and ensure pets and children are kept safely away from the work zone for the full duration of the project.