
Commercial skylight leak locations checklist for BC facilities
Commercial skylight leak locations checklist for BC facilities
Your fast-reference commercial skylight leak locations checklist
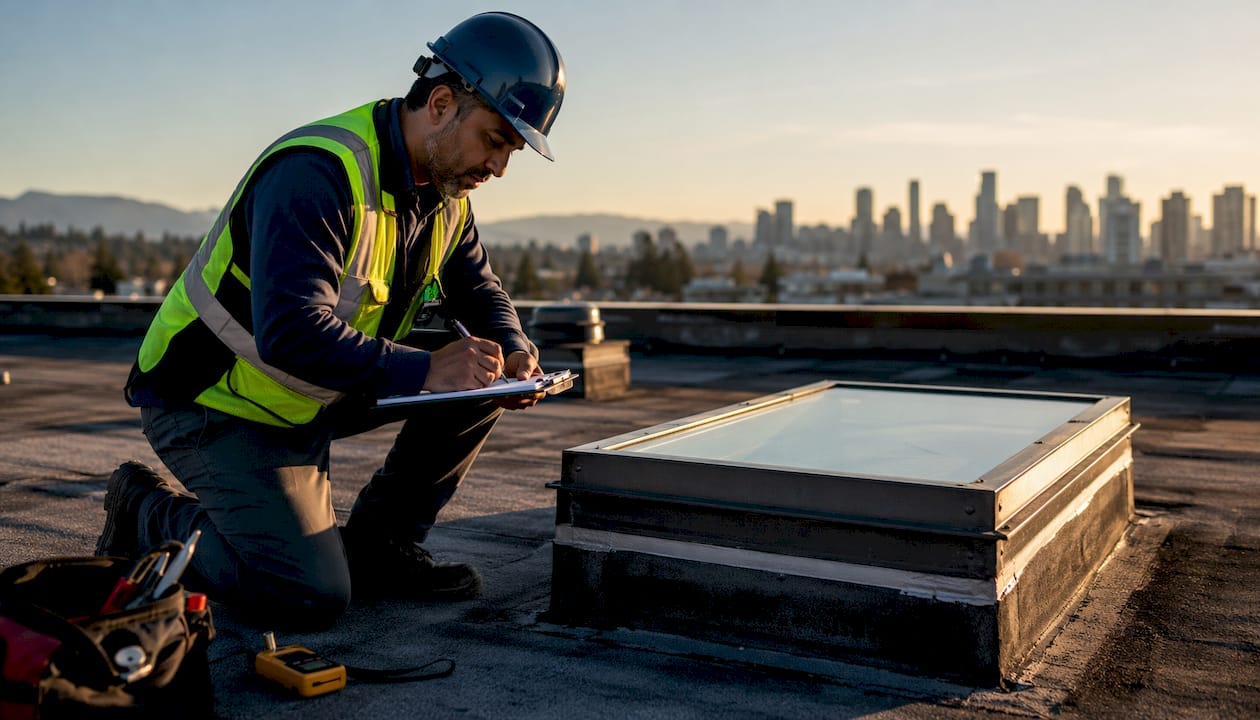
Before you call anyone or climb on the roof, run through this list. These are the spots that actually matter on a commercial flat roof in the Lower Mainland, where coastal rain, freeze-thaw cycles, and wind-driven moisture make skylights one of the most common leak sources in the building envelope.
Interior indicators to check first:
- Brown or yellow water stains on ceiling tiles, drywall, or structural decking near the skylight
- Active dripping or dried mineral deposits (efflorescence) on the curb interior
- Condensation on the inside of the glazing, especially during cold snaps — this is often misidentified as a leak when it is actually a humidity problem
- Soft, discoloured, or buckled insulation directly below the skylight unit
- Mould or mildew growth on framing members adjacent to the curb
Exterior indicators to check next:
- Lifted, cracked, or missing flashing tape at the curb-to-membrane interface
- Sealant that has shrunk, cracked, or pulled away from the frame
- Ponding water sitting against the skylight curb after rainfall
- Visible cracks or crazing on acrylic or polycarbonate domes
- Membrane blistering or separation within 300–600 mm of the curb perimeter
- Uphill flashing above the skylight, where water frequently enters before migrating downhill
Diagnostic tools and documentation:
- FLIR thermal imaging camera (best used after sunset when temperature differential is highest)
- Moisture meter readings at the deck and insulation layer
- Dated photos of stain patterns, weather conditions at time of inspection, and roofing material condition
- Written log correlating leak events to specific weather (wind direction, rainfall intensity, freeze-thaw)
Paragonroofingbc uses this exact framework on every commercial skylight inspection in Burnaby, Surrey, and across the Lower Mainland.
Table of Contents
- How to conduct a thorough step-by-step skylight inspection
- What actually causes commercial skylight leaks?
- Practical prevention and repair guidance for commercial skylights
- What Paragonroofingbc sees on Burnaby and Lower Mainland roofs
- Paragonroofingbc handles commercial skylight leaks across the Lower Mainland
- Key takeaways
- FAQ
How to conduct a thorough step-by-step skylight inspection
A methodical approach saves you from chasing the wrong spot. Water on a commercial flat roof is deceptive — it can travel significant distances under membranes or along decking before it shows up as a ceiling stain inside the building. The drip you see is rarely directly below the entry point.
Interior inspection steps
- Map the stain pattern. Note the shape, colour, and spread of any water staining. A fan-shaped stain pointing away from the skylight often means water is running along a structural member before dripping.
- Distinguish condensation from intrusion. Check whether the moisture appears during cold weather without precipitation. Approximately 40% of commercial skylight leak reports are actually condensation, not water intrusion. If staining correlates only with rain events, you are dealing with a true leak.
- Probe the insulation. Use a moisture meter directly below the curb and at 600 mm intervals outward. Wet insulation that extends well beyond the skylight footprint suggests the entry point is elsewhere on the roof.
- Check above drop ceilings. Lift tiles and inspect the plenum space. Hidden wet insulation batts above a suspended ceiling can harbour mould for months before anyone notices.
Exterior inspection steps
- Inspect the curb flashing first. Flashing and sealant failures at the curb-membrane interface are the most common cause of commercial skylight leaks, particularly on flat roofs. Look for lifted edges, adhesion loss, and any gap between the flashing tape and the membrane.
- Check uphill of the skylight. Water entry points often occur 300–600 mm uphill from the curb, where the flashing membrane meets the roof deck. This is the single most overlooked spot on a skylight inspection.
- Examine sealant beads. Run your finger along every sealant joint. Sealant that feels hard and brittle, or that has pulled away from the substrate, is no longer doing its job.
- Assess the dome or glazing. Look for crazing, yellowing, or hairline cracks on acrylic units. Older domes embrittle with UV exposure and lose their ability to shed water cleanly.
- Check membrane seams nearby. Any seam within 600 mm of the curb is a candidate. Thermal movement on a TPO or modified bitumen roof stresses these seams repeatedly over the seasons.
- Document everything with photos. Wide shots showing the skylight’s position on the roof, close-ups of flashing and sealant, and any visible membrane damage. Date-stamp every image.
Pro Tip: Run your inspection within 24–48 hours after a significant rain event. Stain patterns are freshest, moisture readings are most accurate, and you can correlate exactly which weather conditions triggered the leak. Thermal imaging after sunset is the industry standard for finding hidden moisture beneath the membrane without cutting into the roof.
Safety before you go up
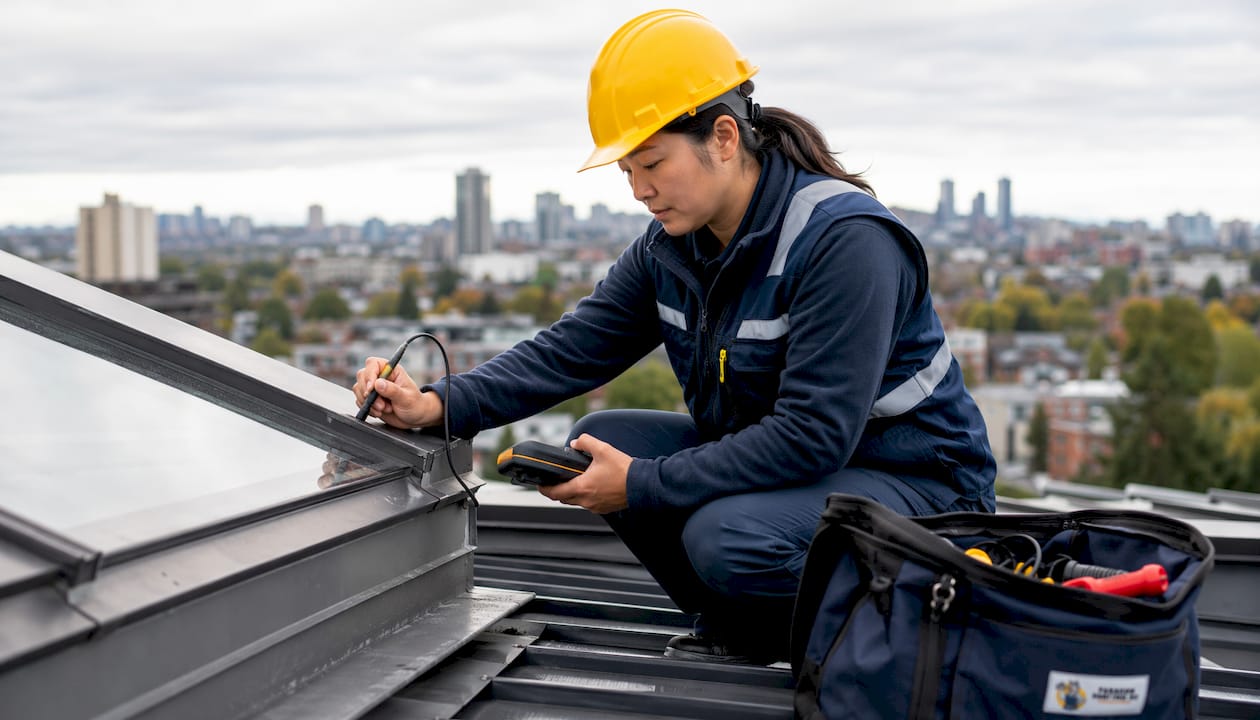
Older commercial skylights with brittle acrylic domes do not meet structural support standards for rooftop access. Never step on or near a skylight dome. Use OSHA-compliant fall protection and ensure all personnel are tied off before approaching any skylight on a commercial roof in BC.
What actually causes commercial skylight leaks?
Most skylight leaks on Lower Mainland commercial buildings come down to a handful of recurring failure points. Knowing which one you are dealing with changes the repair approach entirely.
- Flashing tape adhesion loss. UV exposure, thermal movement, and ponding water cause flashing tape to lose adhesion, often within 10–15 years on a flat roof. Once the bond breaks, every rain event pushes water under the membrane edge.
- Sealant degradation. Silicone and polyurethane sealants exposed to coastal UV and temperature swings shrink and crack over time. A sealant bead that looks intact from a distance can be fully separated at the substrate.
- Thermal expansion and contraction. Commercial skylights expand and contract with every temperature cycle. In the Lower Mainland, freeze-thaw events from November through March stress frame-to-curb connections repeatedly, gradually opening gaps that were originally watertight.
- Acrylic dome embrittlement. Older domes yellow and craze under prolonged UV exposure, developing hairline cracks that admit water directly. Unit-by-unit repairs on aging acrylic domes often lead to repetitive costs; full retrofits with laminated glass and thermally broken frames are more cost-effective for systemic failures.
- Condensation misdiagnosis. High indoor humidity combined with a cold glazing surface produces moisture that looks exactly like a leak. Correlating moisture events with weather data is the only reliable way to tell them apart.
- Ponding water at the curb. Flat roofs with inadequate slope or blocked drains allow water to sit against the skylight curb for days after a storm. That sustained hydrostatic pressure finds any weakness in the flashing or sealant.
- Wind-driven rain. West-facing skylights on Lower Mainland commercial buildings take the brunt of Pacific storms. Wind-driven rain causes more staining near uphill flashing than at the skylight unit itself, which is why the entry point is so often misidentified.
- Structural movement and installation errors. Building settlement, deck deflection, and original installation shortcuts all create gaps at the curb over time. A skylight installed without proper membrane integration is essentially waiting to leak.
Practical prevention and repair guidance for commercial skylights
The good news is that most commercial skylight leaks are preventable with consistent maintenance. The Lower Mainland’s wet season runs roughly October through April, so the best times to inspect and service skylights are late September and again in April, before and after the heaviest rainfall period.
- Schedule biannual maintenance in spring and autumn. Removing debris, checking sealants, and assessing glazing integrity proactively prevents costly failures. A two-hour maintenance visit is far cheaper than a water-damaged ceiling replacement.
- Use industrial-grade sealants and membrane primers. Consumer-grade silicone is not appropriate for commercial flat roofs. Flexible, UV-stable, industrial-grade coatings designed for thermal expansion are the right choice. Always remove old sealant fully and prime the substrate before applying new material — proper surface preparation is what makes the repair last.
- Repair flashing before replacing the skylight. Many facility managers assume a leaking skylight needs full replacement. In most cases, targeted flashing repair and membrane reinforcement at the curb resolves the problem without touching the glazing unit.
- Know when to retrofit. If the same skylight has been repaired two or three times in five years, the dome and frame are likely the systemic issue. A retrofit to laminated glass with a thermally broken aluminium frame corrects condensation, energy loss, and leak vulnerability in one project.
- Keep the area around the curb clear. Debris accumulation against the curb traps moisture and accelerates sealant breakdown. A quick sweep during routine roof maintenance costs nothing.
- Maintain fall protection compliance. BC WorkSafeBC regulations require fall protection for any rooftop work at height. Skylight guards or covers must be in place during any inspection or repair activity near older acrylic units.
Pro Tip: If you manage a building with operable skylights, check that the actuators and seals are functioning correctly each spring. A skylight that does not close fully during a Pacific storm is a guaranteed leak source, and the failure is often electrical rather than structural.
What Paragonroofingbc sees on Burnaby and Lower Mainland roofs
Working on commercial roofs across Burnaby, Surrey, North Vancouver, and Coquitlam, the pattern we see most often is a facility team that has been chasing the wrong spot for months. The ceiling stain is near the east wall. The skylight is on the west side of the roof. Nobody connects them because the water has been travelling under the TPO membrane for the entire distance.
On a Burnaby office building we inspected last year, the property manager had already had two separate contractors apply sealant to the skylight frame. Neither repair held. When we ran a post-sunset thermal scan, the moisture plume extended nearly four metres from the curb, tracking along a seam in the modified bitumen beneath the TPO overlay. The actual entry point was at the uphill flashing, not the frame at all. One targeted flashing replacement and membrane repair resolved a leak that had been active for over two years.
Thermal imaging in a coastal climate like Metro Vancouver needs to account for the marine layer. On overcast nights, the temperature differential between wet and dry insulation is smaller than in a continental climate, so timing matters. We schedule thermal scans for clear nights after a dry period of at least 48 hours following a rain event. That combination gives the clearest moisture signature and the most reliable results for skylight leak detection in the Lower Mainland.
Pro Tip: Always correlate your thermal scan results with a moisture meter reading at the same location. Thermal imaging shows temperature anomalies, not water directly. A moisture meter confirms that the anomaly is wet insulation, not just a thermal bridge from a structural member.
BC’s building code and WorkSafeBC fall protection requirements apply to every rooftop inspection, regardless of building age. On older commercial properties in Burnaby and Coquitlam, we frequently find skylights with no guard rails and brittle domes that have never been assessed for structural integrity. Getting that sorted before any inspection work begins is non-negotiable.
Paragonroofingbc handles commercial skylight leaks across the Lower Mainland
When a skylight leak has been patched twice and keeps coming back, the problem is almost always systemic, not cosmetic. Paragonroofingbc brings thermal imaging, moisture metering, and hands-on flashing expertise to every commercial roofing inspection in Burnaby, Surrey, North Vancouver, Coquitlam, and the surrounding area. We do not guess at the entry point and we do not sell repairs that will not hold.

Our team identifies the true source of the leak, whether that is uphill flashing, a failed membrane seam, or a degraded dome, and gives you a clear scope before any work begins. No surprise line items, no repeat visits for the same problem. If the skylight needs a retrofit rather than a repair, we will tell you that upfront and explain why.
Facility managers and property owners across the Lower Mainland trust Paragonroofingbc for skylight repair and installation because we treat every job as a diagnostic problem first. Get in touch for a commercial skylight assessment and find out exactly where your building is vulnerable before the next storm season arrives.
Key takeaways
The most reliable way to locate a commercial skylight leak is to combine a systematic exterior and interior checklist with thermal imaging confirmation, since water routinely travels far from its actual entry point before appearing as a ceiling stain.
| Point | Details |
|---|---|
| Uphill flashing is the most overlooked spot | Water entry often occurs uphill from the curb, not at the skylight frame itself. |
| 40% of reports are condensation | Correlate moisture events with precipitation data before assuming a true water intrusion leak. |
| Thermal imaging after sunset | Post-sunset scans detect hidden moisture beneath membranes without cutting into the roof. |
| Biannual maintenance prevents most failures | Spring and autumn inspections catch sealant and flashing issues before they become active leaks. |
| Paragonroofingbc for Lower Mainland diagnostics | Paragonroofingbc uses thermal imaging and moisture metering to find the true entry point on commercial skylights across Burnaby, Surrey, and Metro Vancouver. |
FAQ
How do you find a leak around a commercial skylight?
Start by inspecting the uphill flashing 300–600 mm above the curb, then check sealant joints, membrane seams, and the dome itself. Thermal imaging after sunset is the most reliable method for confirming hidden moisture beneath the roofing membrane.
Are skylight leaks common on commercial roofs?
Yes. Flashing and sealant failures at the curb-membrane interface are the most frequent cause of water intrusion on commercial flat roofs, and skylights are among the highest-risk penetrations because of thermal movement and UV exposure.
How do you tell the difference between a skylight leak and condensation?
Correlate moisture events with weather data. Condensation typically appears during cold snaps without precipitation, while true leaks track directly with rainfall or wind-driven rain events. A moisture meter reading at the insulation layer helps confirm which you are dealing with.
How often should commercial skylights be inspected?
Biannual inspections in spring and autumn are the standard for commercial skylights, with additional checks after major storm events. In the Lower Mainland, scheduling the autumn inspection before October gives you time to address any issues before the wet season peaks.
Recommended
Our Roofing Blog


Have more questions about roofing?
Check out our FAQs or give us a call today to speak to an expert roofer in Vancouver Lower Mainland, BC. We're here to help our neighbours make educated decisions about their roof. For our team, we value helping clients save money while making their roofs last.
