
Flat roof drainage design for Delta multi-unit buildings
Flat roof drainage design for Delta multi-unit buildings
TL;DR:
- Reliable drainage for Delta multi-unit flat roofs requires at least two P.Eng.-sized interior drains with emergency overflows and a built-in positive slope in the insulation. Most systems combine internal drains with scuppers or gutters, segmented into zones with proper slope, to prevent ponding and ensure durability. Accurate hydraulic calculations, correct membrane-to-drain details, and consistent maintenance are essential to prevent leaks and costly failures.
For multi-unit flat roofs in Delta, BC, the right drainage approach is internal roof drains sized by a P.Eng. hydraulic calculation, with a minimum of two drains plus an independent emergency overflow or scupper, positive slope built into the insulation package, and fully adhered membrane-to-drain detailing. That combination satisfies both the BC Building Code prescriptive rule(two drains plus emergency overflow where parapets exceed 150 mm) and the durability guidance BC Housing publishes for flat roof assemblies.
Before you call an engineer or roofer, pull together these four items:
- Roof plan and total area (in m²), broken into drainage zones if the building has multiple levels or setbacks
- Parapet heights at all four sides, measured from the finished membrane surface
- Existing leader routing (where pipes currently run inside the building and where they discharge)
- Historical ponding locations — even a rough sketch or photo from the last inspection is useful
Pro Tip: If you have had any ponding complaints from suite owners below the roof, note the exact location on the plan before the engineer visits. That single data point can save hours of investigation and often reveals a tapered insulation gap or a clogged drain that the original installer missed.
Paragonroofingbc works with Delta property managers on exactly this kind of pre-design information gathering, so the P.Eng. arrives with enough context to produce accurate hydraulic calculations on the first pass.
Table of Contents
- What drainage system types work best for multi-unit flat roofs?
- How does slope, ponding prevention, and roof segmentation work?
- How do you size drains and determine how many you need?
- What does the BC Building Code require for flat roof drainage?
- Which drain components and materials hold up in Delta’s climate?
- Where should drains, scuppers, and cleanouts be placed?
- What installation details prevent the most common defects?
- What does a seasonal maintenance plan look like for multi-unit roofs?
- What causes flat roof drainage failures and how do you fix them?
- Design checklist to hand your engineer or roofer
- Key takeaways
- Why Delta roofs need a different approach than the rest of the Lower Mainland
- Paragonroofingbc helps Delta property managers get drainage right
- Useful sources for engineers, contractors, and property managers
- FAQ
What drainage system types work best for multi-unit flat roofs?
Delta multi-unit buildings typically use one of three drainage families, and most well-designed roofs combine at least two of them.
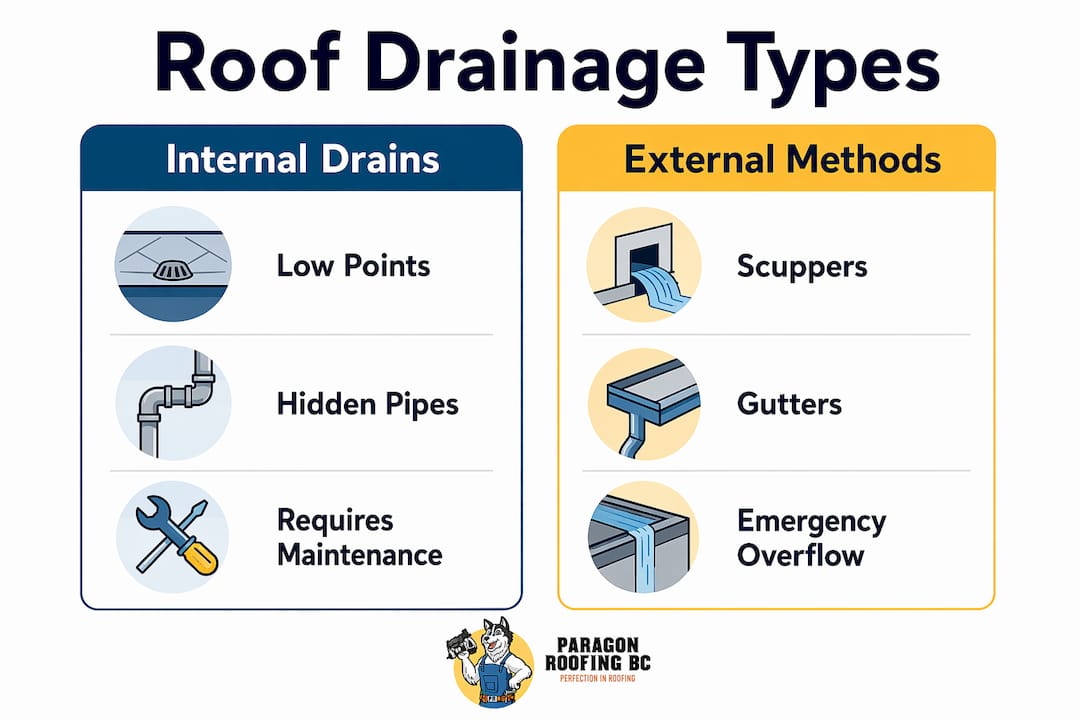
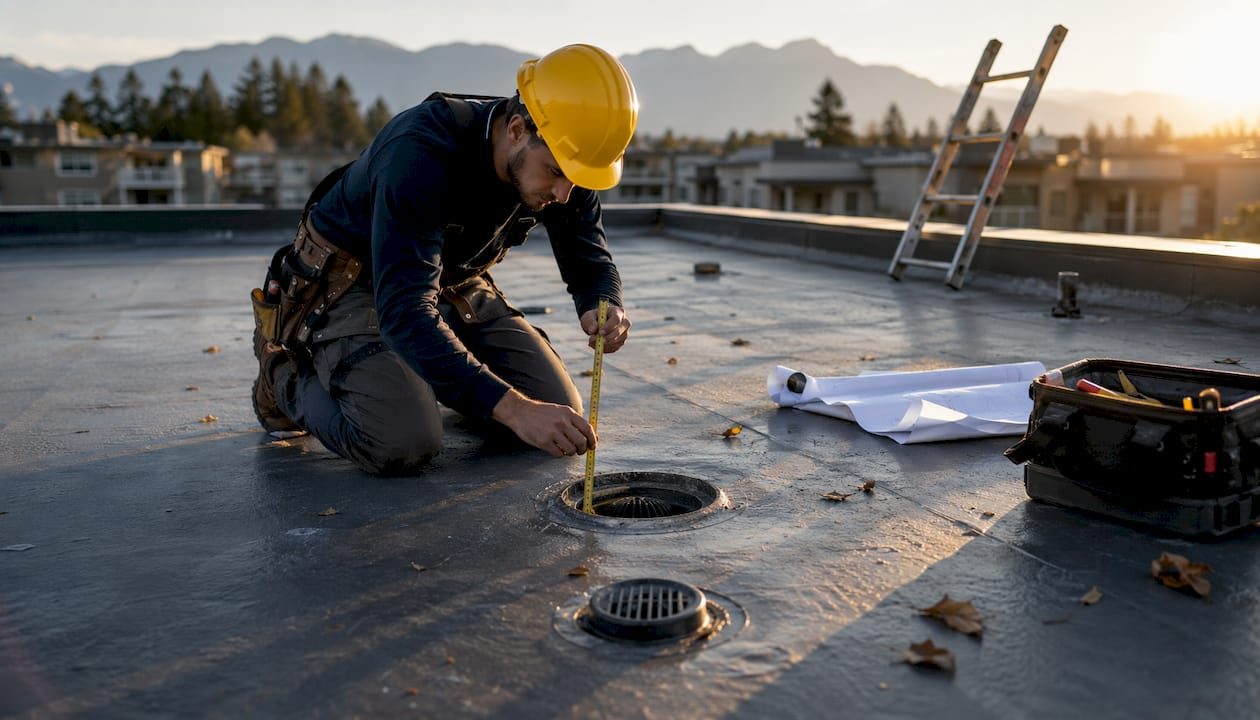
Internal roof drains are the workhorse of commercial flat roof drainage. A drain body is set into the membrane at a low point, connected to a leader pipe that runs inside the building envelope to a storm drain. They handle high volumes, stay protected from wind and freeze-thaw, and are the cleanest aesthetic choice for multi-unit buildings with parapets.
Scuppers are openings through the parapet wall that let water exit at the roof edge. Primary scuppers can carry significant flow, but their real value in Delta is as emergency overflows. When a parapet exceeds 150 mm, code requires an independent emergency overflow, and a through-wall scupper is often the simplest way to provide it. They are visible, easy to inspect from the ground, and do not depend on interior piping.
Perimeter gutters and downspouts are more common on low-parapet or parapet-free roofs. They work well on smaller multi-unit buildings but carry a higher maintenance burden in Delta’s tree-lined neighbourhoods, where leaf debris and cottonwood fluff can block gutters quickly.
Flow-control (attenuation) drains restrict outflow to reduce peak loads on municipal storm systems. They are allowed under specific code conditions but require structural verification for stored water loads and a 24-hour maximum drain-down time.
| System type | Best fit for multi-unit | Key advantage | Main watch-out |
|---|---|---|---|
| Internal roof drains | Buildings with parapets and interior leaders | High capacity, protected from elements | Requires accessible cleanouts; clogs hidden |
| Emergency scuppers | Any parapet roof over 150 mm | Independent overflow, visible from ground | Must be sized and positioned correctly |
| Perimeter gutters | Low-parapet or parapet-free roofs | Simple installation | High debris maintenance in Delta |
| Flow-control drains | Large roofs with structural capacity | Reduces downstream pipe sizes | Structural and maintenance conditions apply |
How does slope, ponding prevention, and roof segmentation work?
Positive slope is the single most important design variable on a flat roof. Without it, water sits, membranes degrade faster, and insulation gets saturated. BC Housing’s guidance is clear: the waterproof membrane and drainage surface must be coincident, with careful detailing at every penetration and drain. In practice, that means slope must be built into the insulation package, not assumed from the structural deck.
On most modern multi-unit builds in Delta, the structural deck is essentially flat. Tapered insulation boards create the slope, typically a minimum of 1:50 (2%) toward each drain. The membrane then follows that slope continuously. Relying on deck slope alone is a common mistake that leaves low spots wherever the deck deflects slightly under load.
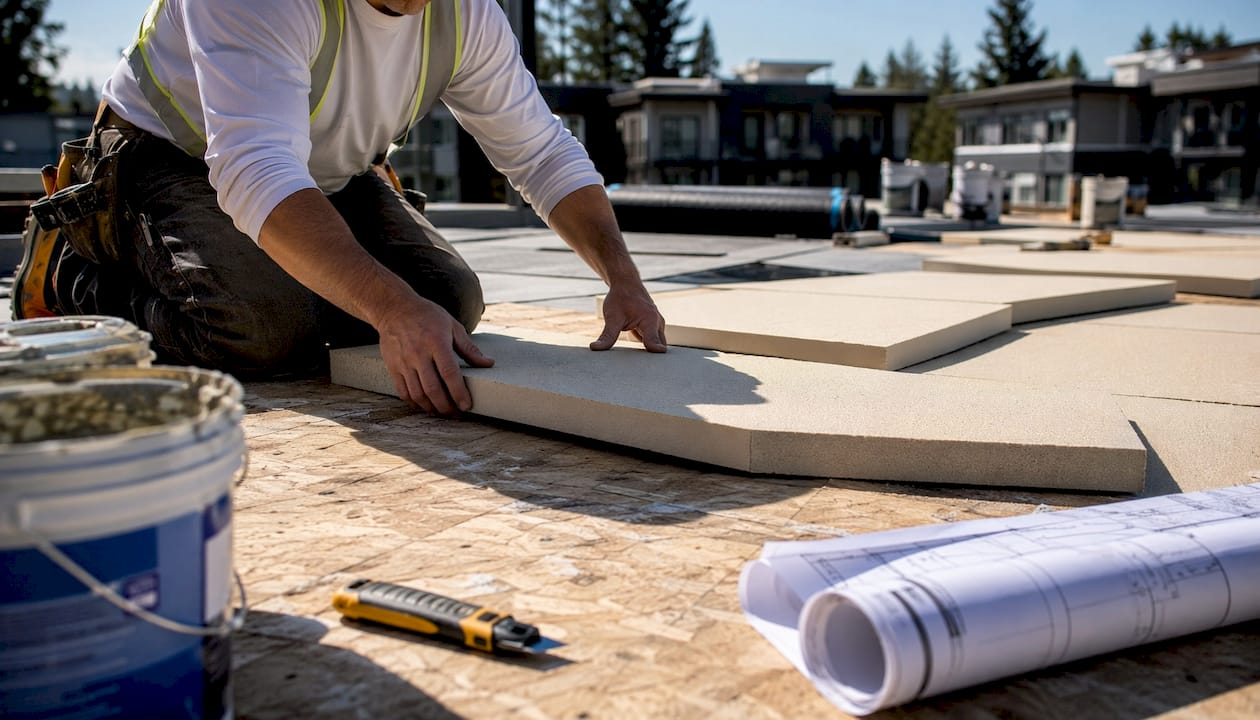
Large roofs need to be segmented into drainage zones, each with its own low point and drain. Think of it like dividing a parking lot into sections, each draining to its own catch basin. Without segmentation, water from a far corner of the roof has to travel a long distance, and any slight irregularity in the taper creates a valley where ponding starts.
Pro Tip: When walking a roof for the first time, bring a level and check the slope near each drain. If you can see a water stain ring more than 300 mm from the drain edge, the taper is either missing or has settled. That is your first repair priority.
Key slope and segmentation principles:
- Minimum 1:50 slope to every drain, achieved through tapered insulation
- Segment roofs larger than roughly 200 m² into independent drainage zones
- Install crickets at all curbs, skylights, and HVAC equipment bases
- Avoid long, low-slope valleys that collect debris and slow drainage
- Confirm continuous slope from the membrane surface, not just the deck
How do you size drains and determine how many you need?
The hydraulic method is the right starting point, and it is simpler than it sounds. A P.Eng. calculates the effective roof area in m², multiplies it by the local rainfall intensity (expressed in mm per 15 minutes), and arrives at a hydraulic load in litres per 15 minutes. They then consult NPC/NBC drainage tables to select drain sizes and leader pipe diameters that can handle that load.
Delta’s rainfall intensity is drawn from Environment Canada data for the Metro Vancouver region. The 15-minute design storm is the standard reference for sizing primary drains.
Worked example for a typical Delta multi-unit roof
Assume a three-storey strata building with a 400 m² roof, divided into two 200 m² drainage zones. Using a representative Metro Vancouver 15-minute rainfall intensity of approximately 1.5 mm/min:
| Zone | Area (m²) | Rainfall intensity (mm/15 min) | Hydraulic load (L/15 min) |
|---|---|---|---|
| Zone A | 200 | 22.5 | 4,500 |
| Zone B | 200 | 22.5 | 4,500 |
Each zone requires a drain and leader sized for 4,500 L/15 min. The P.Eng. then selects from NPC tables. Each zone also needs an independent emergency overflow because the parapets exceed 150 mm.
The prescriptive rule from BCAB 1961 sets the floor: a minimum of two roof drains plus an emergency overflow where parapets exceed 150 mm. This is a safety minimum, not a substitute for hydraulic design. A large roof may need four, six, or more drains once the hydraulic calculation is done.
Prescriptive minimum: two roof drains plus an independent emergency overflow for any parapet exceeding 150 mm above the finished membrane surface. Hydraulic calculations determine the actual number and size required above that floor.
Inputs the P.Eng. needs from you:
- Roof plan with dimensions and all penetrations marked
- Parapet heights at each elevation
- Existing leader pipe sizes and routing
- Any structural loading constraints (especially relevant for flow-control drain options)
- Local rainfall intensity data (the engineer will confirm this from Environment Canada records)
Flow-control roof drains are an option where the roof structure can carry stored water, drain-down time stays within 24 hours, and scuppers are placed no more than 30 m apart along the perimeter. They can reduce downstream pipe sizes, but they carry structural and maintenance conditions that must be verified independently.
What does the BC Building Code require for flat roof drainage?
The prescriptive rules in BC are anchored to parapet height. Where the parapet exceeds 150 mm above the finished membrane at the drain, the code requires at minimum two roof drains and an independent emergency overflow system. BCAB 1961 treats this as safety infrastructure, not a hydraulic sizing shortcut. The two requirements sit side by side: meet the prescriptive minimum, then confirm the hydraulic calculation supports the actual drain count and size.
The 2025 National Model Codes update clarifies that the emergency overflow system should be independent of the primary system. If both primary and emergency drains connect to the same leader immediately below the roof, a blockage in that leader defeats the emergency system entirely. The preferred arrangement routes the emergency overflow to a separate leader, or connects both systems only at the storm building drain level.
Delta and Metro Vancouver permitting expectations:
- Building permit drawings must show drain locations, parapet heights, overflow details, and leader routing
- A P.Eng. stamp is typically required for the drainage design on multi-unit buildings
- The City of Delta follows the BC Building Code; confirm with the building department whether a separate plumbing permit is required for leader modifications
- As-built drawings showing final drain locations and leader routing are a standard deliverable
Documentation to require at project close:
- P.Eng.-stamped drainage design drawings
- As-built photos of drain bowls, clamping rings, and membrane integration
- Leader routing diagram with pipe sizes noted
- Signed flood test report confirming no ponding after 24 hours
- Operations and maintenance (O&M) manual with drain locations, strainer types, and inspection schedule
Which drain components and materials hold up in Delta’s climate?
Delta’s coastal conditions put specific demands on drain components. Salt-laden air, heavy rainfall, UV exposure, and freeze-thaw cycles in winter all accelerate corrosion and material fatigue. BC Housing’s R30+ guidance notes that drainage mats above the membrane are recommended in inverted roof assemblies to facilitate flow to drains and reduce thermal losses, which is a detail that matters on many Delta multi-unit buildings using IRMA (inverted roof membrane assembly) configurations.
Drain body and strainer choices:
- Cast iron or ductile iron drain bodies for durability; avoid plastic bodies on commercial multi-unit roofs
- Dome strainers (cast iron or stainless steel) sized at least three times the drain opening area to reduce clogging frequency
- Clamping rings with stainless steel hardware to prevent corrosion at the membrane interface
- Gravel guards on ballasted or aggregate-surfaced roofs to prevent stone migration into the drain
Leader pipe materials:
- PVC is common for interior leaders; use Schedule 40 minimum for multi-unit applications
- Cast iron is preferred where noise transmission to suites below is a concern
- Insulate leaders in unheated spaces to prevent freeze-up in Delta’s occasional cold snaps
Scuppers and overflow devices:
- Stainless steel or galvanised steel scupper boxes through parapet walls
- Set overflow scupper invert at least 25 mm above the primary drain rim so the primary system handles normal rain events
- Extend scupper outlets far enough past the building face to prevent staining and direct water away from cladding
Pro Tip: Specify stainless steel clamping ring hardware at the time of installation, not as an upgrade. Standard galvanised hardware on a Delta roof can corrode within five years, making the clamping ring difficult to remove for membrane repairs without damaging the drain body.
Components that need periodic replacement include dome strainers (inspect annually, replace when corroded or deformed), clamping ring gaskets (check every five years), and scupper screens (clean twice yearly, replace when mesh is torn).
Where should drains, scuppers, and cleanouts be placed?
Drain placement is about geometry and gravity. Every drain should sit at a confirmed low point in its drainage zone, and zones should be laid out so no drain is more than roughly 15 m from the roof edge or more than 30 m from an adjacent drain. That spacing keeps flow paths short and slope achievable without extreme taper thickness.
Placement rules for multi-unit roofs:
- Position drains symmetrically where the roof plan allows, to balance hydraulic loads
- Keep drains away from the primary debris paths (downwind of large trees, below HVAC exhaust grilles)
- Locate emergency scuppers at the lowest point of the parapet on each elevation, independent of the primary drain location
- Place cleanout access points in the leader pipe within the building at each floor level, accessible without removing ceiling finishes
Accessibility for maintenance:
- Mark drain locations on the roof with a permanent indicator (a contrasting membrane patch or a labelled cleanout cover) so maintenance staff can find them under snow or debris
- Provide a clear walking route from the roof access hatch to each drain, at least 600 mm wide, free of trip hazards
- Ensure overflow scuppers are visible from the ground or from a safe vantage point so staff can confirm they are clear without climbing
- Install above-roof cleanout caps on all leader entry points so blockages can be cleared without opening the roof membrane
Leader routing best practice:
- Minimise horizontal runs; every horizontal run needs a slope of at least 1:50 toward the vertical leader
- Provide expansion loops or offsets on long vertical leaders to accommodate thermal movement
- Discharge leaders to a visible, accessible location, ideally a storm drain or catch basin that maintenance staff can observe after heavy rain
Paragonroofingbc’s flat roof drainage workflow guide walks through the placement decision process in detail, which is useful reading before your first meeting with a P.Eng.
What installation details prevent the most common defects?
The junction between the roof membrane, the flashing, and the drain bowl is the most common failure point on Delta flat roofs. Getting this detail right during installation prevents the majority of leak calls and membrane replacements that Paragonroofingbc sees on remediation jobs.
Membrane-to-drain integration:
- For fully adhered modified bitumen systems, the membrane must be cut cleanly to the drain bowl edge, lapped under the clamping ring, and heat-welded or cold-applied with full adhesion, no air pockets
- For TPO or EPDM single-ply systems, use the manufacturer’s drain flashing kit; field-fabricated details at drains are a leading cause of warranty voidance
- The clamping ring must compress the membrane evenly around the full circumference; uneven torque creates leak paths
Tapered insulation and slope:
- Specify the taper package in the drawings, not as a field decision; installers should not be improvising slope on site
- Confirm slope with a level before the membrane goes down; correcting taper after membrane installation is expensive
- On re-roofing projects, check whether the existing deck has deflected; a structurally sound but deflected deck may need additional taper to achieve positive slope
Ice and freeze mitigation:
- In Delta, leaders in unheated crawl spaces or parkade ceilings can freeze during cold snaps; insulate these runs and consider heat tracing on exposed sections
- Overflow scuppers through exterior parapets should be sloped slightly outward so any residual water drains clear rather than pooling at the wall face
Post-installation testing:
- Flood test: plug all drains and fill the roof surface to 50 mm depth; hold for 24 hours and inspect all interior spaces below for moisture
- Visual inspection: walk the roof after the first significant rain event and photograph any ponding areas; compare against the drainage zone plan
Pro Tip: Ask the installer to photograph the drain bowl, clamping ring, and membrane lap before the protection layer or ballast goes down. Those photos are your proof of correct installation and your first reference point if a leak appears two years later.
What does a seasonal maintenance plan look like for multi-unit roofs?
A written O&M schedule is not optional on a multi-unit flat roof. Without one, maintenance tasks get deferred, strainers clog unnoticed, and a single blocked drain during a November storm can mean water in suites and a six-figure remediation bill.
Routine tasks after every significant rain event:
- Walk the roof and confirm no ponding remains 48 hours after rain stops
- Check all strainer domes for debris accumulation and clear by hand or with a soft brush
- Confirm overflow scuppers are unobstructed and show no signs of water staining (staining means they activated, which means the primary drain was struggling)
Seasonal schedule:
- Spring (March/April): Full roof inspection after winter; check for membrane lifting at drain edges, frost heave at flashings, and any debris accumulation from winter storms. Test emergency overflows by pouring water at the overflow invert and confirming discharge.
- Summer (June/July): Inspect strainers and clean dome screens; check leader discharge points for blockage from cottonwood or other seasonal debris.
- Fall (September/October): Critical pre-rain-season inspection. Clear all strainers, inspect clamping rings, confirm scuppers are open, and check that leader cleanouts are accessible. This is also the time to schedule any repairs identified during the year.
- Winter (December/February): After any freeze event, check that leaders have not frozen and that overflow scuppers are clear of ice. If heat tracing is installed, confirm it is functioning.
Recordkeeping:
- Maintain a written inspection log with date, inspector name, findings, and photos
- Note any ponding locations and compare against previous records to track whether a problem is worsening
- Escalate to a P.Eng. or contractor when ponding persists beyond 48 hours, when membrane is visibly lifting at drain edges, or when a strainer cannot be cleared by routine cleaning
Paragonroofingbc’s flat roof maintenance tips cover the full seasonal cycle in more detail and are worth sharing with your building’s maintenance staff.
Roof drainage failures rarely happen all at once. They build slowly through deferred maintenance, and the first visible sign is usually a water stain on a suite ceiling, by which point the insulation beneath the membrane has been saturated for months.
What causes flat roof drainage failures and how do you fix them?
Most drainage failures on Delta multi-unit roofs trace back to one of four root causes: blocked strainers, inadequate slope, membrane separation at the drain bowl, or frozen leaders. Knowing which one you are dealing with determines whether you need a maintenance crew or a P.Eng.
Common failure modes:
- Blocked strainers: Leaves, cottonwood fluff, and gravel migrate to drain domes and restrict flow. Immediate fix: clear manually. Permanent fix: increase strainer dome size, add a gravel guard, and increase inspection frequency.
- Ponding from inadequate slope: Water sits in a zone for more than 48 hours after rain stops. Immediate fix: temporary pumping to relieve load. Permanent fix: re-taper insulation in the affected zone and confirm with a level before re-membraning.
- Membrane separation at drain bowl: Water tracks under the membrane edge at the clamping ring. Immediate fix: temporary sealant to limit ingress. Permanent fix: remove the clamping ring, re-lap the membrane, and reinstall with correct torque and new gasket.
- Frozen leaders: No discharge from a leader during or after a rain event in cold weather. Immediate fix: apply low-temperature heat to the leader exterior. Permanent fix: insulate the leader run and install heat tracing on exposed sections.
When to escalate:
- Ponding persists beyond 48 hours after rain stops, despite clear strainers
- Soft or spongy areas of the roof surface indicate saturated insulation beneath the membrane
- Interior ceiling stains appear directly below a drain location (not just near a parapet or penetration)
- A strainer cannot be cleared because debris has compacted in the leader below the drain bowl
For persistent ponding or saturated insulation, call Paragonroofingbc or a P.Eng. before the next rain season. Saturated insulation loses its thermal value and adds dead load to the structure; left long enough, it can compromise the deck. Paragonroofingbc’s drainage challenges resource covers remediation paths for the most common scenarios seen across the Lower Mainland.
Design checklist to hand your engineer or roofer
Print this and email it with your first inquiry. It gives a P.Eng. or experienced roofer everything needed to produce an accurate proposal and a compliant design on the first pass.
Information to include in your brief:
- Roof plan (to scale, with dimensions) showing all penetrations, curbs, skylights, and HVAC equipment
- Parapet heights at each elevation, measured from finished membrane surface
- Existing drain locations and leader pipe sizes (if known)
- Existing leader routing inside the building, including discharge point
- Any pedestrian or paver loads on the roof surface
- Tree exposure and prevailing wind direction (relevant for debris and wind-driven rain)
- Historical problem spots: ponding locations, past leak locations, suite complaints
Questions to ask the engineer or roofer:
- What rainfall intensity (mm/15 min) are you using for the hydraulic calculation, and what is the source?
- How many drainage zones are you proposing, and where are the low points?
- How is the emergency overflow independent of the primary drain system?
- What membrane-to-drain detail are you specifying, and does it match the membrane manufacturer’s requirements?
- What is the testing protocol after installation (flood test duration, acceptance criteria)?
Deliverables to require before final payment:
- P.Eng.-stamped drainage design drawings with drain locations, sizes, and leader routing
- As-built photos of drain bowls, clamping rings, and membrane integration before protection layer installation
- O&M manual with drain locations, strainer types, inspection schedule, and emergency contact
- Signed flood test report confirming acceptance
Pro Tip: Ask specifically whether the emergency overflow drains to a separate leader or connects to the primary system. If both connect to the same leader immediately below the roof, a single blockage defeats both systems. The 2025 National Model Codes update clarifies this requirement; your P.Eng. should be aware of it.
Key takeaways
Reliable multi-unit flat roof drainage in Delta requires P.Eng.-sized internal drains, a minimum of two drains plus an independent emergency overflow, and positive slope built into the insulation package, not assumed from the deck.
| Point | Details |
|---|---|
| Prescriptive minimum | Two roof drains plus an independent emergency overflow are required where parapets exceed 150 mm above the membrane. |
| Hydraulic sizing is mandatory | Prescriptive minimums set the floor; a P.Eng. hydraulic calculation determines the actual drain count and pipe sizes. |
| Slope lives in the insulation | Positive slope (minimum 1:50) must be built into the tapered insulation package, not assumed from the structural deck. |
| Membrane-to-drain detail is critical | The junction between membrane, flashing, and drain bowl is the most common failure point; specify and photograph this detail at installation. |
| Paragonroofingbc for Delta roofs | Paragonroofingbc coordinates site inspections, P.Eng. referrals, drain installation, and seasonal maintenance for multi-unit flat roofs in Delta. |
Why Delta roofs need a different approach than the rest of the Lower Mainland
Delta gets hit from multiple directions at once. You have got the heavy coastal rain that Metro Vancouver is known for, but you also have wind-driven rain coming off the Fraser River delta and Georgia Strait that pushes water horizontally into parapet scuppers and under poorly lapped membrane edges. Add the cottonwood trees that line so many Delta streets, and you have a recipe for blocked drains every spring and fall.
What I see repeatedly on Delta multi-unit roofs is a design that was adequate on paper but did not account for the debris load. A single 100 mm drain with a standard dome strainer can clog completely in one windstorm if there are mature trees within 30 metres of the building. That is not a maintenance failure; it is a design failure. The drain was never sized with enough redundancy for the actual site conditions.
The other pattern is emergency overflows that are technically present but effectively useless because they connect to the same leader as the primary drain. When that leader blocks, both systems fail simultaneously. This is exactly the scenario the 2025 National Model Codes update was written to address, and it is something Paragonroofingbc flags on every inspection we do in Delta.
Durable detail choices matter here too. Fully adhered multi-ply modified bitumen systems with stainless steel clamping hardware consistently outperform single-ply systems with standard galvanised hardware in Delta’s coastal conditions. The common installation mistakes we see in Delta almost always come back to shortcuts at the drain bowl or a taper package that was specified but never verified before the membrane went down.
Paragonroofingbc helps Delta property managers get drainage right
Flat roof drainage on a multi-unit building is not a job to hand to a general contractor and hope for the best. The stakes are too high: a failed drain detail means water in suites, saturated insulation, structural loading concerns, and a remediation cost that dwarfs the original installation.

Paragonroofingbc offers Delta property managers a clear path from problem to solution. We start with a site inspection to document existing drain locations, parapet heights, slope conditions, and any active ponding or leak history. From there, we coordinate with a qualified P.Eng. for hydraulic calculations and stamped drawings, then carry out drain installation, membrane integration, and post-installation flood testing. For buildings that need ongoing support, we offer seasonal maintenance programmes that include strainer clearing, overflow testing, and written inspection reports.
The typical project timeline from initial inspection to signed flood test report runs eight to twelve weeks for a straightforward drain replacement or addition on a mid-size multi-unit building. More complex re-tapering or full membrane replacement projects take longer, and we will give you a realistic schedule at the inspection stage, not after the contract is signed.
To request a site inspection or get a quote for your Delta property, visit our Delta roofing FAQ and contact page or reach out directly through our roofing services page. Bring your roof plan and any ponding photos; we will take it from there.
Useful sources for engineers, contractors, and property managers
The references below are the primary documents your P.Eng. should be working from. Ask them to cite these in their stamped drawings.
Key references:
- BC Housing Illustrated Guide (Insulated Wood Frame Vaulted and Flat Roofs): Best for membrane-to-drain detailing, slope guidance, and assembly-level durability principles. Available at bchousing.org.
- BC Housing R30+ Illustrated Guide: Covers inverted roof assemblies, drainage mat requirements, and thermal strategy for higher-performance flat roofs.
- BCAB 1961 (Province of BC): The appeal board decision that establishes the two-drain plus emergency overflow prescriptive rule. Essential reading for code compliance on any parapet roof.
- NPC/NBC Hydraulic Sizing Guidance: The stepwise method for calculating hydraulic loads from roof areas using local rainfall intensity data. Your P.Eng. will reference the current NPC edition.
- Paragonroofingbc Flat Roof Drainage Workflow: Practical jobsite guidance and checklists for BC property owners, useful for pre-design information gathering and maintenance planning.
| Source | Best used for |
|---|---|
| BC Housing Illustrated Guide (Flat Roofs) | Membrane detailing, slope, assembly durability |
| BC Housing R30+ Guide | Inverted roofs, drainage mats, thermal strategy |
| BCAB 1961 | Prescriptive minimums, emergency overflow code basis |
| NPC/NBC hydraulic sizing | Drain and pipe sizing calculations |
| Paragonroofingbc drainage workflow | Pre-design checklist, maintenance planning, local contact |
FAQ
How many drains does a flat roof need?
The prescriptive minimum is two roof drains plus an independent emergency overflow where parapets exceed 150 mm. A P.Eng. hydraulic calculation determines the actual number required based on roof area and local rainfall intensity.
What are the three main methods of draining a flat roof?
Flat roofs drain through internal roof drains connected to interior leaders, scuppers (openings through parapet walls), and perimeter gutters with downspouts. Most multi-unit buildings in Delta use internal drains as the primary system with scuppers as emergency overflows.
How do you design a roof drainage system?
A P.Eng. segments the roof into drainage zones, calculates the hydraulic load for each zone using effective area multiplied by local rainfall intensity, then selects drain sizes and leader pipe diameters from NPC tables. The design must also satisfy BC Building Code prescriptive minimums for drain count and emergency overflow independence.
What slope does a flat roof need for proper drainage?
A minimum slope of 1:50 (2%) toward each drain is the standard for flat roofs in BC. That slope must be built into the tapered insulation package, not assumed from the structural deck, which is typically flat on modern multi-unit buildings.
When should a Delta property manager call a roofer or P.Eng.?
Call a professional when ponding persists more than 48 hours after rain stops, when the roof surface feels soft or spongy (indicating saturated insulation), or when interior ceiling stains appear below drain locations. Paragonroofingbc handles site inspections and P.Eng. coordination for Delta multi-unit buildings.
Recommended
Our Roofing Blog


Have more questions about roofing?
Check out our FAQs or give us a call today to speak to an expert roofer in Vancouver Lower Mainland, BC. We're here to help our neighbours make educated decisions about their roof. For our team, we value helping clients save money while making their roofs last.
