Asphalt Shingle Installation Guide for Canadian Homes
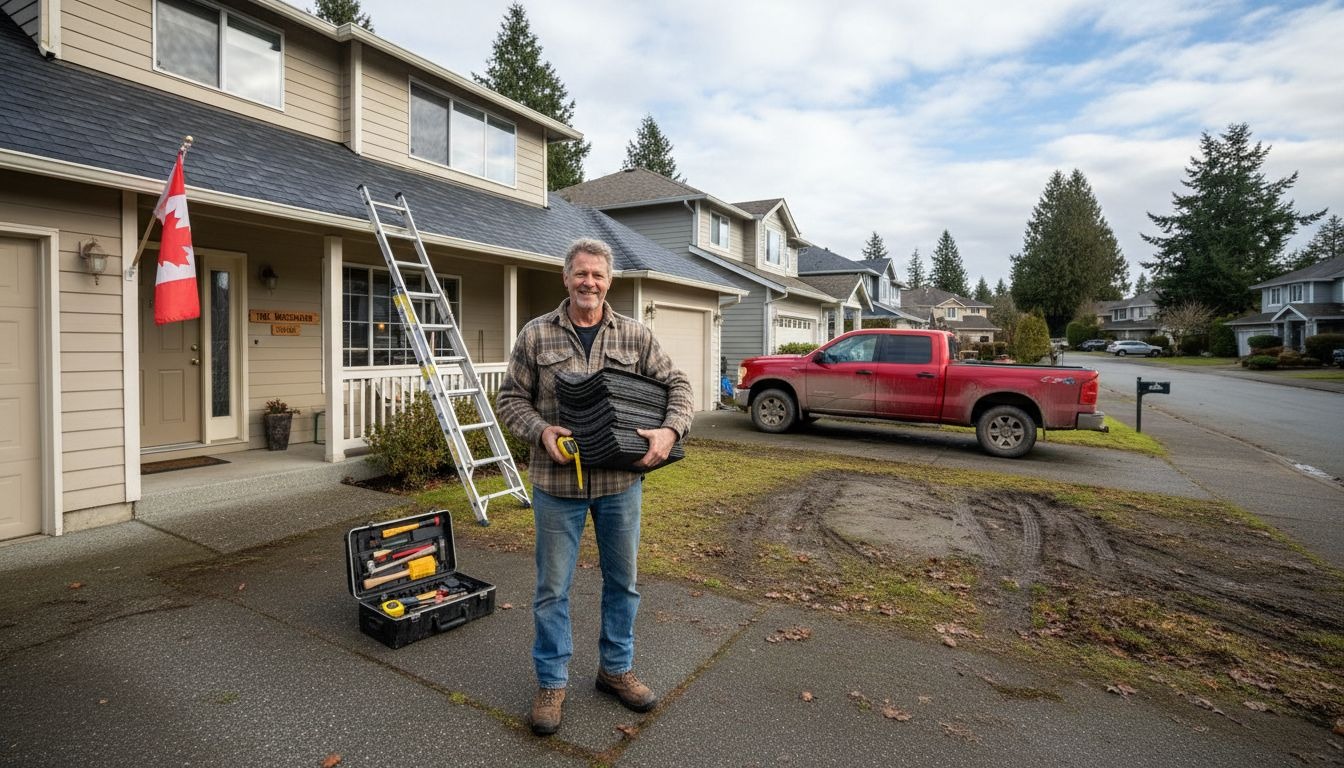
Most Canadian homeowners in Vancouver realize that roofing repairs and replacements can account for a significant part of home maintenance expenses. Even a basic asphalt shingle installation can quickly cost thousands if handled solely by a contractor. Taking a hands-on approach empowers you to control the process, extend your roof’s life, and avoid unexpected repair bills. Discover practical, step by step methods designed for Canadian weather, so you can achieve reliable results and protect your investment for years to come.
Table of Contents
- Step 1: Assess And Prepare Your Roof Deck
- Step 2: Install Waterproof Underlayment And Starter Strips
- Step 3: Lay And Secure Asphalt Shingles
- Step 4: Integrate Flashing And Ventilation Components
- Step 5: Inspect And Seal The Finished Roof
Quick Summary
| Key Point | Explanation |
|---|---|
| 1. Inspect Roof Deck for Damage | Thoroughly examine the roof deck for soft spots, rot, or moisture stains before installing asphalt shingles. |
| 2. Use Quality Underlayment and Starter Strips | Install waterproof underlayment securely with proper overlap; starter strips offer essential support for shingles. |
| 3. Ensure Proper Shingle Installation | Carefully lay shingles with consistent alignment to create a tight seal preventing water infiltration during storms. |
| 4. Install Flashing and Vents Correctly | Properly integrate flashing near roof transitions and maintain balanced ventilation to prevent moisture and damage. |
| 5. Perform Final Inspection Meticulously | Conduct a thorough visual inspection and seal any irregularities to protect against future vulnerabilities and repairs. |
Step 1: Assess and Prepare Your Roof Deck
Preparing your roof deck properly is the foundation for a successful asphalt shingle installation. A meticulously prepared surface ensures long-lasting roof performance and prevents potential moisture damage. Before beginning your project, carefully inspect and ready your roof deck using professional techniques.
Start by thoroughly examining your roof deck for any signs of damage or deterioration. Look for soft spots, rotting wood, warped plywood, or areas with visible moisture stains. The roof deck preparation guidelines from the Roofing Contractors Association of British Columbia recommend using plywood or oriented strand board (OSB) that is structurally sound and free from defects. Remove any existing damaged boards and replace them with new panels that match the thickness and grade of your existing decking material. Ensure all panels are tightly secured with appropriate nails and create a smooth, even surface.
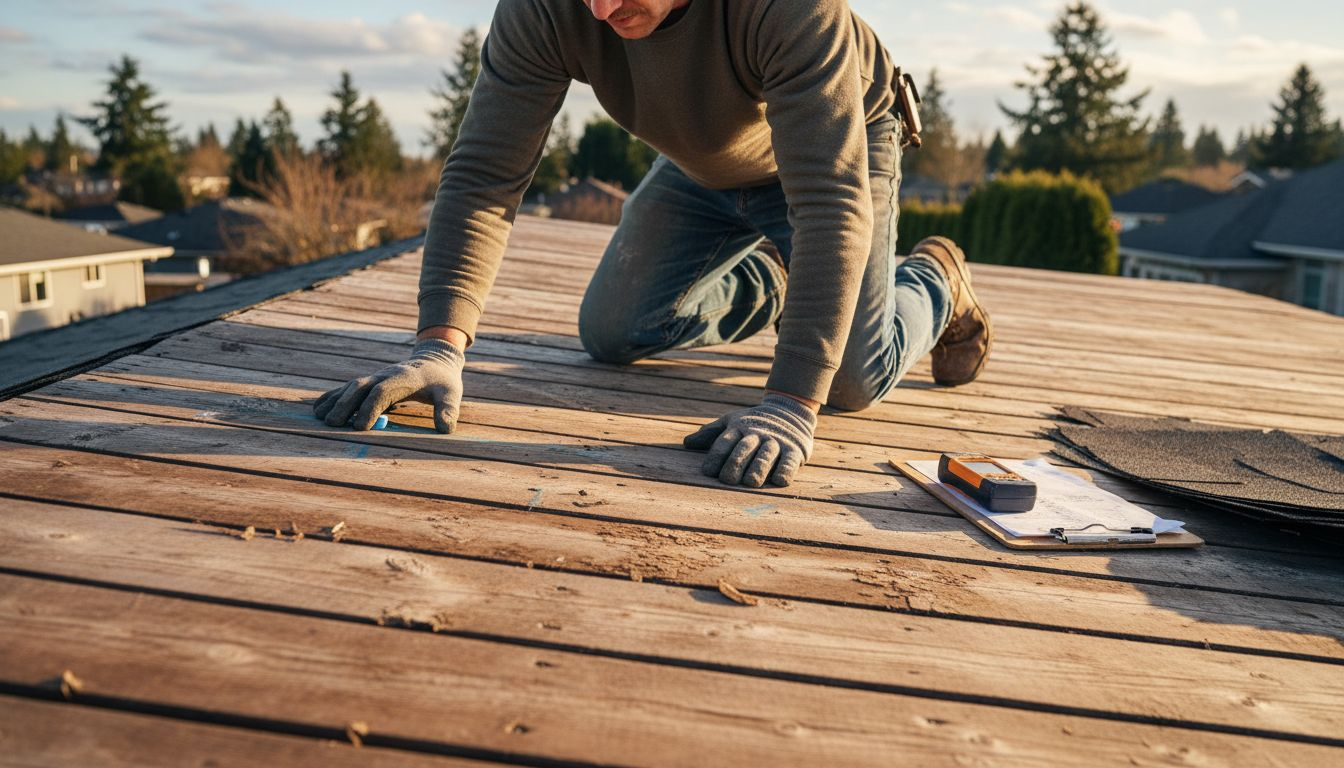
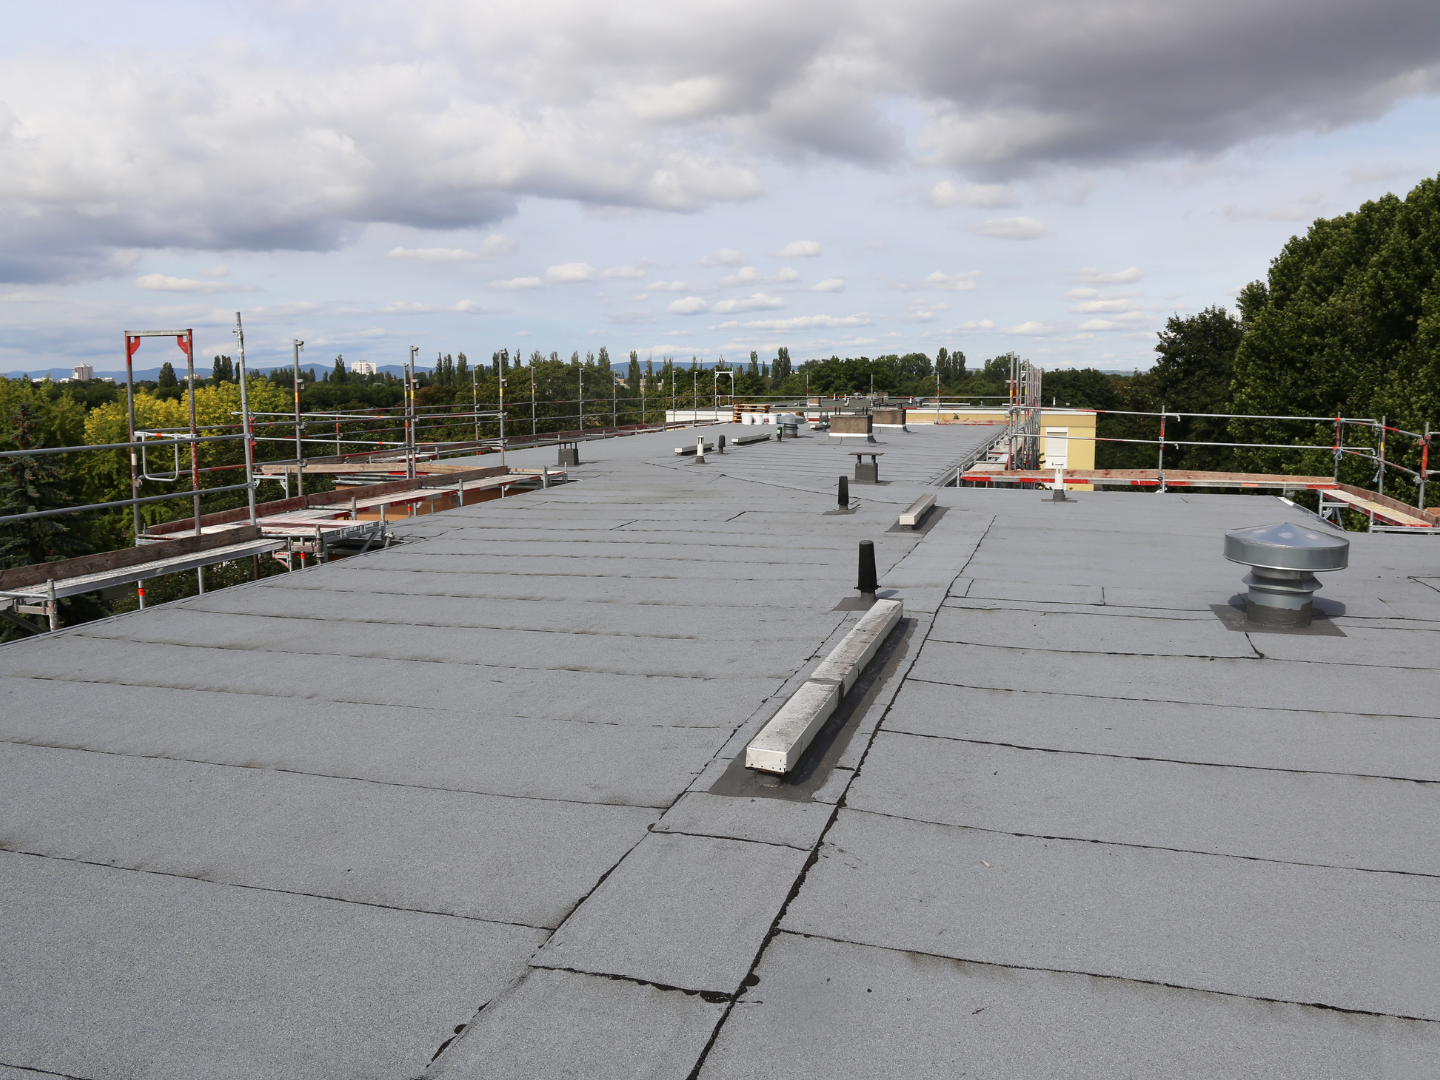
Proper ventilation is crucial for maintaining your roof’s integrity. Check that your roof has adequate airflow between the deck and attic space to prevent moisture buildup and potential mold growth. This involves inspecting soffit vents, ridge vents, and ensuring no blockages interrupt air circulation. The deck surface should be completely clean, dry, and free from debris before shingle installation.
Tip: Invest in a high-quality moisture meter to accurately assess your roof deck’s condition and detect hidden moisture problems before they become expensive repairs.
Step 2: Install Waterproof Underlayment and Starter Strips
Installing waterproof underlayment and starter strips is a critical phase in creating a robust, moisture-resistant roofing system that protects your home from British Columbia’s challenging weather conditions. This step provides an essential protective barrier that prevents water infiltration and ensures the longevity of your asphalt shingle installation.
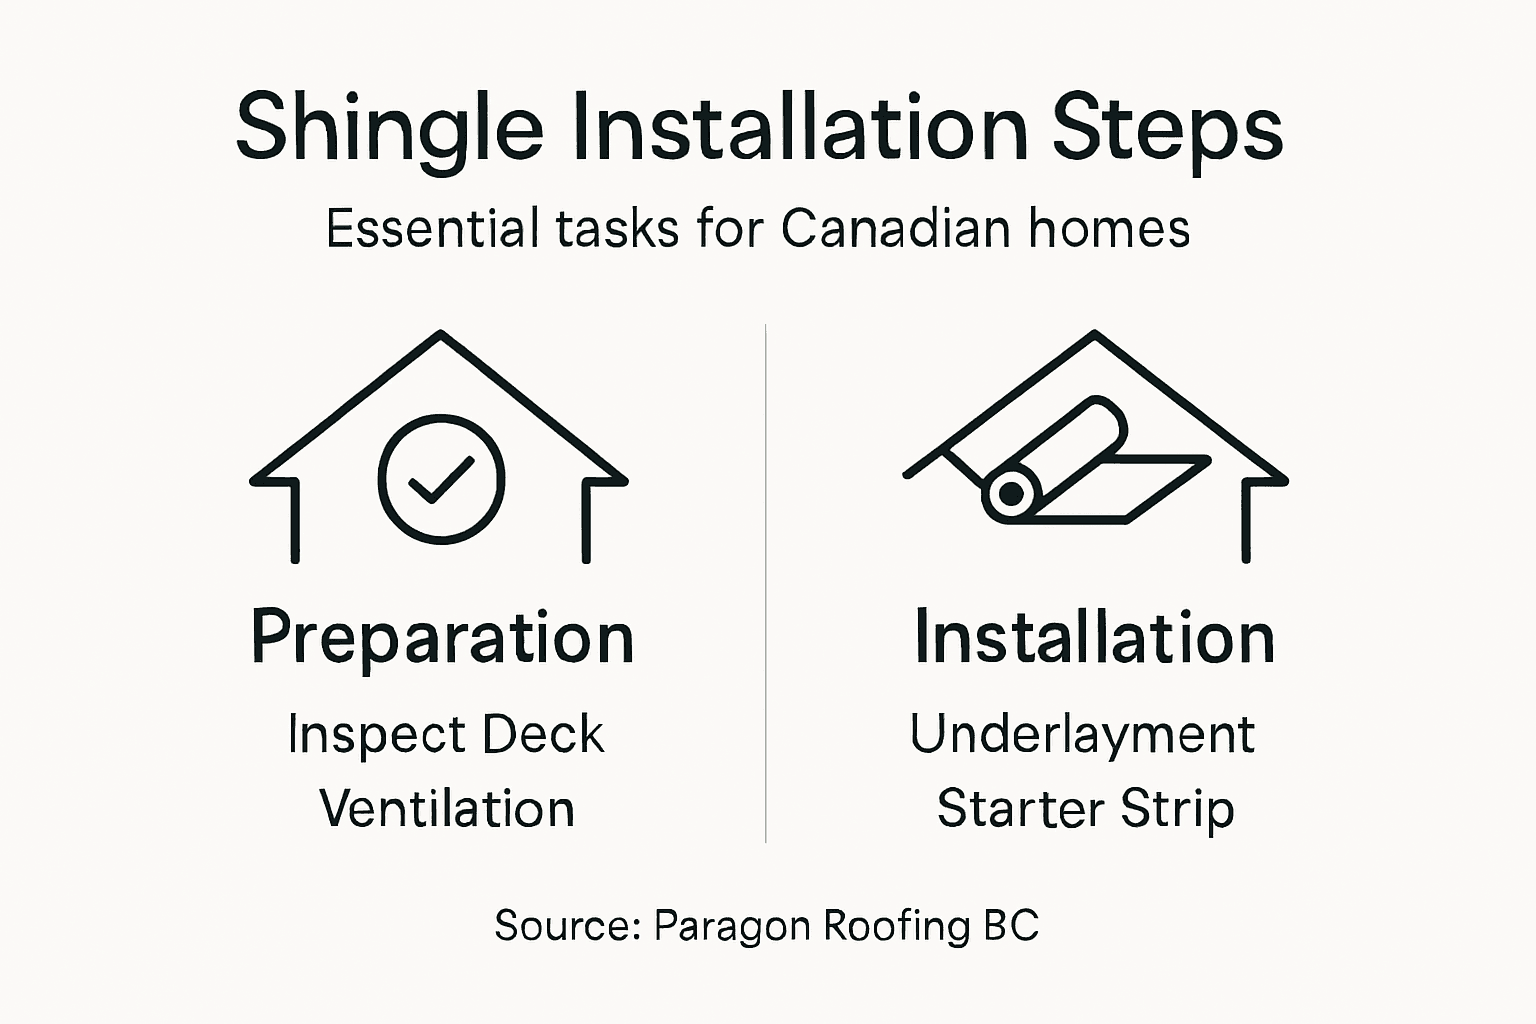
Begin by rolling out the waterproof underlayment according to industry standards along the roof deck, starting from the lowest edge and working upward. Modern synthetic self-adhering membranes work exceptionally well for our coastal climate, offering superior protection against moisture penetration. Ensure each roll overlaps the previous one by at least 4 inches horizontally and 6 inches at the end seams. Use cap nails specifically designed for underlayment installation, placing them at recommended intervals to secure the material without creating excessive punctures that could compromise water resistance.
Next, install starter strips along the eaves and rake edges of the roof. These specialized strips create a solid foundation for the first row of shingles and help prevent wind uplift during stormy conditions. Position the starter strips precisely, ensuring they extend slightly beyond the roof edge and are securely fastened. Pay close attention to maintaining a straight, even line to guarantee proper shingle alignment and maximum weather protection.
Tip: Work on a dry day with moderate temperatures to ensure optimal adhesion of underlayment and starter strips, and always check manufacturer specifications for specific installation requirements.
Here’s a comparison of common roofing underlayment options for British Columbia climates:
| Underlayment Type | Moisture Protection | Installation Ease | Durability |
|---|---|---|---|
| Synthetic Membrane | Excellent in wet coastal conditions | Lightweight and simple to handle | Highly resistant to tearing |
| Traditional Felt | Moderate protection, oils can leach | Heavier; absorbs some moisture | Can degrade over time |
| Rubberized Asphalt | Superior for vulnerable areas | Requires care during application | Outstanding sealing abilities |
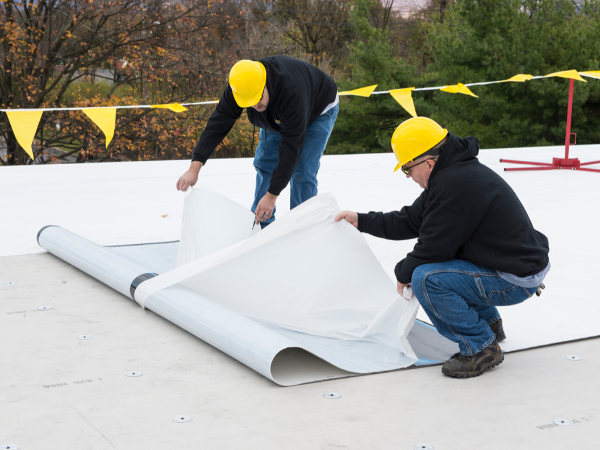
Step 3: Lay and Secure Asphalt Shingles
Laying and securing asphalt shingles is a precise process that demands careful attention to detail to ensure your roof can withstand British Columbia’s challenging weather conditions. Your goal is to create a watertight barrier that protects your home from moisture while providing long lasting durability against wind and precipitation.
Begin by installing the first row of shingles along the eaves, following the precise installation guidelines for Canadian roofing standards. Start at the lowest edge of the roof, ensuring each shingle is aligned perfectly and overhangs the edge by approximately half an inch. Use four to six roofing nails per shingle, placing them within the designated nailing area to prevent wind uplift. For our coastal climate, pay extra attention to creating a tight seal between shingles, as this helps prevent water infiltration during heavy rainfall and winter storms. Work systematically across the roof, maintaining consistent exposure and overlap between each row of shingles.
When working in colder temperatures, which are common in many parts of British Columbia, take special care to ensure shingles remain flexible during installation. If temperatures are below 10 degrees Celsius, you may need to hand seal each shingle using roofing cement to guarantee proper adhesion. Special attention should be given to valleys, roof edges, and areas around chimneys or vents, where water can potentially penetrate. Always check that each shingle lies flat and is securely fastened to create a uniform, professional finish.
Tip: Store your shingles in a warm area before installation to maintain their flexibility and ensure better sealing in cold weather conditions.
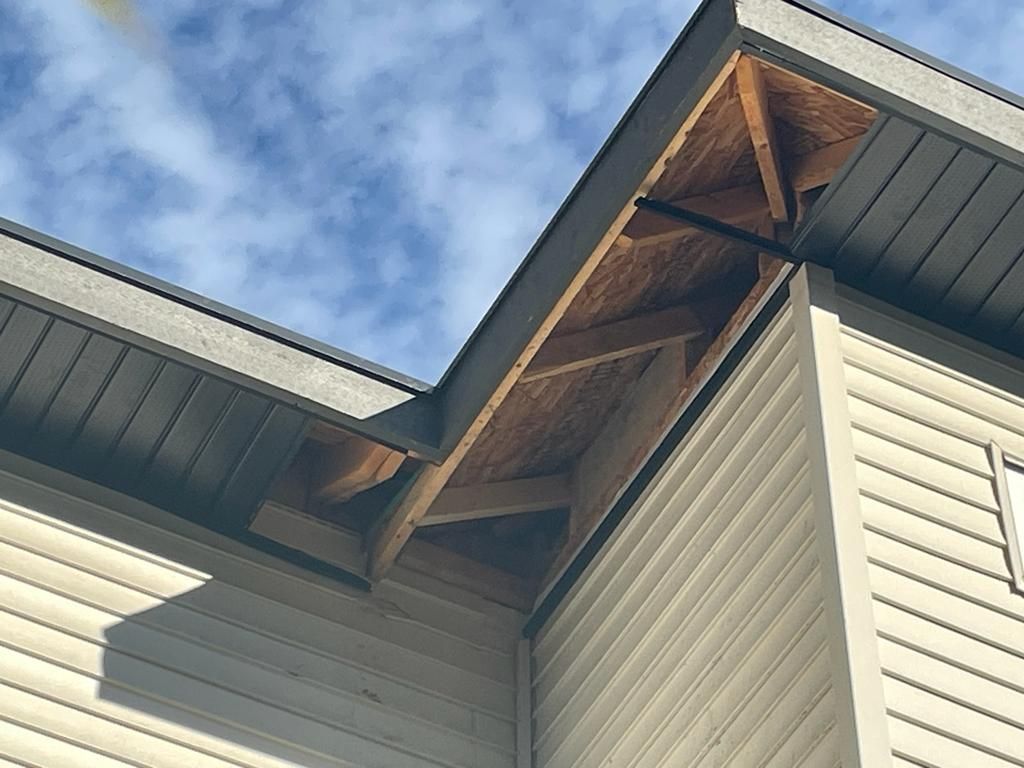
Step 4: Integrate Flashing and Ventilation Components
Successfully integrating flashing and ventilation components is crucial for creating a robust roofing system that protects your home from moisture damage and ensures optimal thermal performance. This step requires precision and understanding of how different roofing elements work together to shield your home from British Columbia’s challenging climate.
Begin by installing comprehensive flashing systems around critical roof transitions such as chimneys, skylights, vents, and wall intersections. Use step flashing at sidewalls and headwall areas, ensuring each piece overlaps the previous one to create a continuous water drainage path. Pay special attention to valley areas where two roof planes meet, as these are common points of water infiltration. Seal all flashing edges with high quality roofing cement to prevent potential leaks.
Ventilation is equally critical in our coastal climate. Install ridge vents, soffit vents, and ensure proper airflow between the roof deck and attic space to prevent moisture accumulation and heat buildup. This helps regulate temperature, reduces the risk of ice damming during winter, and extends the lifespan of your asphalt shingles. Maintain a balanced ventilation system with intake vents at the soffit and exhaust vents near the roof peak, allowing continuous air circulation that keeps your roof structure healthy.
Tip: Always verify manufacturer specifications for flashing and ventilation requirements to maintain your roofing warranty and ensure optimal system performance.
Step 5: Inspect and Seal the Finished Roof
Carefully inspecting and sealing your newly installed asphalt shingle roof is the final critical step that ensures your roofing investment performs optimally in British Columbia’s demanding climate. Your thorough examination will identify any potential vulnerabilities and prevent future moisture damage or performance issues.
Conduct a comprehensive visual inspection, following professional roofing inspection protocols to verify every aspect of your installation. Check each shingle for proper alignment, secure fastening, and complete seal adhesion. Pay special attention to roof edges, valleys, and areas around penetrations like vents and chimneys where water might potentially infiltrate. Hand seal any loose shingle tabs or areas where the adhesive strip did not fully bond, using high quality roofing cement to create a watertight barrier.
Focus on identifying subtle signs of potential issues such as slight lifting at edges, uneven shingle placement, or areas with inadequate sealant coverage. Walk the roof carefully and methodically, using your hands to feel for any irregularities in shingle placement or potential weak points. In our coastal British Columbia environment, where moisture and wind can be relentless, taking extra time during this final inspection can save you significant repair costs in the future.
This table summarises potential issues found during the final roofing inspection and their solutions:
| Issue Identified | Common Cause | Recommended Solution |
|---|---|---|
| Lifting Shingle Edges | Insufficient sealant or cold weather | Apply roofing cement to tabs |
| Uneven Shingle Alignment | Inaccurate placement during install | Realign affected shingles promptly |
| Exposed Nail Heads | Overdriven or misplaced nails | Cover with sealant or replace drip edge |
| Water Stains Near Flashing | Flashing gaps or poor adhesion | Re-seal or re-install flashing |
Tip: Perform your final roof inspection on a warm, dry day when shingle adhesives are most pliable and potential defects are easiest to detect.
Protect Your Canadian Home with Expert Asphalt Shingle Installation
Proper roof deck preparation, installing waterproof underlayment, precise shingle placement, and thorough final inspections are essential to safeguard your home against British Columbia’s demanding climate. If you want to avoid costly repairs from moisture damage or wind uplift, trust the professionals who understand these critical steps and use top-quality materials and techniques tailored for Canadian homes.

At Paragon Roofing BC, we specialize in asphalt shingle installation that meets national standards while addressing specific regional challenges. Our certified team ensures your roof deck is fully prepared, waterproofing is expertly applied, and flashing and ventilation components are integrated for lasting protection. Take advantage of our free inspection offer today and experience peace of mind knowing your home is shielded by industry-leading workmanship and premium materials. Visit Paragon Roofing BC to schedule your consultation and learn more about our residential roofing solutions. Your home deserves the best roof system designed for Canadian weather conditions.
Frequently Asked Questions
How do I assess and prepare my roof deck before installing asphalt shingles?
To properly prepare your roof deck, inspect it for damage, such as soft spots or moisture stains. Replace any damaged boards with matching materials to create a smooth surface and ensure all panels are securely fastened.
What type of underlayment should I use for asphalt shingle installation in Canadian climates?
Use a synthetic self-adhering membrane, which offers excellent moisture protection in wet climates. Roll it out and secure it properly, ensuring overlaps of at least 4 inches horizontally and 6 inches at end seams to prevent water infiltration.
How should I lay and secure asphalt shingles?
Start by installing shingles from the lowest edge, ensuring each one overhangs the edge by about half an inch. Use four to six nails per shingle within the nailing area, maintaining consistent exposure and overlap to ensure a watertight seal.
What are the best practices for integrating flashing and ventilation components?
Install flashing around critical areas like chimneys and vents, ensuring each piece overlaps the previous one for proper drainage. Ensure balanced airflow between the roof deck and attic space to prevent moisture buildup and regulate temperature.
How can I effectively inspect and seal my completed asphalt shingle roof?
Conduct a thorough visual inspection to check for alignment, secure fastening, and any loose shingle tabs. Hand seal loose areas using roofing cement and address any identified issues to create a watertight barrier against moisture.
What should I do if I find an issue during the final roof inspection?
Address any identified issues promptly, such as re-sealing flashing gaps or realigning uneven shingles. This proactive approach can help prevent more significant problems and extend the lifespan of your roofing system.