Commercial Roof Repair Guide for British Columbia Buildings
Most commercial property owners in British Columbia are surprised to learn that over 60 percent of expensive roof repairs could be avoided with proactive inspections and timely maintenance. Protecting your investment requires understanding the unique climate challenges and Canadian building standards that impact every aspect of roof repair. You will discover practical steps and expert strategies to keep your commercial roof structurally sound and resilient against the unpredictable weather.
Table of Contents
- Step 1: Conduct A Thorough Roof Inspection
- Step 2: Identify Damage And Safety Risks
- Step 3: Select Suitable Repair Materials And Tools
- Step 4: Implement Effective Repair Techniques
- Step 5: Verify Repairs And Ensure Weatherproofing
Quick Summary
| Key Point | Explanation |
|---|---|
| 1. Conduct Regular Roof Inspections | Perform roof inspections at least twice a year to identify issues early and prevent costly repairs. Ensure thorough documentation of concerns and findings. |
| 2. Identify Potential Damage Signs | Look for water stains, warped areas, and structural deformations to detect roof damage that could lead to larger issues. Track changes over time in a log. |
| 3. Select Appropriate Repair Materials | Choose materials that match the roof type and local building standards for effective restoration and longevity. Prioritize quality to meet climate challenges. |
| 4. Implement Thorough Repair Techniques | Carefully prepare surfaces, and use compatible materials to ensure a seamless, watertight seal. Document all steps for future reference. |
| 5. Verify Repairs and Weatherproof | Conduct detailed inspections after repairs to confirm quality and compliance with building codes. Maintain thorough records to aid future maintenance efforts. |
Step 1: Conduct a thorough roof inspection
Conducting a thorough roof inspection is your first critical defence against potential commercial building damage in British Columbia. This comprehensive assessment will help you identify potential issues before they become costly repairs and ensure your building’s structural integrity remains sound.
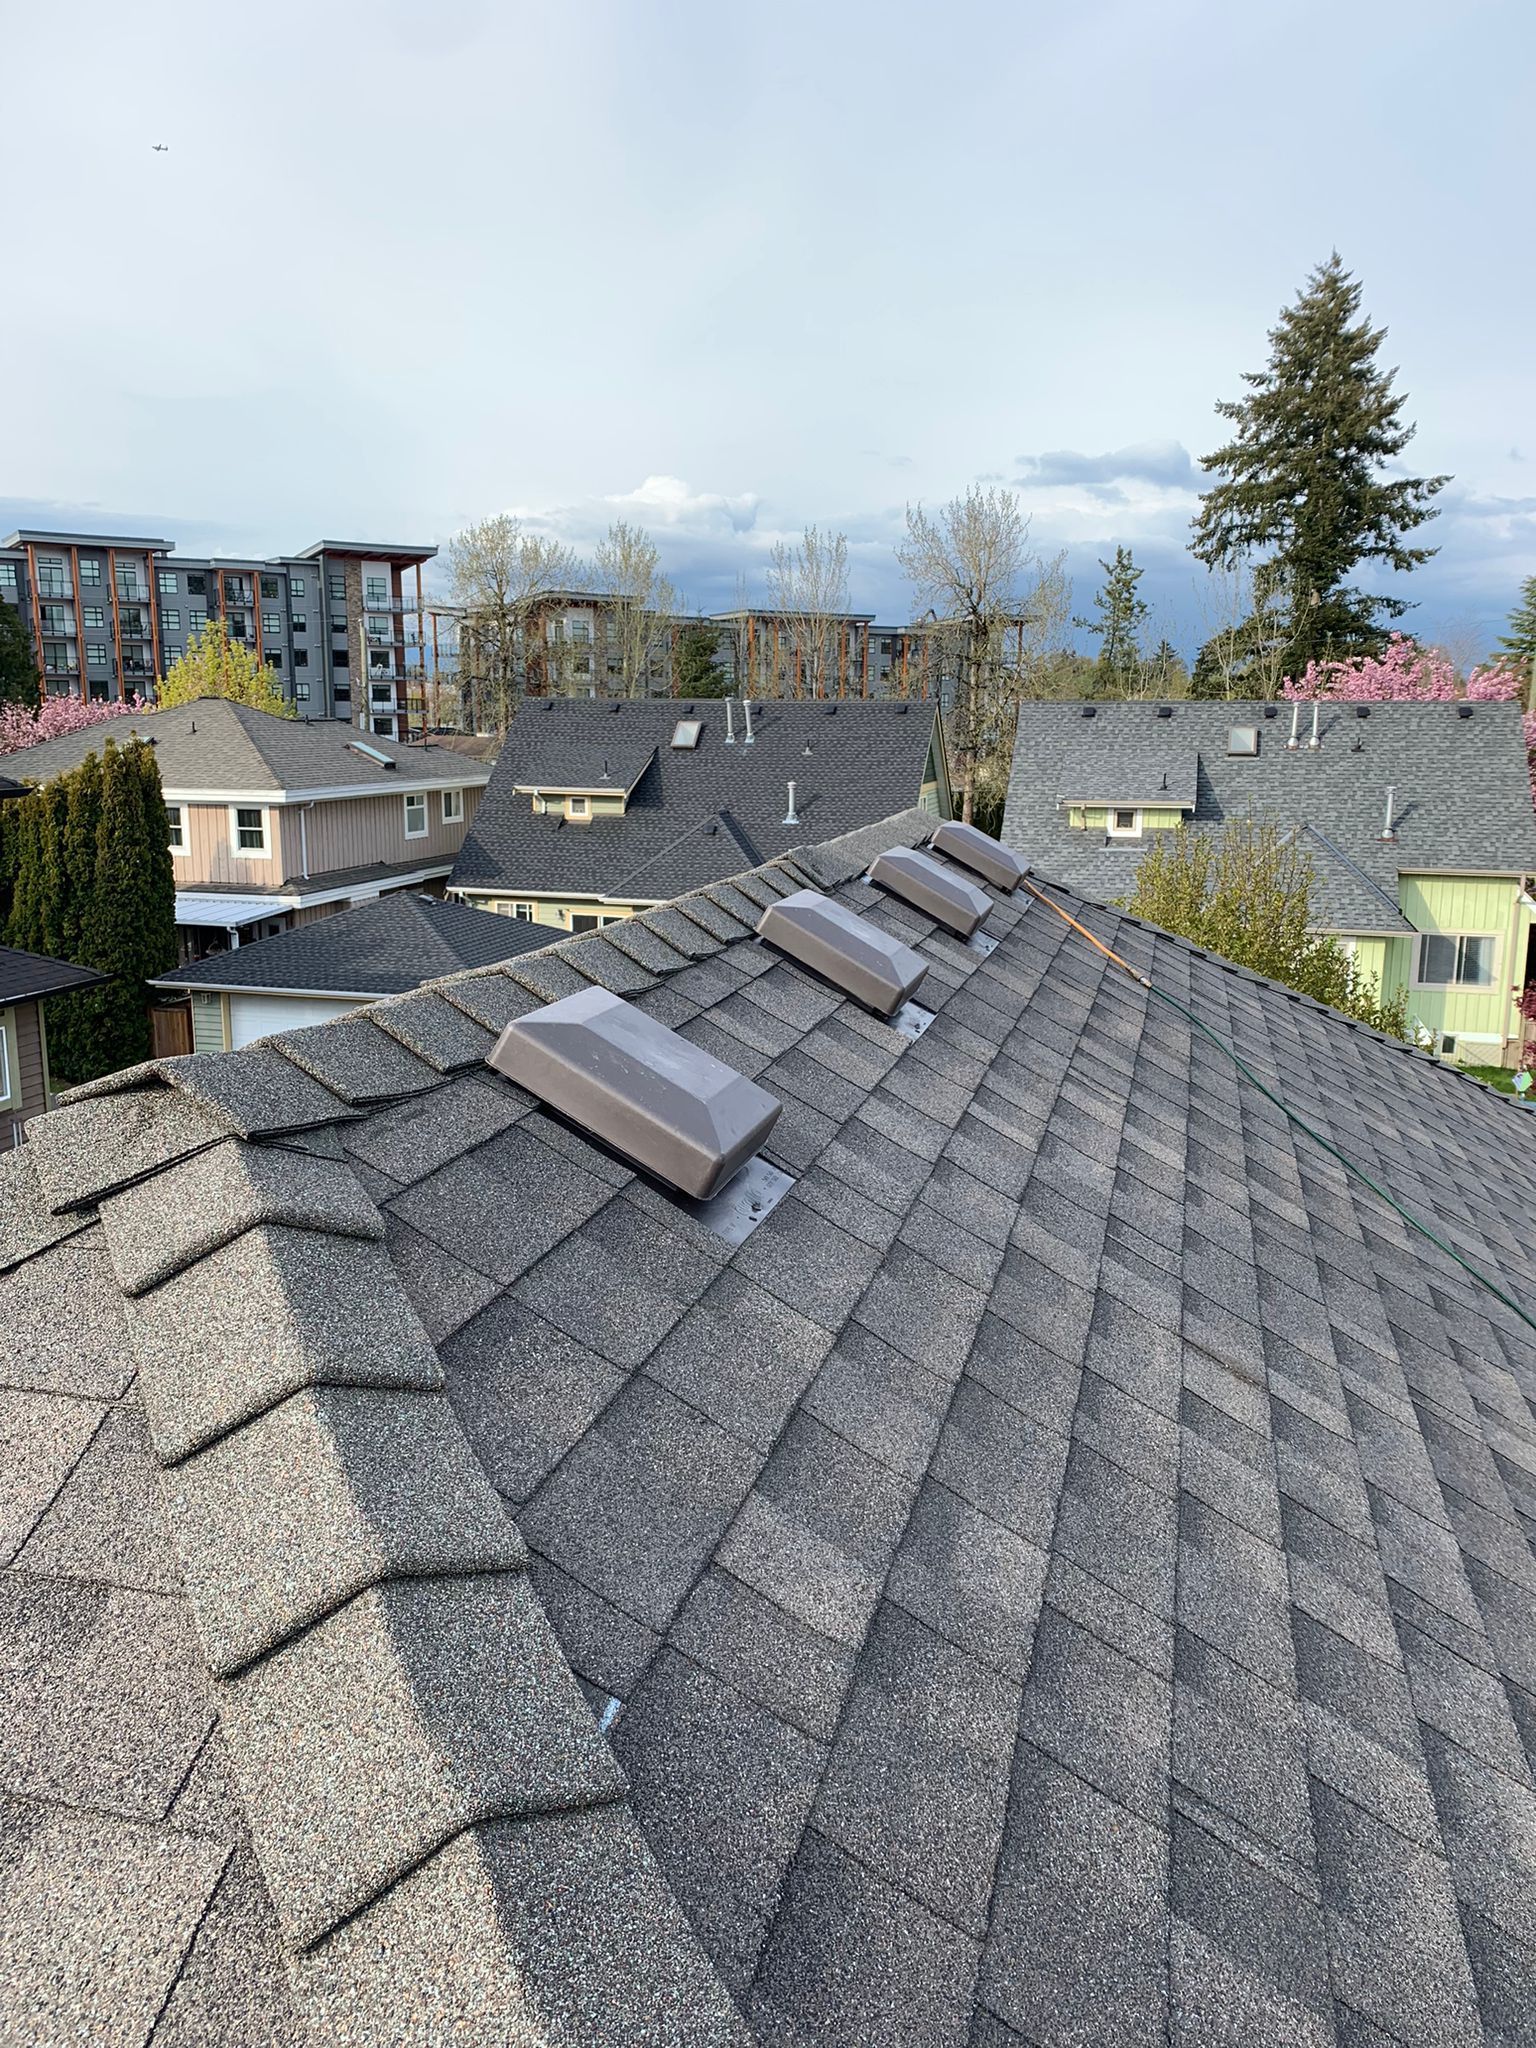
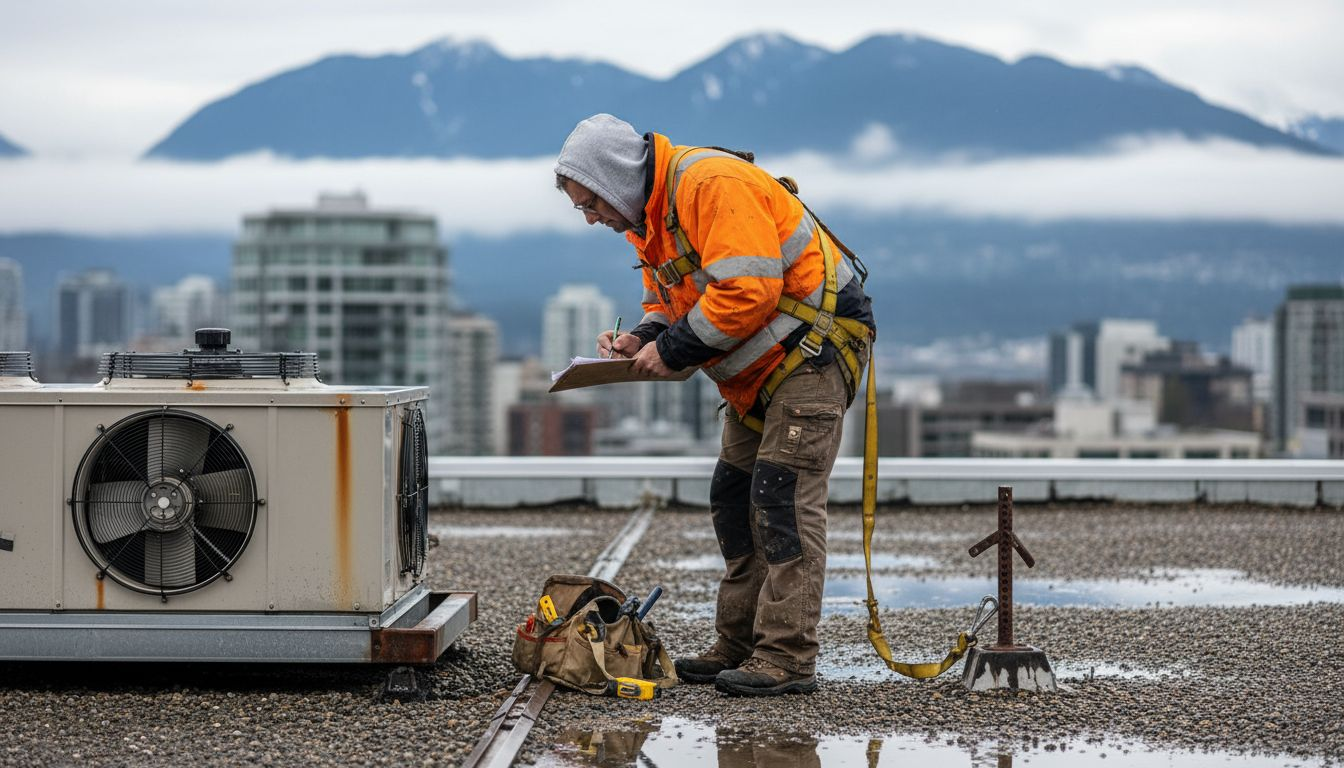
To perform an effective roof inspection, start by gathering essential safety equipment like a sturdy ladder, non slip shoes, measuring tape, and a detailed clipboard. Walk the entire roof surface systematically, examining each section methodically. Look for telltale signs of wear such as cracked or missing shingles, areas of pooling water, damaged flashing, and any visible punctures or tears. Pay special attention to roof penetrations like vents, chimneys, and mechanical equipment installations, as these are common weak points where leaks can develop according to industrial ventilation standards.
Document everything meticulously during your inspection. Photograph areas of concern, measure the dimensions of potential problem zones, and create a detailed written report noting the location and extent of any damage. If you discover complex issues or are uncertain about your findings, it’s recommended to engage a professional roofing inspector who can provide a comprehensive assessment and expert recommendations.
Pro tip: Conduct roof inspections at least twice annually - once in spring after winter snow loads and again in autumn before the rainy season begins - to catch potential issues early and prevent extensive damage.
Step 2: Identify damage and safety risks
Identifying damage and safety risks is a critical component of maintaining your commercial roof’s integrity and preventing potential catastrophic failures. Understanding the warning signs and potential hazards can save you significant time and money in long term repairs.
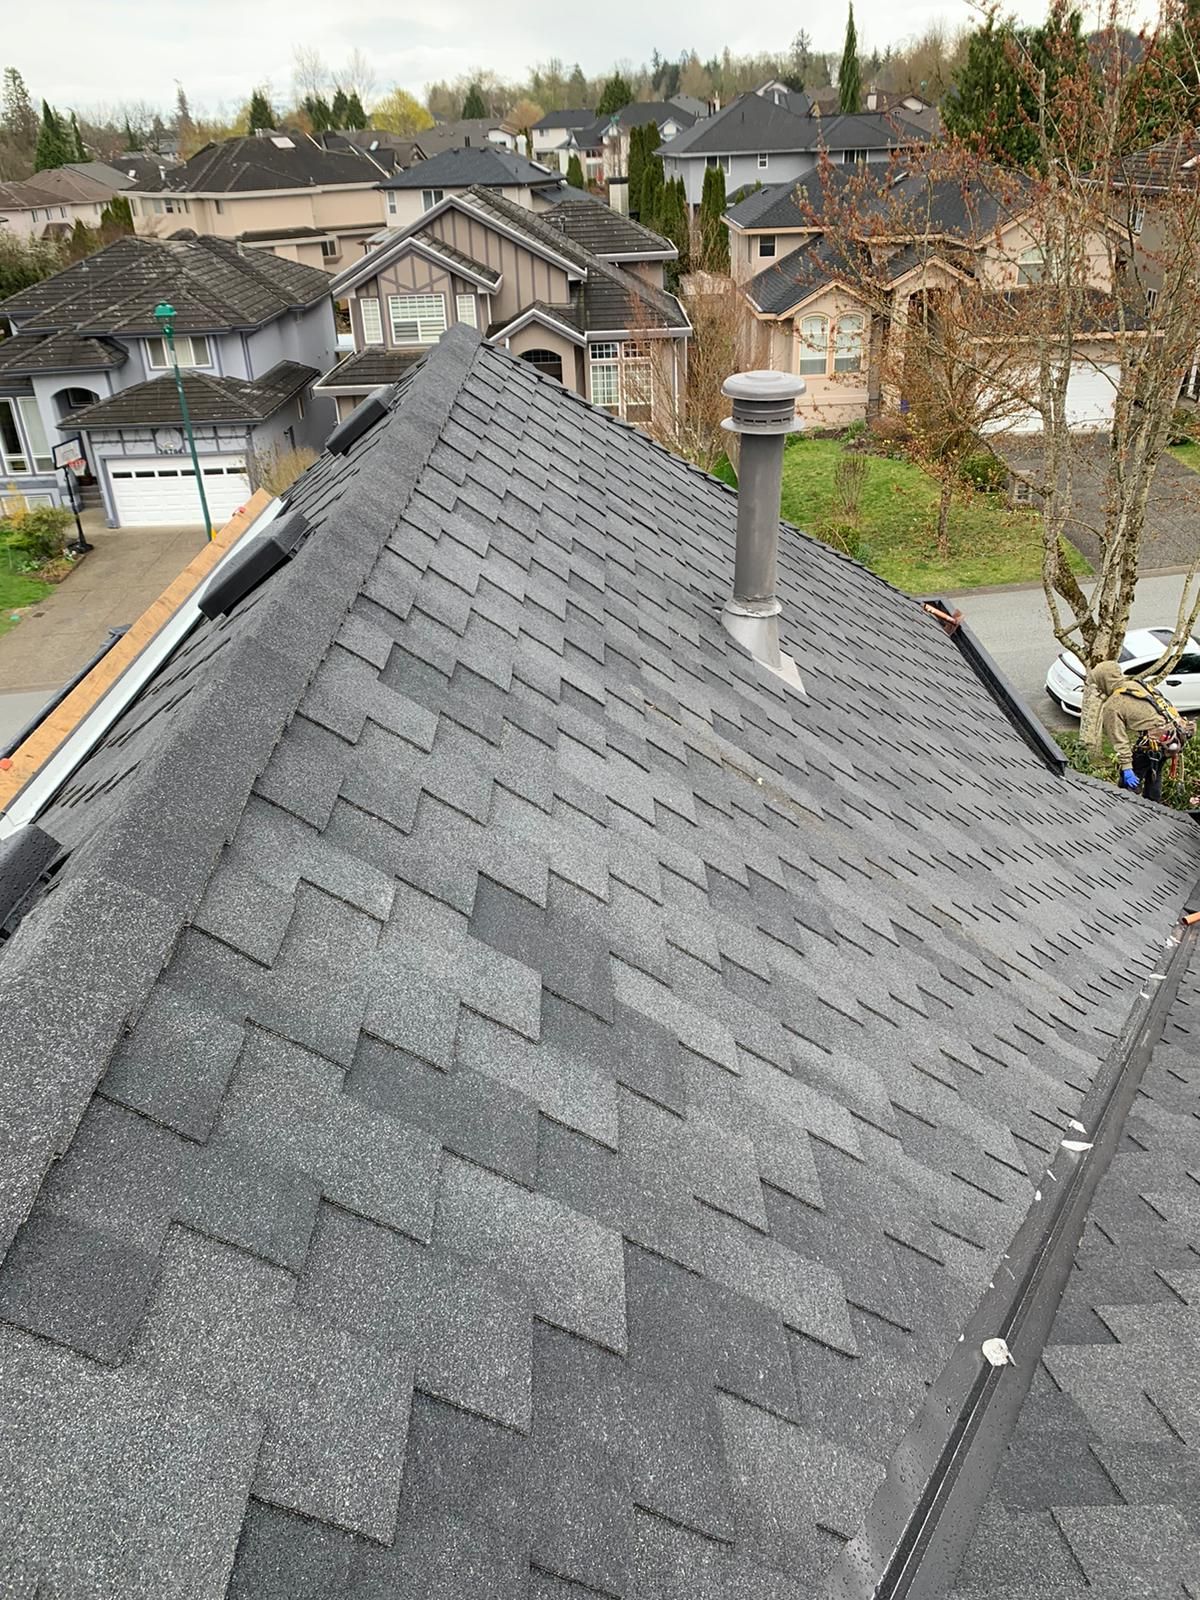
Begin by systematically checking for water intrusion and damage indicators throughout your building’s interior and exterior spaces. Look for telltale signs such as water stains on ceiling tiles, discoloured walls, warped flooring, or unusual moisture patterns. Pay close attention to areas around roof penetrations, mechanical equipment, and drainage systems where water might accumulate. Inspect for structural deformations like sagging roof sections, cracked or separated seams, and any visible deterioration of roofing materials.
Beyond visual inspections, assess potential safety risks that could compromise your roof’s performance. This includes checking for debris buildup, evaluating the stability of rooftop equipment, ensuring proper drainage pathways, and verifying that no vegetation or pest habitats have developed. Examine ventilation systems, inspect flashing around chimneys and vents, and look for any signs of material degradation that could indicate underlying structural weaknesses.
Pro tip: Create a detailed roof condition log with dated photographs and specific location notes to track changes and help professionals quickly diagnose potential issues during future inspections.
Here is a summary of common roof damage indicators and their potential risks for commercial buildings:
| Damage Indicator | Potential Risk | Recommended Action |
|---|---|---|
| Cracked or missing shingles | Water infiltration, structural decay | Replace affected shingles |
| Pooling water | Roof membrane breakdown | Improve drainage, inspect substrate |
| Damaged flashing | Increased leak risk | Reseal or replace flashing |
| Sagging roof sections | Structural instability | Consult professional inspector |
| Vegetation or pests | Accelerated material deterioration | Remove and repair affected area |
Step 3: Select suitable repair materials and tools
Selecting the right repair materials and tools is crucial for ensuring a successful commercial roof restoration in British Columbia. Your choices will directly impact the longevity, performance, and overall integrity of your roofing system.

Start by understanding the specific requirements for your roof type and damage extent. Consult Canadian building standards for material selection , which outline specific guidelines for roofing materials. Choose materials compatible with your existing roof substrate, considering factors like climate resistance, UV protection, and thermal expansion properties. For instance, rubberized asphalt products work well for waterproofing, while specialized sealants can address specific penetration points and seam vulnerabilities.
When gathering tools and materials, prioritize quality and compatibility. Essential equipment includes safety gear, precision cutting tools, roofing knives, measuring tape, rollers, brushes, protective coatings, and appropriate adhesives. Consider environmentally conscious options that allow for material reuse or recycling, which can reduce waste and support sustainable construction practices. Always verify that your selected materials meet or exceed local building codes and manufacturer specifications.
Pro tip: Purchase slightly more materials than your initial estimate to account for unexpected complications and ensure you have backup supplies during the repair process.
The table below compares popular commercial roof repair materials by key characteristics:
| Material Type | Weather Resistance | Sustainability | Typical Application |
|---|---|---|---|
| Rubberized asphalt | Excellent | Moderate | Waterproofing membranes |
| Polyurethane sealant | High | High | Sealing joints and penetrations |
| Modified bitumen | Good | Low | Layered restoration |
| EPDM roofing | Superior | Moderate | Large flat roofs |
Step 4: Implement effective repair techniques
Implementing effective repair techniques requires precision, skill, and a methodical approach to restoring your commercial roof’s structural integrity. Your goal is to address damage comprehensively while maintaining the roof’s original design and performance characteristics.
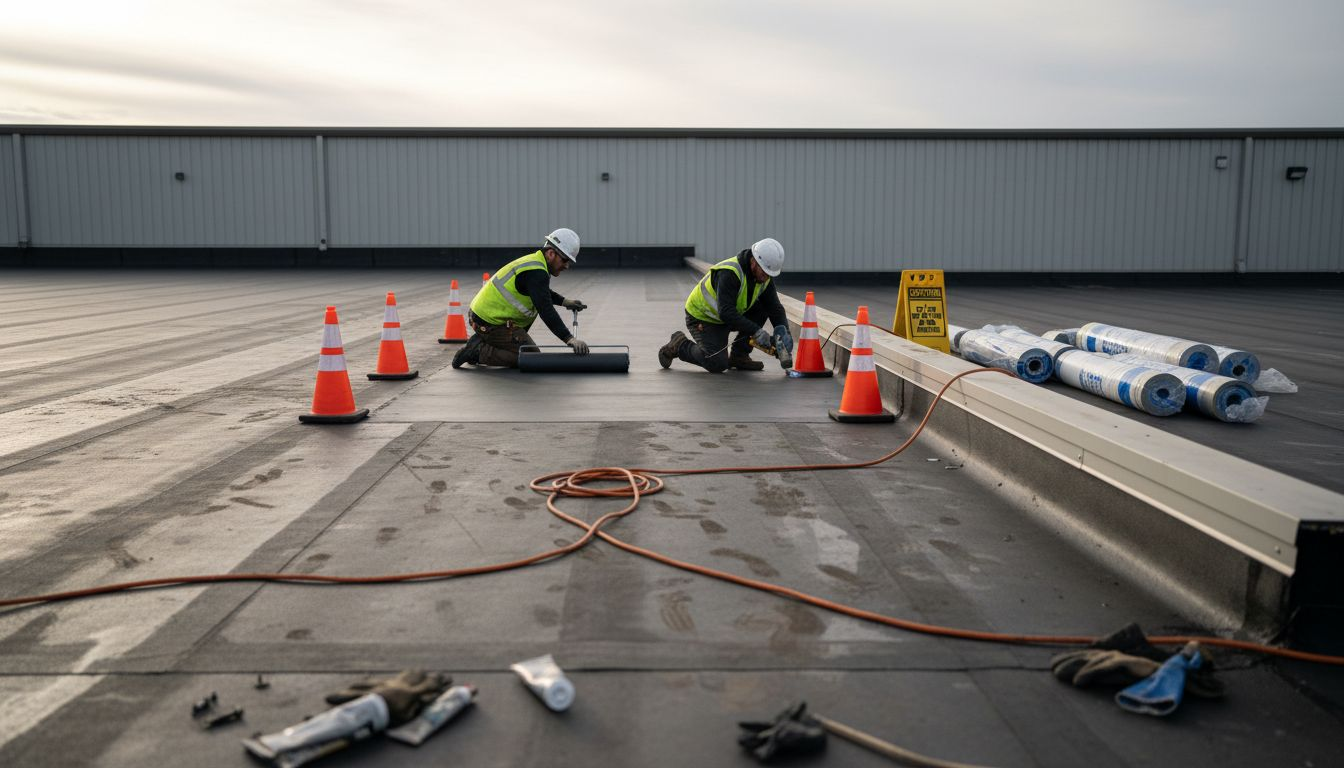
Follow systematic roofing repair procedures that begin with thorough surface preparation. Remove damaged materials carefully, ensuring you expose the entire affected substrate. Clean the area meticulously, removing debris, moisture, and any compromised sections. When applying new materials, focus on creating a continuous, seamless membrane that integrates smoothly with the existing roofing system. Pay special attention to seam connections, using appropriate adhesives and techniques to guarantee a watertight seal.
While executing repairs, prioritize both immediate structural needs and long term sustainability. Select repair methods that preserve existing materials where possible, minimizing waste and maintaining the roof’s overall performance. This might involve carefully removing and reinstalling salvageable insulation layers, reinforcing existing substrates, and using compatible repair materials that complement the original roofing system. Ensure all repair techniques align with manufacturer specifications and local building codes, documenting each step of the process for future reference.
Pro tip: Always work in optimal weather conditions, avoiding repairs during extreme temperatures or moisture conditions that could compromise the bonding and curing of repair materials.
Step 5: Verify repairs and ensure weatherproofing
Verifying repairs and ensuring comprehensive weatherproofing represents the final critical stage of your commercial roof restoration process. This step demands meticulous attention to detail and a systematic approach to confirming the quality and effectiveness of your repair work.
Conduct thorough code compliance assessments to validate that your repairs meet rigorous Canadian building standards. Begin with a comprehensive visual inspection, checking for uniform surface texture, proper sealant application, and seamless integration of new materials with existing roofing systems. Test all repaired areas for water resistance by simulating heavy rainfall conditions or using specialized moisture detection equipment. Pay close attention to potential weak points like seams, penetrations, and transition zones where water might potentially infiltrate.
Ensure your repairs not only address immediate structural concerns but also contribute to the overall energy efficiency and long term performance of your commercial building. Evaluate the thermal properties of your repairs, confirming that new materials maintain or improve the roof’s insulation capabilities. Document all repair work meticulously, including photographs, material specifications, and detailed notes about techniques used. Consider engaging a licensed professional to perform a final independent assessment, providing an additional layer of quality assurance and peace of mind.
Pro tip: Create a comprehensive repair log that includes date of repair, materials used, weather conditions during installation, and photographs documenting each stage of the repair process.
Protect Your Commercial Roof with Expert Care from Paragon Roofing BC
Maintaining a commercial roof in British Columbia demands precise inspections, understanding damage indicators, selecting the right materials, and applying proven repair techniques as outlined in the Commercial Roof Repair Guide. The challenges of spotting subtle signs such as pooling water or damaged flashing can lead to costly leaks and structural risks if left unaddressed. At Paragon Roofing BC, we understand these critical pain points and provide tailored roofing solutions that align with Canadian building standards and local climate conditions to ensure long-lasting durability.
You deserve peace of mind knowing your roof is restored correctly the first time. Our expert team offers comprehensive commercial roof inspections and repairs that identify hidden issues and enhance weatherproofing with premium materials. Avoid surprises by acting early and working with trusted professionals passionate about protecting your property investment.
Take the next step toward securing your building by visiting Paragon Roofing BC to schedule a detailed inspection. Discover how our service expertise and commitment to quality can safeguard your commercial roofing system today.
Ready for reliable roof repairs that stand the test of British Columbia’s weather? Contact Paragon Roofing BC now for expert guidance and fast service tailored to your building’s needs. Protect your investment by acting early at Paragon Roofing BC and experience the confidence of a durable, professionally restored roof.
Frequently Asked Questions
How often should I conduct a roof inspection for my commercial building?
Conduct a roof inspection at least twice a year, ideally in spring after winter snow loads and in autumn before the rainy season. Regular inspections help identify potential issues early, allowing you to address them before they escalate into costly repairs.
What signs indicate damage to my commercial roof?
Look for signs such as cracked or missing shingles, water stains on ceilings, warped flooring, and pooling water. Systematically inspect the roofing materials and structural components to catch issues early and maintain structural integrity.
What materials are suitable for roof repairs in British Columbia?
Choose materials that are compatible with your existing roof type and capable of withstanding local climate conditions. Commonly used options include rubberized asphalt for waterproofing and polyurethane sealants for sealing joints and penetrations.
How can I ensure my roof repair will be effective?
Verify repairs by conducting a thorough inspection for uniformity and proper sealant application. Simulate heavy rainfall to test for water resistance, and document all repairs meticulously to maintain a clear record for future reference.
What safety considerations should I keep in mind during a roof inspection?
Use safety equipment like sturdy ladders, non-slip shoes, and harnesses when conducting a roof inspection. Ensure you have a clear plan for accessing the roof to prevent accidents and follow all safety protocols for working at heights.