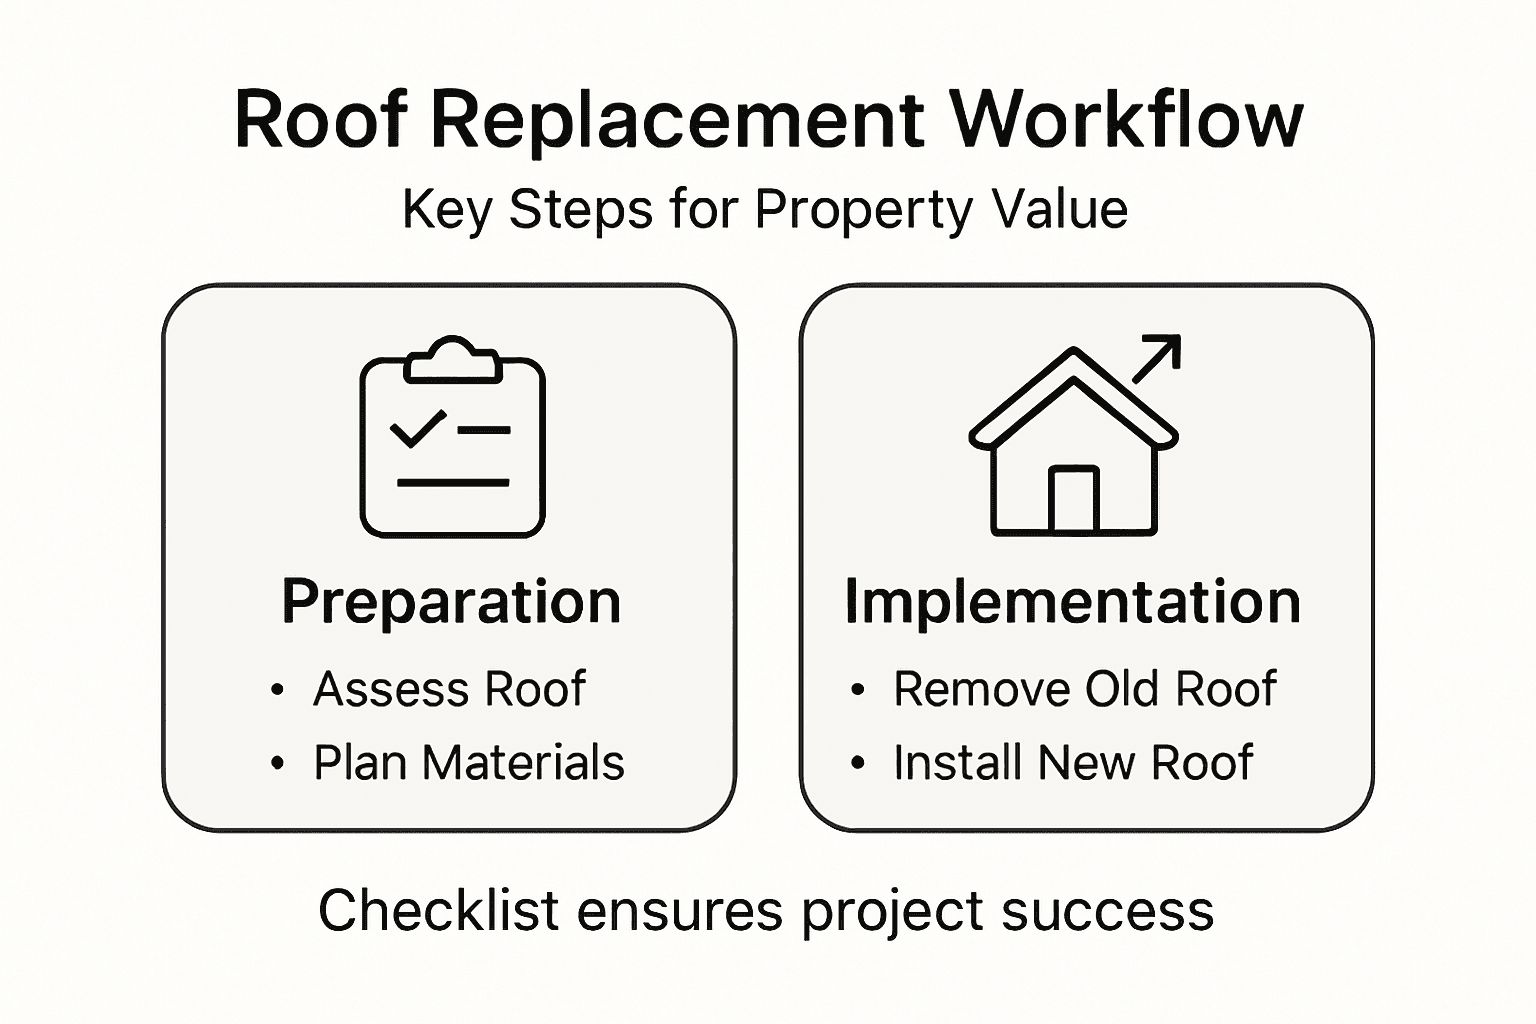
Master the Roof Replacement Workflow for Property Value
Unexpected leaks or sagging ceilings can quickly turn into major headaches for property managers in Surrey’s competitive multi-family housing market. Proactive attention to roof conditions is vital, not only for protecting property value but also for maintaining tenant trust and comfort. By following a systematic roof replacement workflow from thorough assessments to final quality checks, you can reduce costly surprises and keep your residential complex running smoothly for years to come. See our roof replacement process for property managers
Roof Replacement Workflow for Property Managers in Vancouver
Roof replacement projects for strata and multi-unit properties in Vancouver require structured planning, tenant coordination, moisture control, and climate-appropriate installation methods. In this video, Paragon Roofing BC walks through the step-by-step roof replacement workflow tailored specifically for Vancouver property managers.
Table of Contents
- Step 1: Assess Existing Roof Conditions
- Step 2: Plan Project Scope and Materials
- Step 3: Prepare Site for Safe Installation
- Step 4: Execute Roof Removal and Installation
- Step 5: Verify Quality and Finalize Cleanup
Quick Summary
| Key Point | Explanation |
|---|---|
| 1. Conduct a Thorough Roof Assessment | Perform a detailed visual inspection to identify issues such as water stains and missing shingles before repairs escalate. |
| 2. Define Project Scope and Materials | Outline measurements, material choices, and budget to ensure a successful and efficient roof replacement project. |
| 3. Ensure Safe Site Preparation | Clear the area and establish safety protocols to protect workers and property during the roof installation process. |
| 4. Execute the Installation Carefully | Follow safety guidelines and proper installation techniques to enhance the roof’s long-term performance and durability. |
| 5. Conduct a Rigorous Final Inspection | Verify all materials and installations to ensure quality, followed by thorough cleanup to restore property condition. |
Step 1: Assess Existing Roof Conditions
Assessing your property’s roof conditions is the critical first phase in determining whether a full replacement is necessary. This comprehensive evaluation will help you understand the current state of your roofing system and identify potential issues before they escalate into costly repairs.
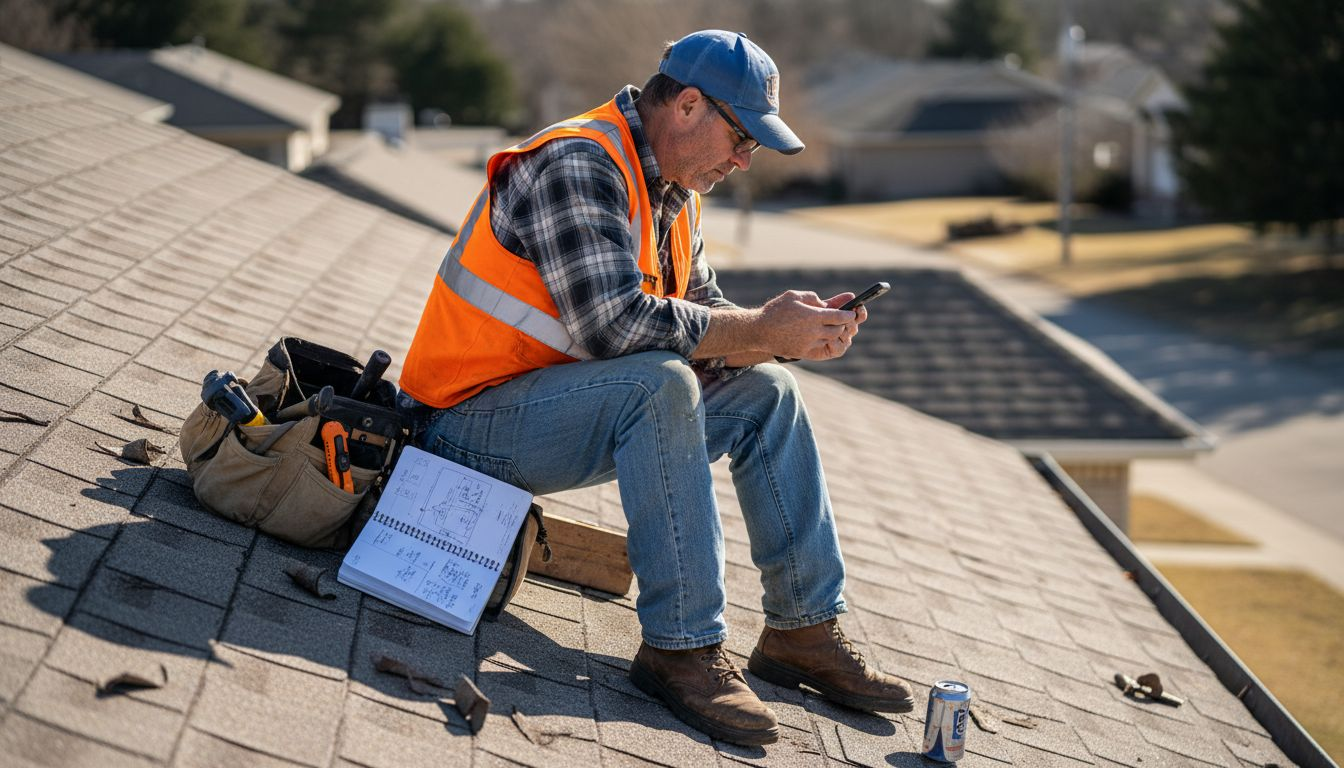
Begin by conducting a thorough visual inspection, which involves examining multiple aspects of your roof’s structural integrity. Professional roof inspection techniques recommend carefully checking for several key indicators of potential damage or wear:
- Visible water stains on ceiling or walls
- Cracked or missing shingles
- Signs of sagging or uneven roof surfaces
- Exposed or rusted metal flashing
- Granule loss on asphalt shingles
Pay special attention to areas around chimneys, vents, and roof-wall connections, as these are common locations for potential water infiltration. Professional assessments typically involve inspecting both the exterior roof surface and the interior attic space to get a comprehensive understanding of the roof’s condition.
A systematic, detailed roof condition assessment can prevent unexpected repair costs and extend your property’s overall value.
Documenting your findings through photographs and detailed notes will provide a valuable baseline for comparing future inspections and tracking your roof’s condition over time.
Pro tip: Conduct your initial roof assessment during daylight hours and use binoculars for a safe, comprehensive view without requiring direct roof access.
Step 2: Plan Project Scope and Materials
Defining the precise scope and materials for your roof replacement project is crucial for ensuring a successful and cost-effective renovation. By carefully outlining your project parameters, you can prevent unexpected challenges and create a streamlined workflow that maximizes your property’s value.
International construction planning standards recommend developing a comprehensive project blueprint that addresses several key considerations:
- Precise measurement of total roof area
- Material selection matching local climate conditions
- Budget allocation for materials and labor
- Structural compatibility assessment
- Permit and compliance requirements
Choosing the right roofing materials involves balancing durability, aesthetic preferences, and long-term performance. Consider factors like local weather patterns, building codes, and your property’s specific architectural characteristics when making material selections. Asphalt shingles, metal roofing, and synthetic materials each offer unique advantages that should be carefully evaluated against your specific needs.
Here’s a quick reference guide to common roofing material categories and their typical advantages:
| Material Type | Durability | Weather Resistance | Maintenance Needs |
|---|---|---|---|
| Asphalt Shingles | 15–30 years | Moderate, good for most climates | Low, routine inspections |
| Metal Roofing | 40–70 years | Excellent in harsh climates | Minimal, occasional cleaning |
| Synthetic Materials | 20–50 years | Varies, high wind resistance | Low to moderate |
This summary makes it easier to weigh material choices for your project.
Thorough project planning transforms a complex roof replacement from a potential headache into a strategic property investment.
Document your material specifications, estimated project timeline, and anticipated costs in a detailed project plan. This comprehensive approach will help you communicate effectively with contractors and ensure everyone understands the project expectations.
To help ensure your roof replacement project runs smoothly, here’s a summary of key planning steps and their importance:
| Step | Purpose | Impact on Project |
|---|---|---|
| Measure Roof Area | Accurate material and labor planning | Prevents waste and cost overruns |
| Select Materials | Match durability and style needs | Improves lifespan and curb appeal |
| Set Budget | Allocate funds for all phases | Avoids unexpected expenses |
| Check Permits | Ensure legal compliance | Prevents project delays |
Using this checklist can streamline your planning process and reduce risks.
Pro tip: Request material samples and conduct side-by-side comparisons to make the most informed selection for your specific property requirements.
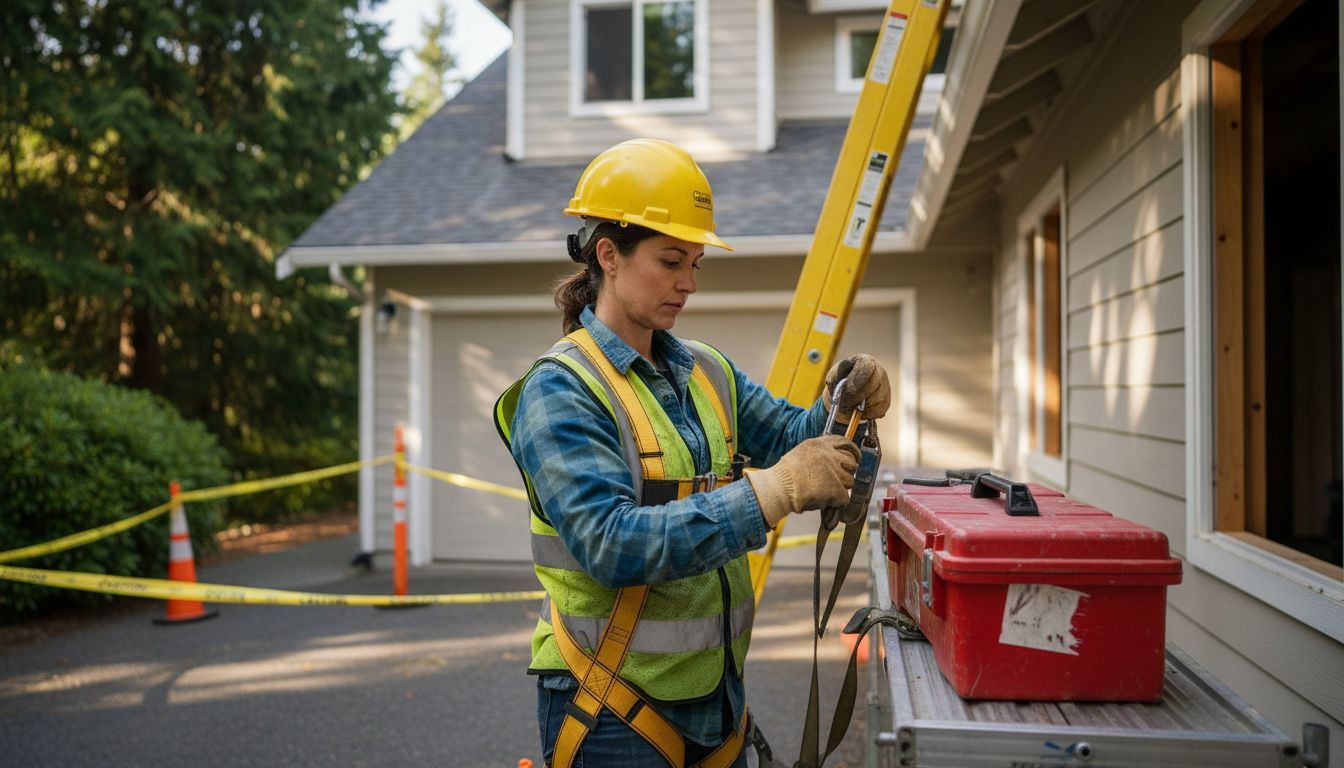
Step 3: Prepare Site for Safe Installation
Preparing your property for a safe and efficient roof replacement requires meticulous planning and comprehensive site preparation. This critical step ensures worker safety, protects your property, and sets the foundation for a successful roofing project.
Workplace safety protocols recommend thoroughly evaluating and preparing the installation site to minimize potential risks:
- Clear surrounding area of obstacles and fragile items
- Establish designated worker zones
- Protect landscaping and ground surfaces
- Secure potential hazard areas
- Verify structural access points
Begin by creating a comprehensive safety perimeter around your property. This involves marking off work areas, establishing equipment staging zones, and ensuring clear paths for material delivery and waste removal. Communicate with your roofing team about specific property characteristics, such as delicate landscaping, underground utilities, or unique architectural features that require special attention during the installation process.
Effective site preparation is the cornerstone of a safe and successful roof replacement project.
Ensure all necessary safety equipment is on-site and properly configured before work begins. This includes fall protection systems, personal protective gear, and emergency communication devices. Coordinate with your roofing contractor to review and validate the site preparation checklist, addressing any potential challenges or unique considerations specific to your property.
Pro tip: Take comprehensive photographs of the site before work begins to document existing conditions and protect yourself against potential damage claims.
Step 4: Execute Roof Removal and Installation
Executing a roof removal and installation requires precise coordination, strategic planning, and strict adherence to safety protocols. This critical phase transforms your roofing project from conceptual planning to tangible transformation.
Workplace safety guidelines recommend a systematic approach to roof replacement that prioritizes worker safety and project efficiency:
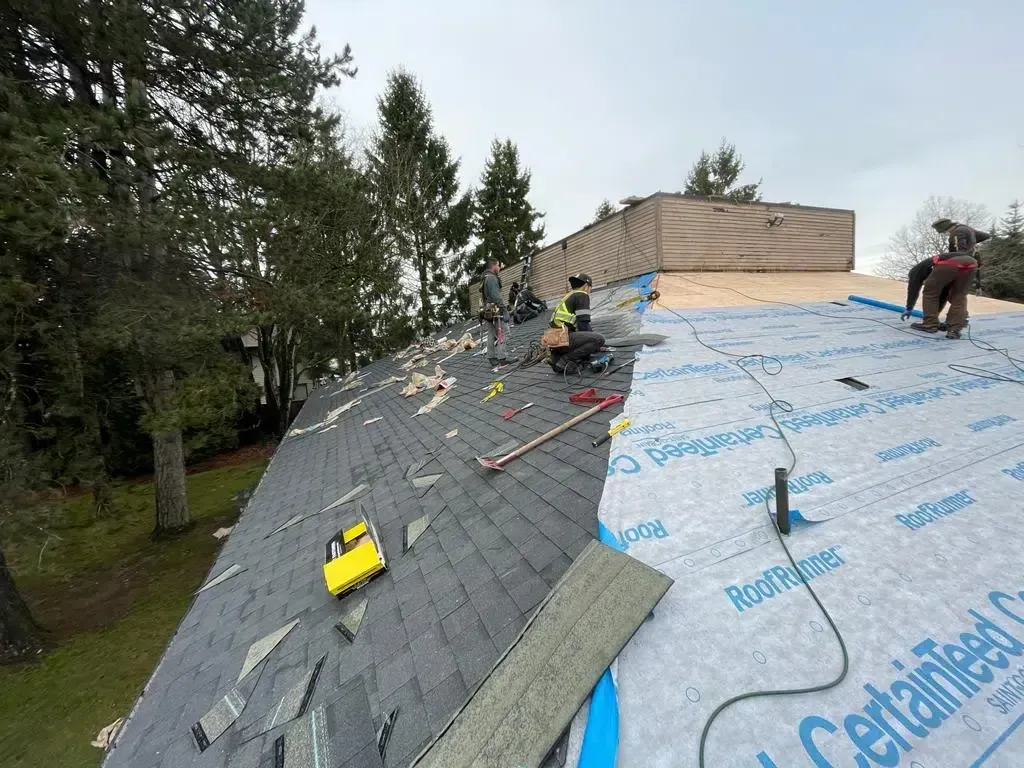
- Remove existing roofing materials systematically
- Inspect underlying roof deck for structural damage
- Install protective underlayment
- Apply new roofing materials according to manufacturer specifications
- Conduct comprehensive quality checks
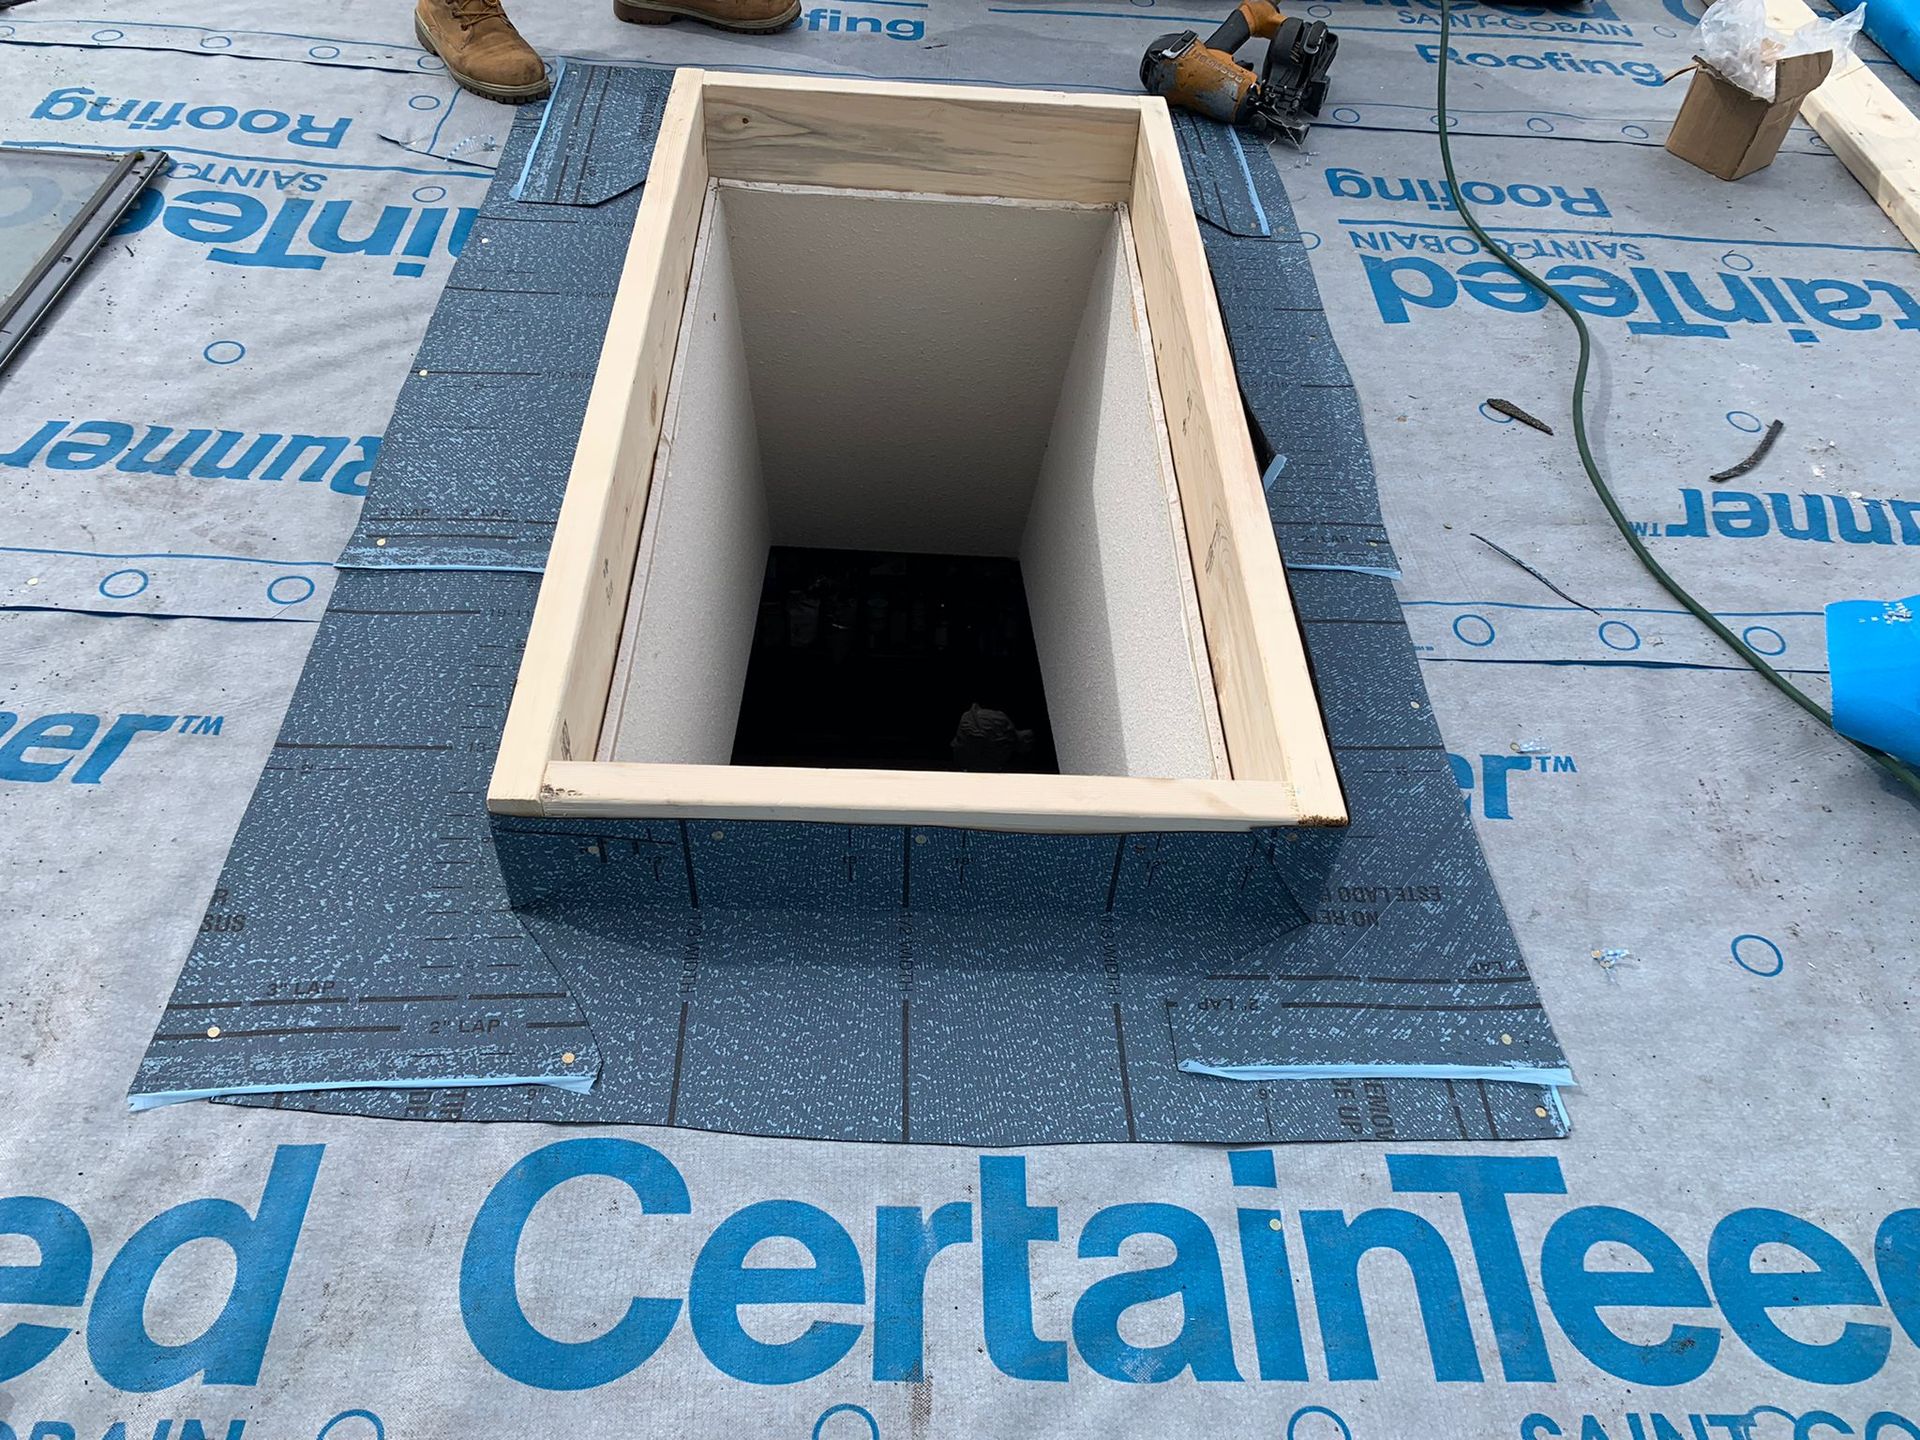
Begin by carefully removing the existing roof covering, working methodically from the top down. Use specialized tools to strip away old shingles, ensuring minimal damage to the underlying roof structure. Pay close attention to potential weak spots, water damage, or structural issues that may require additional repair before new roofing installation.
Precision during roof removal and installation determines the long-term performance and durability of your entire roofing system.
After removing the old roofing, thoroughly clean and prepare the roof deck. Install new underlayment and moisture barriers, creating a solid foundation for your roofing materials. Work with your roofing team to ensure each layer is properly secured and aligned, minimizing potential future vulnerabilities.
Pro tip: Schedule your roof replacement during dry, mild weather conditions to optimize material installation and reduce potential moisture-related complications.
Step 5: Verify Quality and Finalize Cleanup
The final stage of your roof replacement project involves rigorous quality verification and comprehensive site cleanup, ensuring your investment delivers long-lasting protection and aesthetic appeal. This critical phase transforms a construction site back into a pristine property environment.
Quality assurance protocols recommend conducting a systematic final inspection that covers multiple aspects of workmanship:
- Verify proper material installation
- Check seam and edge alignments
- Inspect flashing and waterproofing
- Confirm structural integrity
- Document final project specifications
Carefully walk through the entire roofing surface, examining each section for potential installation issues. Look for consistent shingle/material placement, secure fastening, and smooth transitions between roofing components. Pay special attention to critical areas like valleys, ridges, and intersections where water penetration risks are highest.
A meticulous final inspection is the difference between a good roof replacement and an exceptional roofing investment.
Complete the project by conducting a comprehensive cleanup of the entire work area. Remove all debris, nails, packaging materials, and construction remnants from your property, including landscaping and surrounding zones. Ensure the site is returned to its original condition, with careful attention to protecting grass, gardens, and exterior surfaces during the final stages.
Pro tip: Request a detailed written report from your roofing team documenting the exact materials used, installation techniques, and warranty information for your records.
Elevate Your Property Value with Expert Roof Replacement Services
Understanding the roof replacement workflow is essential for protecting your property’s value and avoiding costly repairs. As the article highlights, challenges like thorough roof condition assessments, selecting the right materials, and ensuring safe installation can feel overwhelming without professional guidance. If cracking shingles, water stains, or structural concerns are causing you stress, trust a team that understands how to turn these pain points into lasting solutions.
Paragon Roofing BC specializes in delivering comprehensive roofing services across the Vancouver and Lower Mainland regions. From detailed inspections and precise roof removal to expert installation using premium shingles, metal, cedar, or synthetic slate, we prioritize quality and customer satisfaction every step of the way. Experience peace of mind knowing your investment is in trusted hands who follow rigorous quality verification and cleanup protocols after every job.
Ready to master your roof replacement project? Visit Paragon Roofing BC to schedule your free roof inspection today. Learn how our professional team can help you assess your roof, plan with the best materials, and execute installations safely and efficiently. Don’t wait for problems to worsen — safeguard your property’s value now with experts who care.
Frequently Asked Questions
How do I assess the current condition of my roof?
Begin by conducting a thorough visual inspection for indicators such as water stains, cracked shingles, and sagging surfaces. Document your findings with notes and photographs to create a reliable baseline for future evaluations.
What steps should I take to plan the scope of my roof replacement project?
Define the project scope by measuring the roof area, selecting appropriate materials, and setting a budget. Create a detailed project plan that outlines these elements to streamline the replacement process and avoid unexpected costs.
How should I prepare my property for a roof installation?
Clear the surrounding area of obstacles, protect landscaping, and establish designated worker zones. This preparation promotes safety and facilitates an efficient installation, ensuring minimal disruption to your property.
What should I expect during the roof removal and installation phase?
Expect a systematic approach where the old roofing is removed carefully, and the structural integrity of the roof deck is checked. Assist your roofing team by scheduling the installation during favorable weather conditions to maximize material performance.
How can I verify the quality of my new roof after installation?
Conduct a thorough final inspection to confirm proper material installation, seam alignments, and overall structural integrity. Document your findings and ensure that the site is cleaned up effectively to restore your property to its original condition.