Essential Emergency Roof Repair Steps for Quick Protection
Sudden storm damage leaves many Vancouver homeowners scrambling for answers, with over 40 percent of Canadian emergency repairs caused by severe weather. Quick, decisive action can make all the difference when your roof suddenly fails, threatening both your safety and your property. This guide gives clear steps for assessing damage, staying safe, and stopping leaks fast so you are ready for whatever the unpredictable British Columbia climate brings.
Table of Contents
- Step 1: Assess Damage and Ensure Safety
- Step 2: Gather Repair Materials and Tools
- Step 3: Stop Active Leaks Immediately
- Step 4: Apply Temporary Roof Patches
- Step 5: Inspect Repair Work for Effectiveness
Quick Summary
| Main Insight | Contextual Explanation |
|---|---|
| 1. Assess Damage Safely | Conduct a visual inspection from the ground to avoid hazards and identify visible roof damage. |
| 2. Gather Essential Repair Tools | Prepare a kit with tarps, nails, and duct tape for immediate temporary repairs to minimize damage. |
| 3. Stop Active Leaks Quickly | Use buckets and temporary coverings to manage leaks and protect your home before professional help arrives. |
| 4. Apply Effective Temporary Patches | Use waterproof materials that extend beyond damage to prevent leaks and ensure proper sealing. |
| 5. Inspect Repair Effectiveness | Evaluate patches for leaks after repairs using water simulations and document findings for insurance. |
Step 1: Assess Damage and Ensure Safety
Your roof has been hit by an emergency situation in the Lower Mainland and you need to act fast. The first critical step is assessing damage while keeping yourself completely safe.
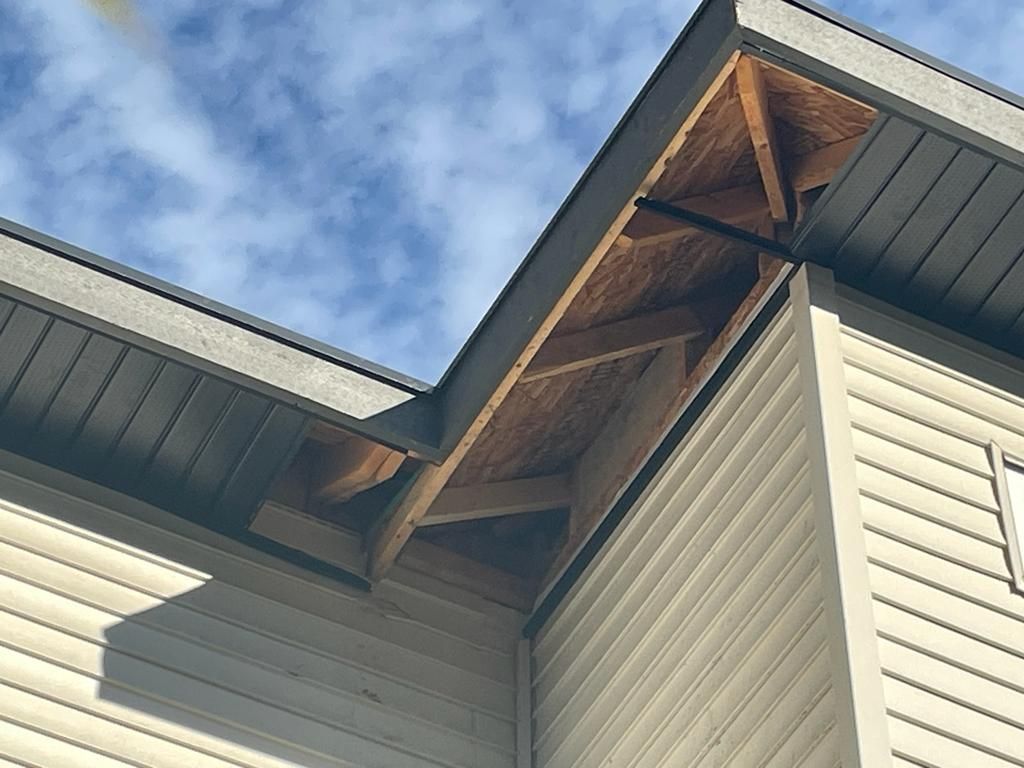
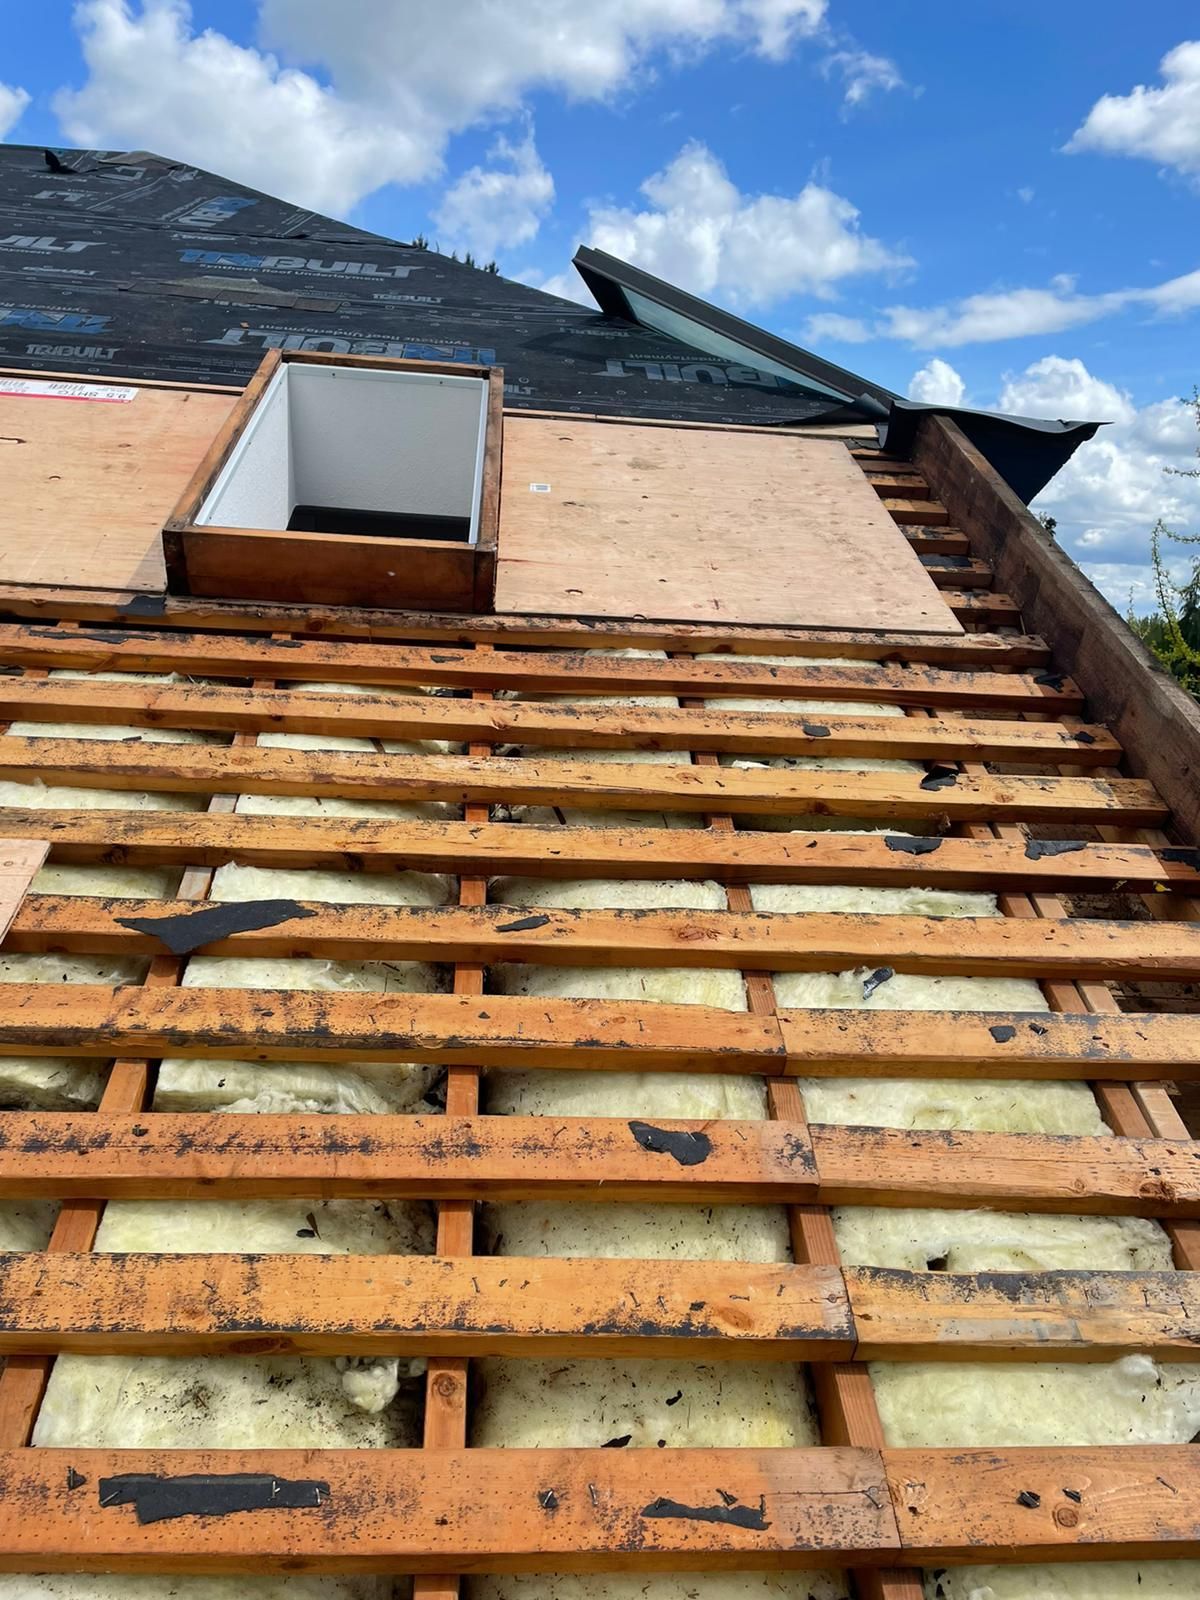
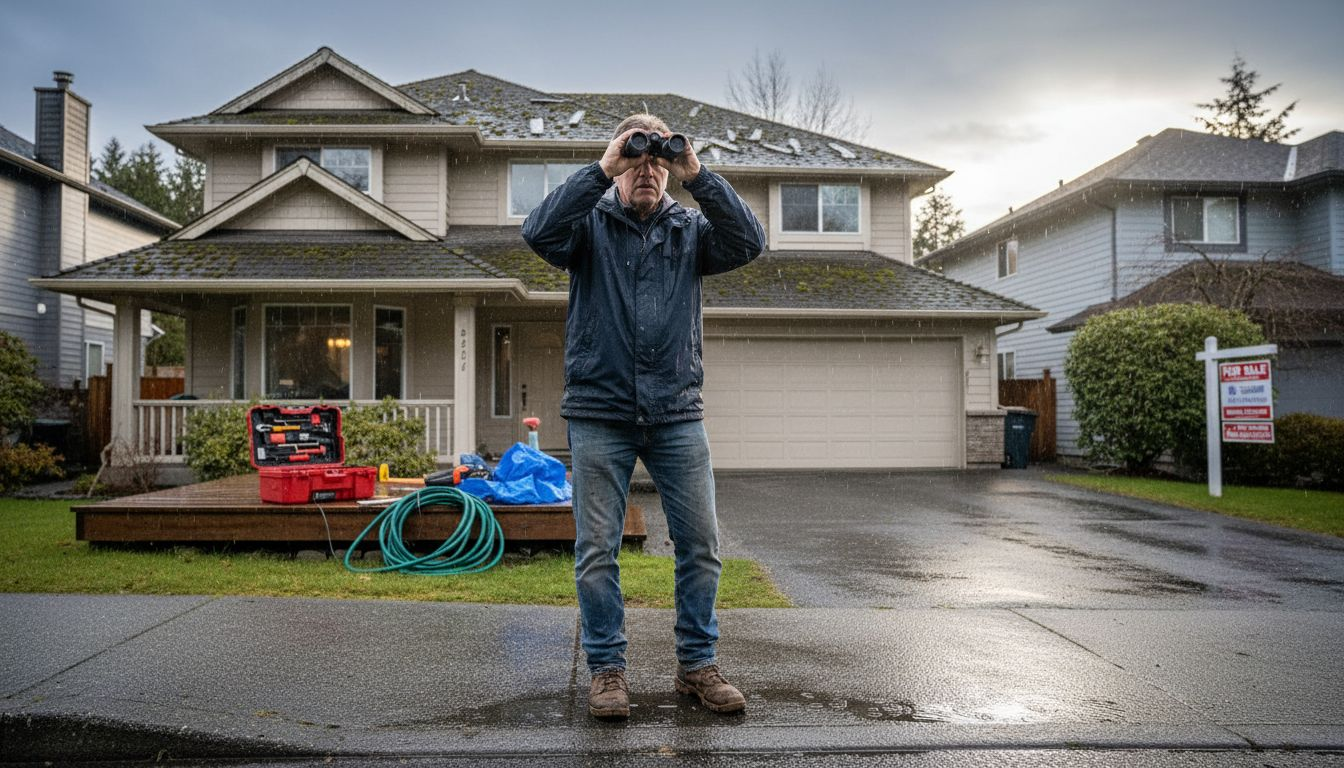
Begin by examining your roof from ground level. Visual inspection from a safe distance is key to understanding potential structural risks without putting yourself in danger. Look for obvious signs of damage such as sagging sections, visible holes, displaced shingles, or debris accumulation. Pay special attention to areas around chimneys, skylights, and roof edges where water might penetrate.
Move inside and check your attic and upper floors for water stains, dripping, or structural deformation. These interior signs can reveal the extent of roof damage and potential risks. If you notice significant water intrusion or structural compromise, evacuate the area immediately and call professional roofers. Electrical hazards are real in wet conditions, so avoid touching any electrical systems near water.
Documenting your findings is crucial for insurance purposes. Take clear photographs of both exterior and interior damage from multiple angles. Professional documentation helps streamline the repair process and provides a clear record for insurance claims.
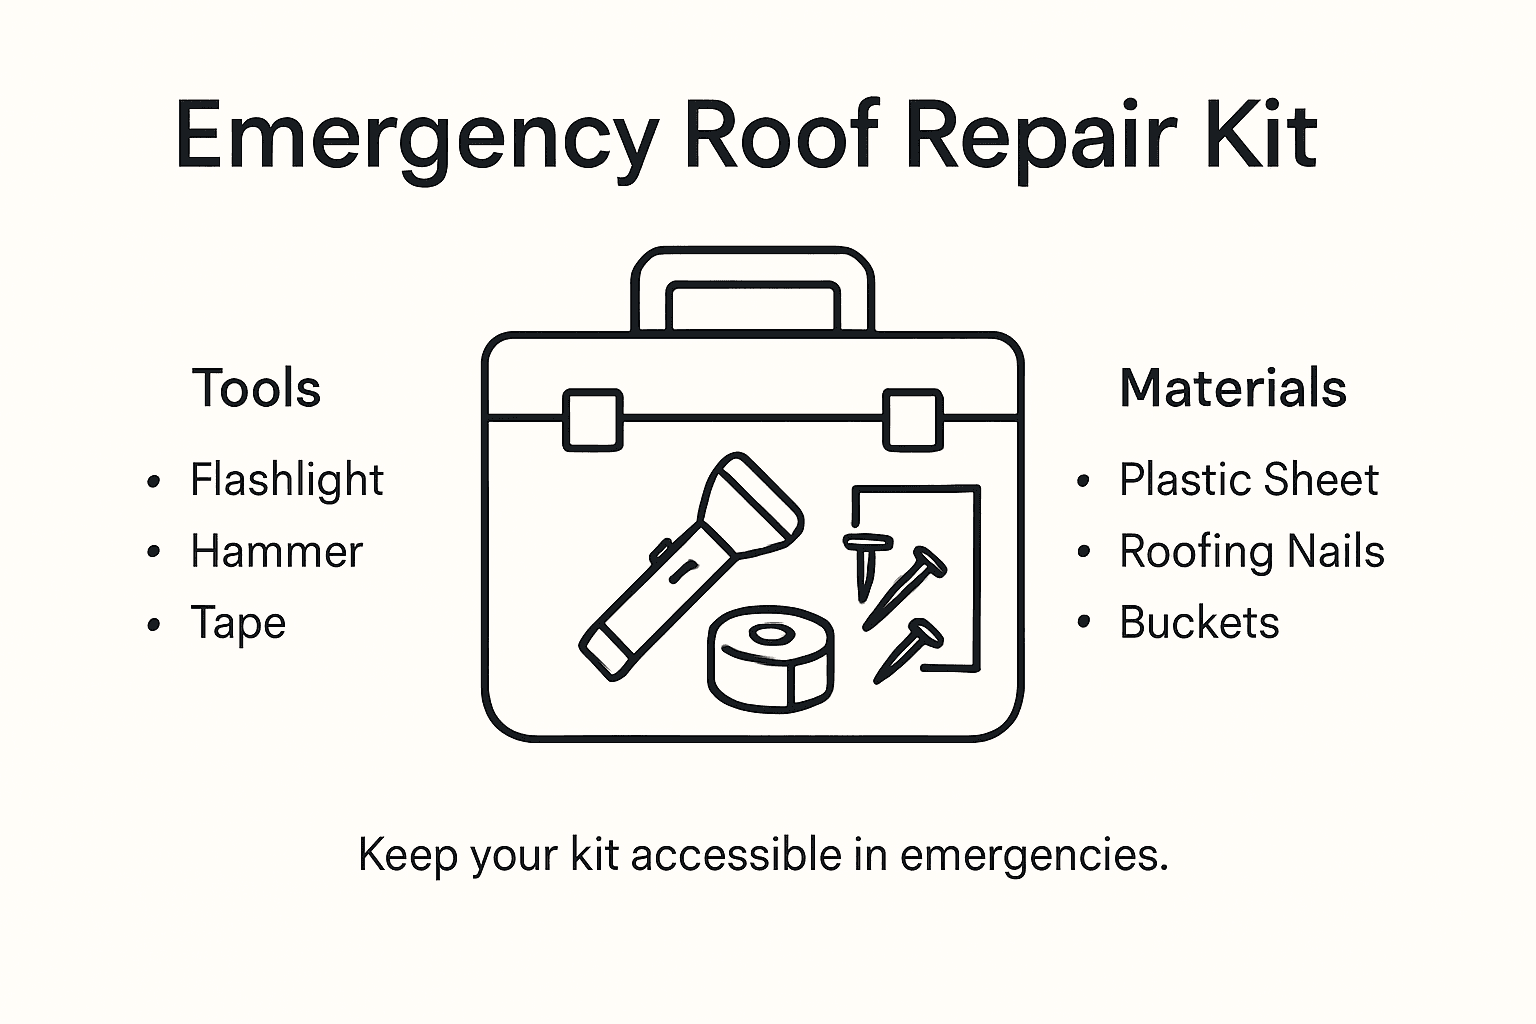
Pro tip: Keep a waterproof emergency kit with a flashlight, plastic sheeting, and a first aid kit readily accessible during roof emergencies in our unpredictable British Columbia climate.
Step 2: Gather Repair Materials and Tools
With your initial damage assessment complete, it is time to prepare the right materials and tools for your emergency roof repair. Quick action and proper equipment can mean the difference between a minor fix and extensive water damage in our unpredictable British Columbia weather.
Assembling a strategic emergency preparedness kit is crucial for effective roof repairs. You will want to collect essential tools like heavy duty tarps waterproof plastic sheeting, multiple sizes of roofing nails, a utility knife, work gloves, a hammer, measuring tape, and robust duct tape. For temporary repairs in the Lower Mainland climate with its frequent rainfall and moisture challenges, focus on materials that provide quick water barrier protection.
While some homeowners might feel tempted to climb onto a damaged roof immediately, professionals recommend staying grounded and focusing on temporary protective measures. Select waterproof tarps that are at least two metres larger than the damaged roof section to ensure complete coverage. Secure these materials safely from the ground using extendable poles or ladders positioned at safe angles. Your goal is creating an immediate water barrier that prevents further interior damage until professional roofers can assess and permanently repair the roof.
Pro tip: Store your emergency roof repair kit in a dry accessible location near your home entrance where you can quickly grab it during unexpected roof damage situations.
Here’s a helpful comparison of temporary roof repair materials and their ideal uses:
| Material Type | Best For | Advantages |
|---|---|---|
| Heavy duty tarp | Large damaged areas | Fast coverage, water-resistant |
| Waterproof plastic sheeting | Small punctures, quick fixes | Lightweight, easy to secure |
| Metal mesh + sealant | Small holes or punctures | Strong barrier, resists tears |
| Roofing nails & duct tape | Securing tarps/plastic sheeting | Reliable hold, quick to apply |
Step 3: Stop Active Leaks Immediately
In the midst of a roof emergency, your primary goal is preventing water from causing catastrophic interior damage. British Columbia’s relentless rainfall demands swift action to protect your home from potential structural destruction.
Immediate leak management techniques are crucial for minimizing water intrusion. Start by strategically placing buckets and large containers beneath active leak points to capture dripping water. If you notice water bulging in your ceiling, carefully puncture the area with a small hole to release trapped water in a controlled manner preventing potential ceiling collapse. Cover leak points rapidly with waterproof plastic sheeting secured tightly using roofing nails or robust duct tape.
For homes in regions prone to ice dams familiar to Vancouver Island and the Lower Mainland, additional strategies become essential. Temporary drainage solutions like calcium chloride socks can help create channels for water escape and reduce potential damage. Focus on redirecting water away from critical interior spaces while maintaining a safe working environment. Remember that these are emergency measures designed to provide temporary protection until professional roofers can conduct comprehensive repairs.
Pro tip: Always wear protective footwear and use rubber gloves when handling wet surfaces to prevent potential electrical hazards and maintain personal safety during emergency leak management.
Step 4: Apply Temporary Roof Patches
With your leak points identified and emergency materials gathered, it is time to apply strategic temporary patches that will protect your home from British Columbia’s unforgiving moisture and rainfall. Quick and effective patching can mean the difference between minor damage and extensive structural problems.
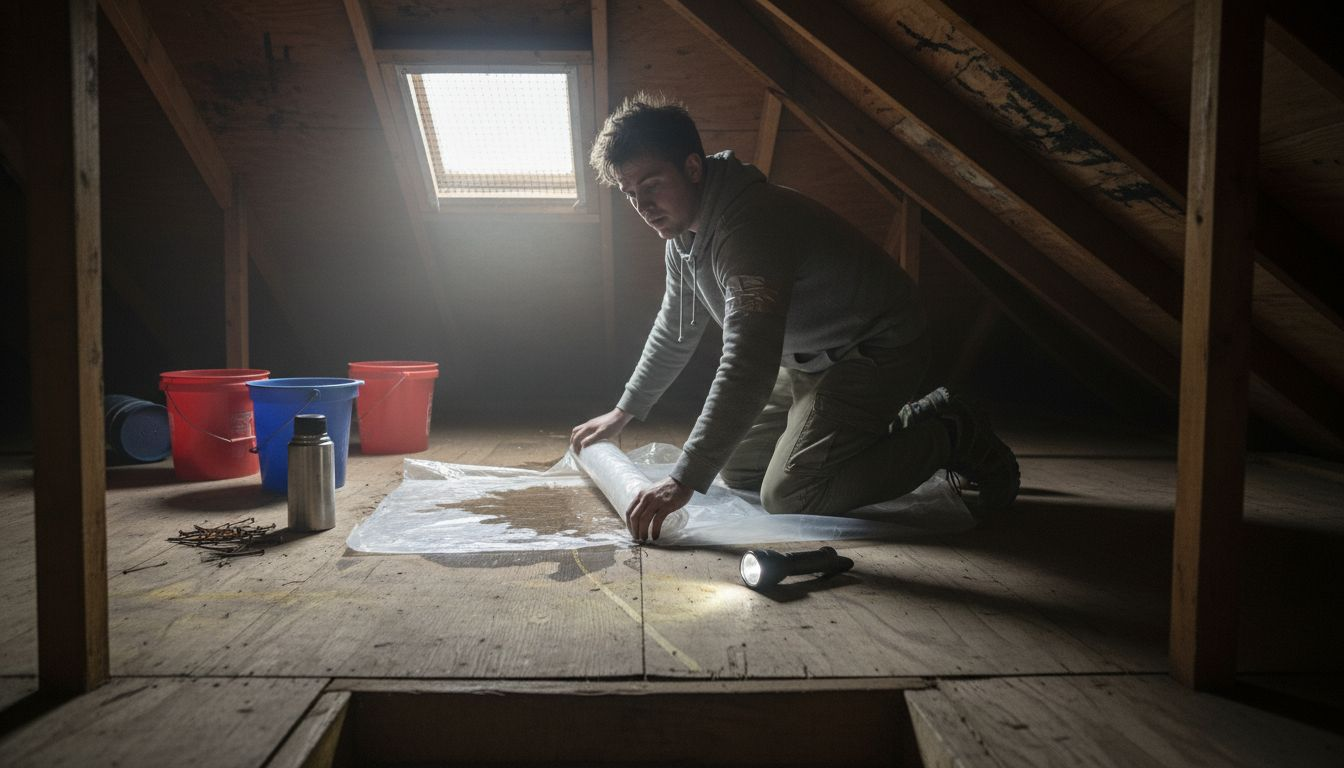
Emergency shelter patching techniques require careful material selection and precise application. Choose heavy duty waterproof tarps or plastic sheeting that extends at least 30 centimetres beyond the damaged area on all sides. Secure these materials using robust roofing nails or industrial strength adhesive, ensuring a tight seal that prevents water penetration. For smaller punctures, metal mesh combined with waterproof sealant can provide an effective temporary barrier against leaks.
Practical roof repair methods emphasize the importance of creating a smooth surface without additional wrinkles or air pockets that could compromise your temporary patch. Work systematically from the bottom of the damaged area upward to allow proper water runoff. Press materials firmly and check for any potential gaps or loose edges that might allow water seepage. Remember that these are emergency measures designed to provide short term protection until professional roofers can perform comprehensive repairs.
Pro tip: Always overlap patch materials by at least 10 centimetres and use multiple layers of waterproof tape at seam edges to create an additional water barrier during emergency roof repairs.
Step 5: Inspect Repair Work for Effectiveness
After applying emergency patches to your roof, the critical next step is thoroughly evaluating the effectiveness of your temporary repair. In British Columbia’s challenging climate, a hasty or incomplete inspection could lead to significant water damage and costly future repairs.
Comprehensive roof maintenance protocols recommend a systematic approach to post-repair assessment. Begin by carefully examining the patched area from both interior and exterior perspectives. Check for any signs of continued water penetration by looking for moisture stains, dampness, or water droplets near the repaired section. Pay close attention to the edges of your temporary patch ensuring a tight seal with no visible gaps or lifting materials.
Professional roof inspection techniques suggest simulating rainfall conditions by carefully applying water near the repaired area to test the patch’s water resistance. Use a garden hose on a gentle spray setting and observe how water flows around and potentially through your temporary repair. Look for any signs of water seepage or unexpected drainage patterns that might indicate a compromised patch. Remember that these emergency repairs are designed to provide short term protection until professional roofers can perform a comprehensive assessment and permanent repair.
Pro tip: Document your emergency repair with clear photographs from multiple angles to assist professional roofers and support potential insurance claims.
Here is a summary of essential post-repair inspection checks:
| Inspection Area | What to Look For | Action if Problem Found |
|---|---|---|
| Patch edges | Gaps, lifting, leaks | Re-seal edges immediately |
| Interior ceiling | New moisture stains | Add more waterproofing |
| Simulated rainfall test | Water seepage, unusual flow | Adjust or reinforce patch |
Secure Your Home with Trusted Emergency Roofing Solutions in British Columbia
Emergency roof damage can cause serious stress and uncertainty. When every moment counts, quick action to create temporary patches and stop leaks is essential to prevent costly water damage and further risks. At Paragon Roofing BC, we understand how vital it is to have expert hands ready to provide professional roof inspection and repairs after you complete your initial emergency steps. Our experienced team specialises in working with a range of roofing materials including asphalt shingles, metal, and cedar, delivering durable and reliable solutions tailored to your property’s needs.
Don’t leave a temporary fix unmonitored or risk escalating damage in the unpredictable British Columbia climate. Contact Paragon Roofing BC today for comprehensive roof repair services and a free inspection. Learn more about how our roof repair services can restore the safety and integrity of your home or commercial building. Immediate professional support can save you time and money while protecting what matters most.
Frequently Asked Questions
What should I do first when assessing roof damage?
Start by conducting a visual inspection of your roof from ground level. Look for sagging sections, visible holes, and debris accumulation to identify potential hazards without putting yourself at risk.
How do I protect my home from leaks during an emergency?
Immediately move to contain active leaks by placing buckets under drips and sealing leak points with waterproof plastic sheeting. Act decisively to create a temporary barrier and minimize water damage as quickly as possible.
What materials do I need for temporary roof patches?
Gather heavy duty tarps, waterproof plastic sheeting, roofing nails, and duct tape as your primary materials. Ensure your patches extend at least 30 centimetres beyond the damaged area for effective coverage against moisture.
How can I check if my temporary roof patch is effective?
Inspect the patched area for moisture stains or leaks after applying the patch. Use a garden hose to simulate rainfall and observe any signs of water seepage around the edges to confirm that your repair is secure.
How do I document my emergency roof repair for insurance purposes?
Take clear photographs of both the exterior and interior damage from multiple angles. Record the extent of damage and your repair efforts to provide comprehensive evidence for your insurance claims.
When should I call a professional for roof repairs?
Reach out to professional roofers if you notice significant water intrusion or structural damage during your assessment. It’s essential to have experts evaluate and conduct comprehensive repairs to ensure long-term protection for your home.