
Stop A $1,200–$3,500 Chimney Replacement: 5 Delta Inspection Steps
Stop A $1,200–$3,500 Chimney Replacement: 5 Delta Inspection Steps
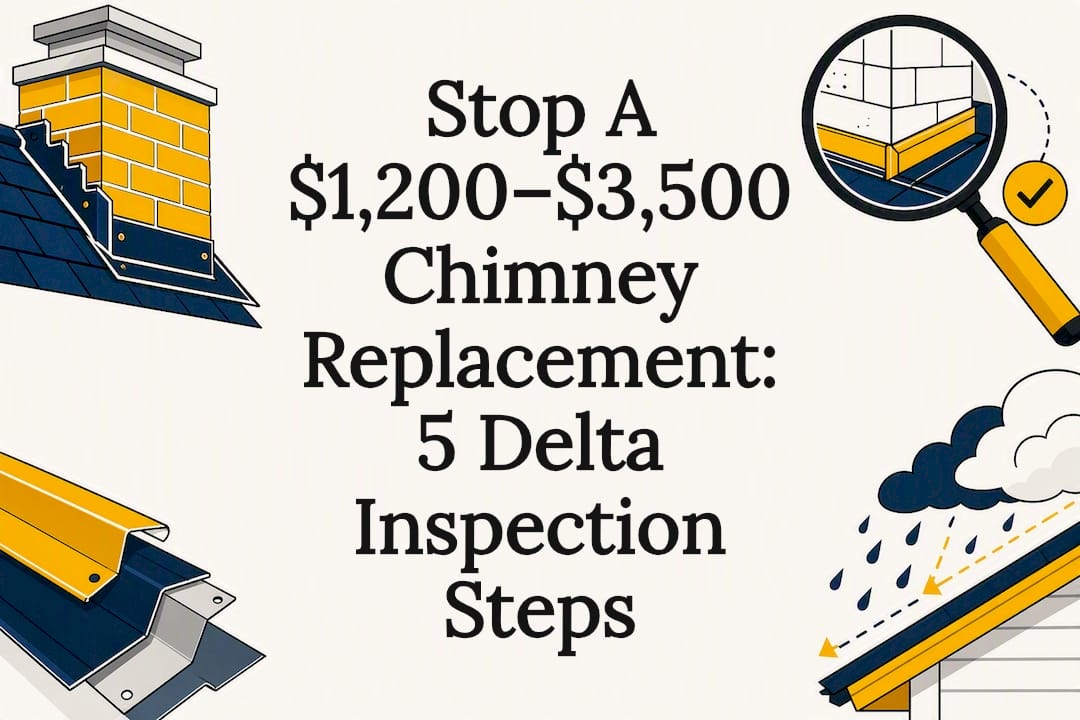
If water is showing up near your fireplace after a rainstorm, chimney flashing is the most likely culprit, not the shingles or the chimney cap. If the leak is active, call a contractor immediately for emergency weatherproofing. If it is not active right now, work through the inspection checklist below before booking a repair, and skip climbing onto a wet or steep roof yourself.
TL;DR:
- Water near your fireplace after heavy rain usually indicates a flashing failure, especially if stains radiate from the chimney chase rather than the shingles.
- Rust tracks, lifted or curled flashing, and damp attic insulation are signs that require professional inspection, preferably from the ground or attic for safety.
- Coastal Delta climates accelerate flashing deterioration due to freeze-thaw cycles, corrosion, and poor original installation, often leading to earlier failures.
- Permanent repairs involve removing failed materials, installing a reglet, embedding new step and counter-flashing, and using durable materials like stainless steel or copper for longevity.
- Emergency weatherproofing can temporarily stop leaks in active cases, but a full repair usually costs between $500 and $3,500, best scheduled in dry late summer or early fall.
Table of Contents
- Signs your Delta chimney flashing leak is real
- How do you safely inspect for a chimney flashing leak?
- Why does chimney flashing fail so often in Delta?
- What does a proper chimney flashing repair involve?
- When should you schedule the repair, and what does it cost?
- What materials and brands hold up best on Delta chimneys?
- Can you DIY a minor chimney flashing leak?
- How do you choose a contractor for flashing repair?
- Will insurance cover a chimney flashing leak?
- Paragon Roofing BC’s take on Delta chimney cases
- Get your chimney flashing inspected before the next storm
- Sources
- FAQ
Signs your Delta chimney flashing leak is real
Flashing failure has a recognizable pattern once you know what to look for. A brown or yellow stain that starts near the chimney chase and spreads outward almost always traces back to the flashing joint rather than the shingles, so that stain shape alone tells you where to focus your search.
Watch for these seven signals:
- Stain pattern hugging the chimney : water marks that radiate from the chase, not scattered across the ceiling, point straight at flashing.
- Rust tracks on brick : orange or reddish streaks running down masonry mean the metal flashing is corroding and channelling water onto the brick instead of over it.
- Lifted or curled flashing : visible gaps between the metal and the chimney base let wind-driven rain in during Delta’s coastal storms.
- Dripping in the flue during rain : water hitting the damper is a strong sign the counter-flashing has separated.
- Musty odour near the fireplace : persistent dampness inside masonry breeds mould before you ever see a stain.
- Damp attic insulation near the chimney chase : this confirms water is getting past the flashing and running along the framing.
- Heavy, uneven caulking around the chimney base : a thick bead of sealant usually means a previous “quick fix” that is already failing.
None of these confirm the diagnosis on their own, but two or more together are close to conclusive. Never inspect from a ladder on a wet roof to check these signs yourself.
How do you safely inspect for a chimney flashing leak?
You can gather most of the evidence you need without ever leaving the ground.
- Start with binoculars from the ground. Look for lifted or separated flashing sections, rust streaks on the brick, cracked mortar joints, and a missing or undersized cricket (the small peaked structure that diverts water around the chimney’s uphill side).
- Check the attic on the next dry day. Trace any damp insulation, dark staining, or discoloured wood back toward the chimney chase. Nail heads showing rust or “sweat” are an early indicator of moisture working through the roof deck.
- Follow the water, not just the stain. Water often travels along a rafter or truss chord before dripping, so the wet spot on your ceiling may sit several feet from where the leak actually enters.
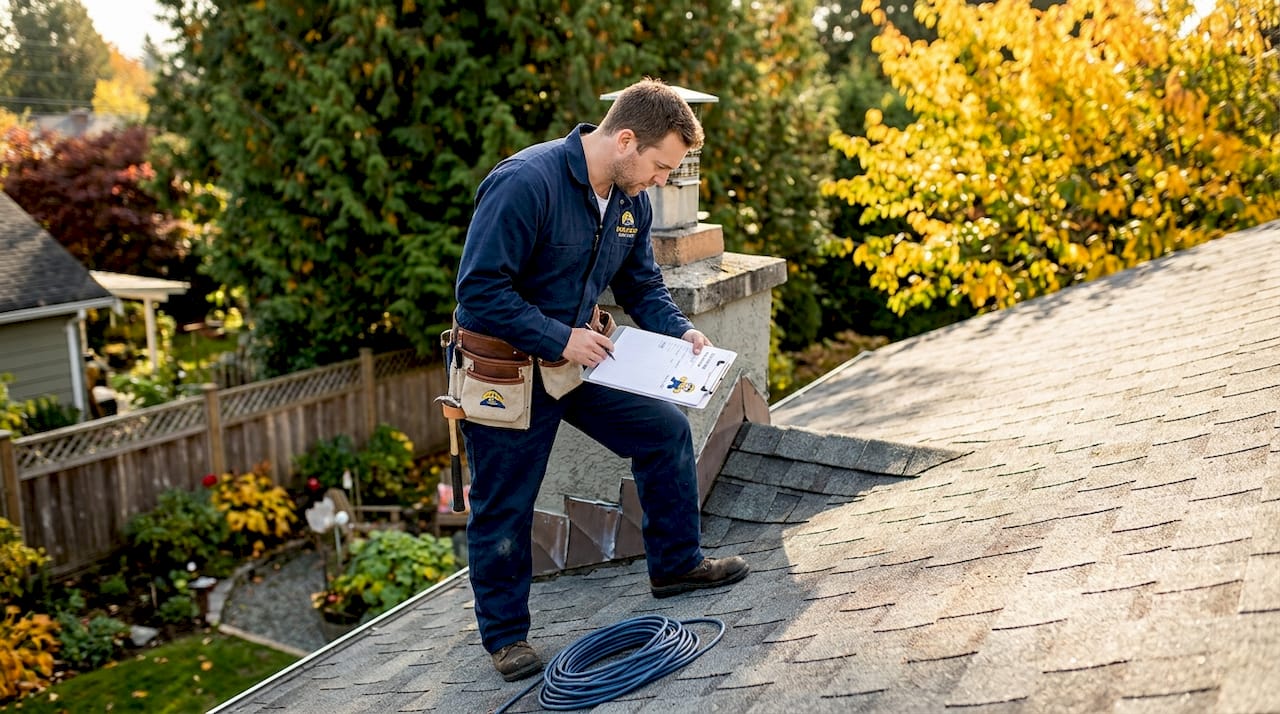
- Call a professional for anything above the eaves. Steep or wet roof surfaces around a chimney are not a place for a homeowner to be standing, and Delta’s older strata roofs in particular can hide soft decking that will not hold weight safely.
- Ask for a controlled water test if the source is unclear. A controlled water test lets a contractor isolate the flashing, mortar joints, and cricket one at a time to confirm exactly where water is entering before any repair begins.
Pro Tip: Take dated photos of every stain and attic damp spot you find. A contractor can use that timeline to tell whether you are dealing with a slow, chronic leak or a new failure, and it speeds up any future insurance conversation.
Why does chimney flashing fail so often in Delta?
Delta’s climate is genuinely hard on flashing, and it is not just “heavy rain” in the abstract. Long wet winters combined with repeated freeze-thaw cycling accelerate flashing and mortar-joint deterioration, which means flashing in Metro Vancouver tends to fail years earlier than the same materials would in a drier interior climate.
A handful of specific factors drive most of the calls Paragon Roofing BC gets in the region:
- Material fatigue and corrosion : galvanized flashing installed decades ago is now well past its useful life in a coastal environment, and rust tracks are the visible proof.
- Freeze-thaw and saturated mortar joints : moisture that gets into mortar and then freezes expands the joint, and repeated cycles eventually crack the seal around the flashing.
- Poor original installation : missing counter-flashing, caulk applied over a gap instead of proper metal, or a step-flashing weave that was never woven correctly under the shingles.
- Debris, moss, and disturbed flashing : moss buildup traps moisture against the flashing edge, and any roof work (satellite mounts, gutter clearing, even a previous re-roof) that shifts the flashing without resealing it properly.
BC’s building code backs this up directly. Junctions between roofing and adjacent materials, chimneys included, must be adequately flashed to shed water under Part 9 of the provincial code, which is exactly the standard a caulk-only patch job fails to meet.
What does a proper chimney flashing repair involve?
A repair that actually holds up through a Delta winter looks nothing like a tube of sealant run around the base. The correct sequence removes the failed materials entirely rather than layering a patch on top of them.
- Inspect the full flashing system : step flashing, counter-flashing, cricket, and every mortar joint get checked together, not just the spot that is currently leaking.
- Remove the failed flashing : old, corroded, or improperly installed pieces come off completely.
- Cut a reglet into the masonry : a proper counter-flashing installation gets embedded into a reglet cut directly into the brick or block, which is the detail that separates a lasting repair from a temporary one.
- Install new step flashing and counter-flashing : the step pieces weave under each shingle course while the counter-flashing locks into the reglet above.
- Reseal and water-test : a proper job finishes with a controlled water test to confirm the new flashing sheds water the way it is supposed to.
For materials, aluminum flashing is common and affordable, but stainless steel and copper resist corrosion far better against Delta’s salt air and sustained coastal moisture. Replacement rather than repair makes sense when corrosion is widespread across multiple sections, when the surrounding mortar has decayed badly enough that a reglet cannot hold, or when several seams and the cricket have all failed at once. If you have an active leak and cannot get a full repair scheduled right away, a contractor can apply emergency weatherproofing, typically a temporary membrane or sealed cover, to stop water intrusion until permanent work can begin.
Pro Tip: Ask any contractor bidding on the job whether their quote includes a reglet cut and embedded counter-flashing, or just resealing over the existing metal. That one question separates a durable repair from a callback waiting to happen.
When should you schedule the repair, and what does it cost?
Late summer and early fall are the best windows for chimney flashing work in Delta, because sealants and mortar need dry conditions to cure properly before winter rain arrives. Booking roof repairs ahead of the late fall season helps avoid emergency calls during heavy storms.
- Targeted flashing repair : typically runs $500 to $1,200 depending on how much flashing and masonry work is involved.
- Full flashing replacement : generally falls in the $1,200 to $3,500 range once mortar repair, new step and counter-flashing, and cricket work are included.
- Insurance documentation : most policies distinguish between sudden damage and gradual wear from lack of maintenance, so keep those dated photos and any prior inspection notes on hand before filing a claim.
- Temporary fix as a rational choice : if you are mid-winter with an active leak and cannot get a full repair booked, a short-term emergency seal is a reasonable bridge, not a permanent answer.
What materials and brands hold up best on Delta chimneys?
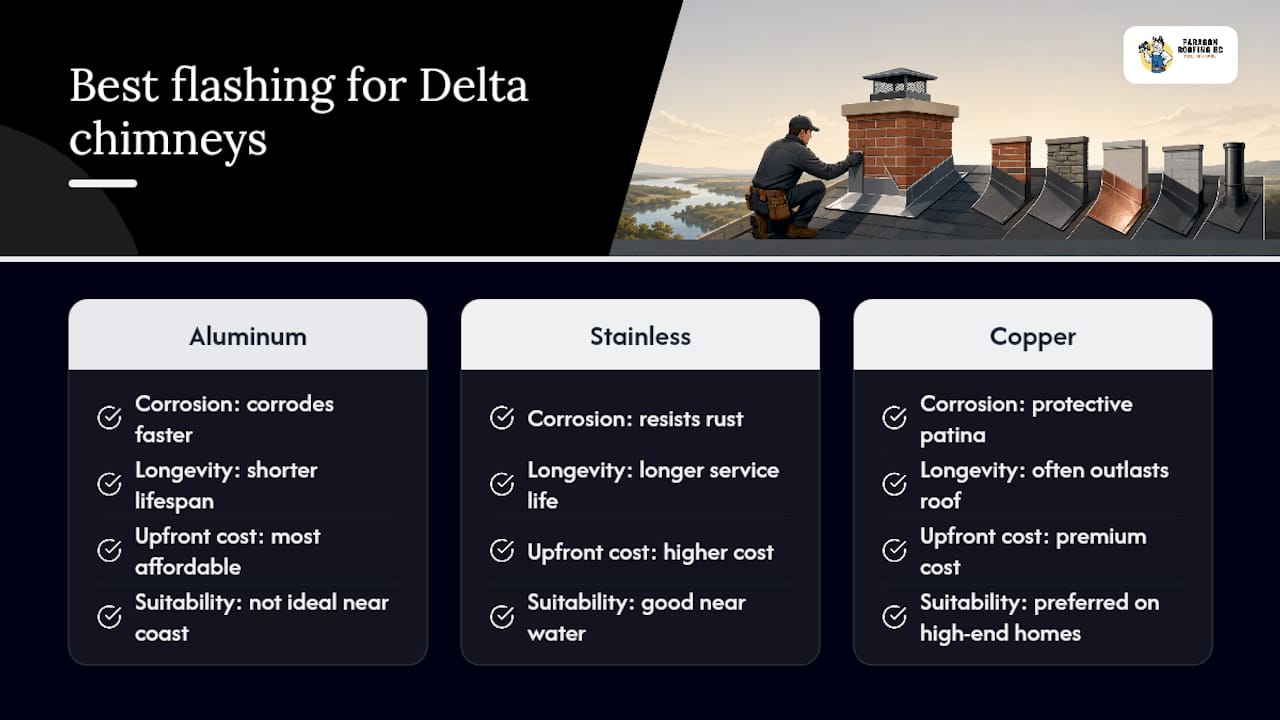
Not every flashing metal performs the same way against salt air and constant coastal moisture. Aluminum flashing is the most common choice because it is affordable and easy to form around a chimney chase, but it corrodes faster in Delta’s environment than the alternatives.
Stainless steel resists rust significantly longer and is worth the extra upfront cost on chimneys near the water or exposed to prevailing wind-driven rain. Copper is the premium option: it develops a protective patina over time, often outlasts the roof itself, and is a common choice on higher-end Delta homes and heritage-style properties where appearance matters as much as durability.
Beyond the metal itself, the sealants used at the counter-flashing reglet matter. A high-quality polyurethane or butyl-based sealant, rated for exterior masonry, holds up far better than a generic silicone caulk that hardens and cracks within a couple of seasons. Whatever brand of flashing goes on the roof, the installation detail (the reglet cut, the step-flashing weave) determines whether it lasts fifteen years or fails in three.
Can you DIY a minor chimney flashing leak?
Small, early-stage issues are sometimes within reach for a comfortable homeowner, but the scope here is narrow. If you can safely access the area from a stable ladder without stepping onto the roof itself, and the damage is limited to a small section of lifted caulk rather than corroded metal or a cracked reglet, a temporary patch is reasonable.
Clean the area thoroughly first, removing old, cracked sealant with a scraper. Apply a fresh bead of exterior-rated polyurethane sealant along the joint between the flashing and the masonry, pressing it into full contact with both surfaces. Let it cure fully before the next rain if possible.
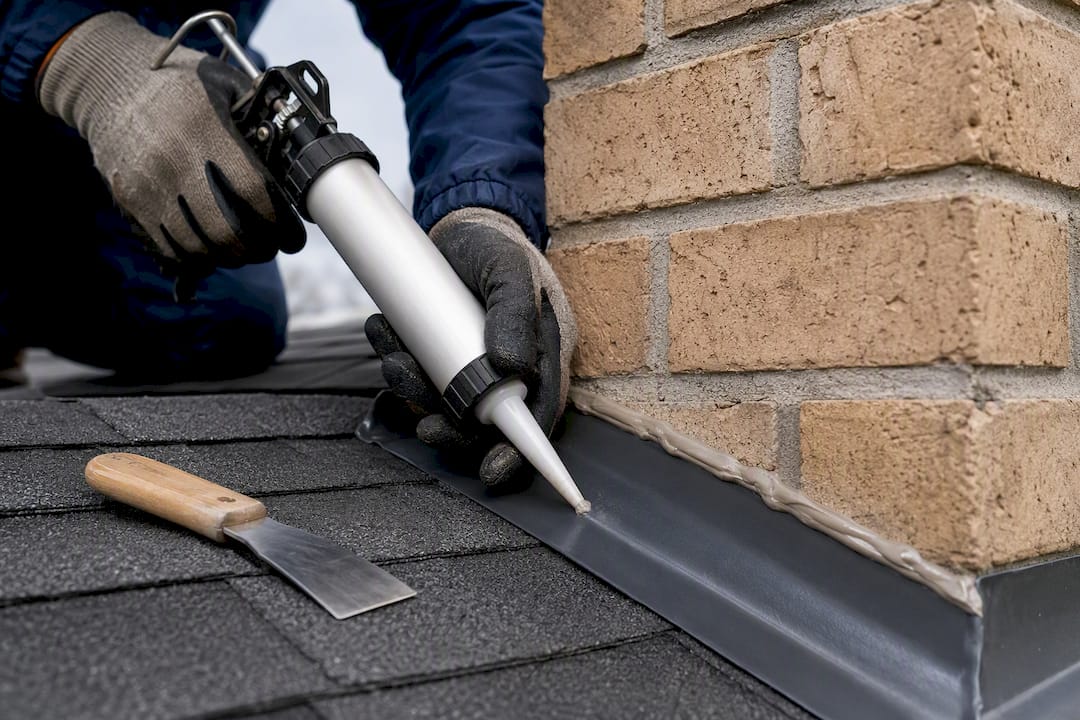
This is a stopgap, not a fix. Any DIY sealant job over an already-failing flashing system will need to be redone within a season or two, and it does nothing to address rust, gaps under the step flashing, or a missing cricket. If your inspection turned up rust tracks, lifted metal, or damp attic insulation, skip the DIY route entirely and book a proper chimney repair instead, since those symptoms mean the underlying flashing has already failed structurally, not just cosmetically.
How do you choose a contractor for flashing repair?
Start by asking exactly what the repair includes before you accept a quote. A contractor who describes cutting a reglet and installing embedded counter-flashing understands the job; one who only mentions resealing or recaulking is offering a short-term patch dressed up as a repair.
Red flags to watch for:
- A quote with no mention of removing the old flashing at all.
- Pressure to sign same-day without a written scope of work.
- No willingness to explain material choice (aluminum versus stainless versus copper) when asked.
- No offer of a controlled water test or any way to verify the repair actually stopped the leak.
- Vague or missing WCB coverage and liability insurance information.
Ask for local references specific to Delta or nearby Lower Mainland communities, since coastal exposure and mortar age vary block by block. A contractor familiar with roof leak detection work in the region will also recognize when a chimney symptom is actually a broader roof issue rather than an isolated flashing failure.
Will insurance cover a chimney flashing leak?
Coverage generally depends on whether the damage is classified as sudden and accidental or as gradual deterioration from deferred maintenance. A flashing failure caused by a specific storm event has a better chance of being covered than a leak that has clearly been building for years through unmaintained mortar and corroded metal.
Insurers typically want documentation: photos of the damage, a contractor’s written assessment of the cause, and ideally an inspection history showing the chimney was not neglected. This is exactly why the photo timeline mentioned earlier matters. Property managers overseeing strata buildings in Delta should keep this documentation as a standing practice, not something assembled after a leak is already discovered, since claims move faster with a clear paper trail already in hand.
If your insurer denies a claim citing lack of maintenance, a second opinion from a roofing contractor with masonry experience can sometimes support an appeal, particularly when the failure point (a cracked reglet seal, a storm-lifted flashing edge) can be tied to a specific weather event rather than years of gradual wear.
Paragon Roofing BC’s take on Delta chimney cases
Delta’s older mortar mixes and overhanging trees speed up joint washout, and it shows up again and again in scupper and flashing calls across the municipality. A standard Paragon inspection covers the full flashing system, cricket, and adjacent mortar together, because flashing failures rarely show up alone.
— Harman
Get your chimney flashing inspected before the next storm
Professional roofing contractors provide reliable chimney flashing repair, leak detection, emergency tarping for active leaks, and coordination with masons when mortar joints need attention alongside the metal work.

Book an inspection and you get a straightforward process: a full assessment of the flashing, cricket, and surrounding mortar, a written quote before any work starts, and a realistic timeline based on the scope, not a vague estimate. If your fireplace has shown any of the signs covered above, request a residential roofing inspection now, before the next heavy rain turns a small flashing gap into a bigger repair.
Sources
Review BC’s Part 9 flashing requirements and this breakdown of common flashing failure causes for more technical detail.
FAQ
Is it normal for chimneys to leak during heavy rain?
No. A properly flashed and maintained chimney should not leak even during a heavy Delta downpour. Leaking during rain almost always signals a specific failure point, most often in the flashing or mortar joints, not a normal condition to accept.
Will home insurance cover a chimney flashing leak?
It depends on the cause. Sudden damage from a specific storm event has a better chance of coverage than gradual deterioration from deferred maintenance, and insurers usually want photo documentation and a contractor’s written assessment.
What is the average cost to repair chimney flashing in Delta?
Targeted flashing repairs typically run $500 to $1,200, while full replacement involving mortar and cricket work often falls between $1,200 and $3,500 depending on scope.
How do you seal a leaking chimney flashing?
A lasting fix requires removing the failed flashing, cutting a reglet into the masonry, and installing new step and counter-flashing before resealing. A surface caulk job over existing flashing is a temporary measure at best and typically fails within a season or two.
Can Paragon Roofing BC in inspect a chimney flashing leak in Delta?
Flashing leaks in Delta can be inspected by qualified roofing contractors who offer full flashing inspections, emergency weatherproofing for active leaks, and coordination with masons when mortar repair is needed alongside flashing work.
Recommended
Our Roofing Blog
Have more questions about roofing?
Check out our FAQs or give us a call today to speak to an expert roofer in Vancouver Lower Mainland, BC. We're here to help our neighbours make educated decisions about their roof. For our team, we value helping clients save money while making their roofs last.
