
Inspect Every 1–3 Years to Prevent North Vancouver Cedar Leaks
Inspect Every 1–3 Years to Prevent North Vancouver Cedar Leaks

Book a professional cedar roof inspection with photo documentation and a moisture scan before doing anything else. North Vancouver cedar leaks almost always point to concealed rot or a flashing failure hiding under otherwise decent-looking shakes, and both spread fast in our wet, shaded climate. Paragon Roofing BC handles this exact diagnosis daily and typically delivers a written report with a clear repair scope within days of the site visit.
TL;DR:
- Repairs should be prioritized early for ridge caps and shaded areas, as delays lead to faster rot and more extensive replacements.
- Shimming is acceptable for localized damage but should be limited to prevent accelerating failure, with full replacement needed if rot spreads into the deck or sheathing.
- Inspections must include surface testing, attic moisture checks, and flashing reviews, with thorough documentation to support ongoing maintenance and insurance claims.
- Regular maintenance involves clearing gutters, trimming shadows, and avoiding pressure washing, especially on shaded, moisture-prone roofs.
- Strata managers should always request a detailed, photographic inspection report before authorizing repairs, scheduling inspections every one to three years for shaded cedar roofs.
Table of Contents
- Quick checklist: signs your cedar roof or siding is leaking
- How professionals diagnose cedar leaks
- Why North Vancouver cedar fails faster than you’d expect
- Repair options and when full replacement makes sense
- Strata action plan: managing cedar leaks across a building
- Maintenance that actually extends cedar life here
- Publisher perspective: what North Vancouver cedar roofs keep teaching us
- How Paragon Roofing BC can help with your cedar leak
- Sources
- FAQ
Quick checklist: signs your cedar roof or siding is leaking
Before you climb a ladder or call anyone, walk your property line and look up. Cedar tells you it’s failing well before water shows up inside, if you know what to look for.
Exterior signs:
- Cupping or curling shakes, especially on north-facing or shaded slopes
- Brittle, frayed, or crumbling butt ends
- Loose, slipped, or missing shakes anywhere on the field
- Thick moss lifting shingle edges away from the deck
- Ridge caps that look shrunken, split, or separated from the peak
Interior signs:
- Ceiling stains that reappear or grow after every heavy rain
- Musty smells or visible mould near exterior walls and attic hatches
- Damp or compressed insulation you can feel by hand
If you’re seeing active dripping indoors, obvious rot you can push a screwdriver into, or any sag in the roof deck, that’s not a maintenance call. That’s an emergency, and cupping and curling shakes with brittle butt ends and heavy moss growth are the textbook early warning signs that the roofing system underneath is already compromised.
How professionals diagnose cedar leaks
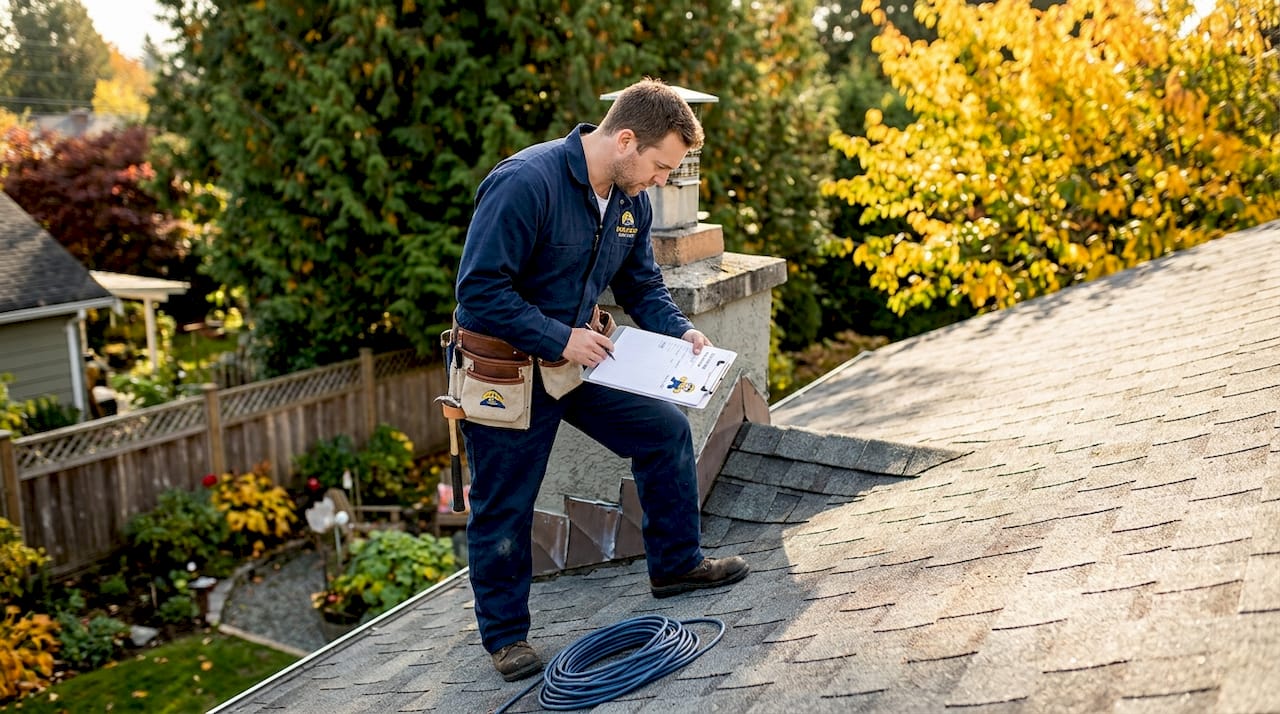
A proper inspection isn’t someone glancing up from the driveway. Paragon Roofing BC’s process on North Vancouver cedar roofs generally runs through four stages:
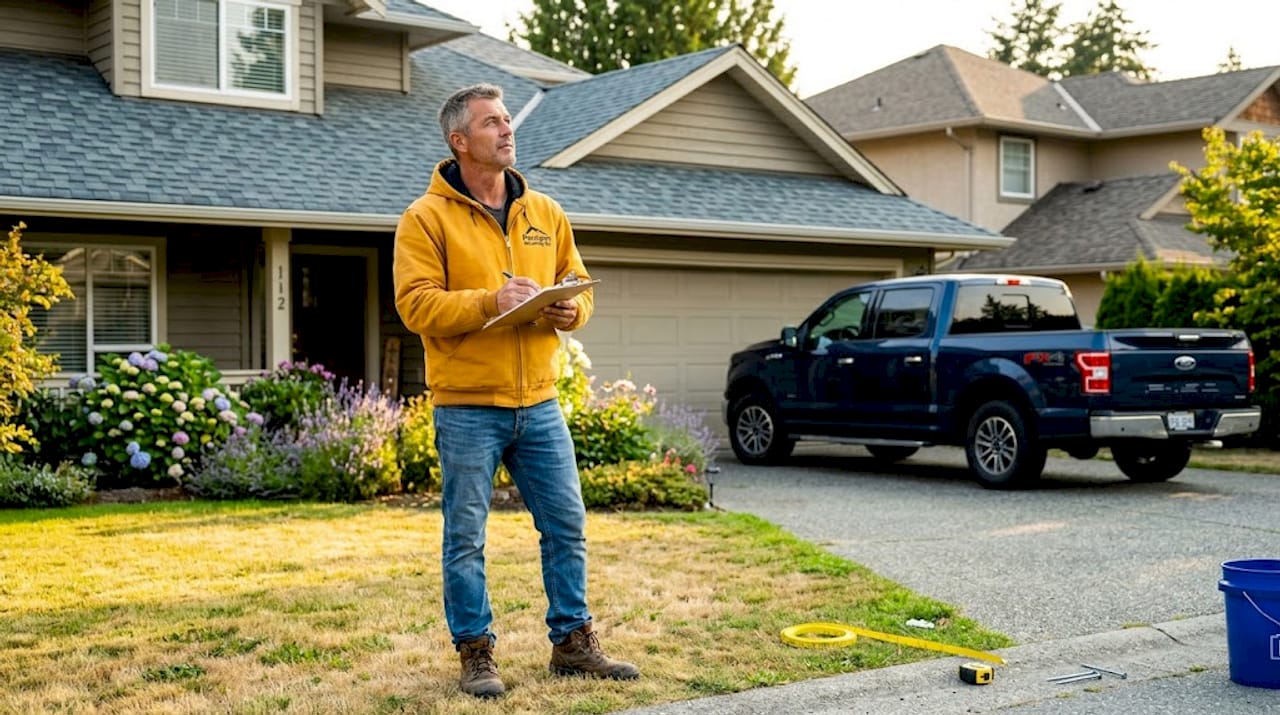
- Roof surface inspection. We walk the field, hand test suspect shakes and ridge caps for softness, and photograph every defect for the record.
- Attic and interior check. We look for wet insulation, staining patterns, and ventilation gaps, using a moisture meter and thermal imaging where the source isn’t obvious from the surface.
- Flashing and penetration review. Chimneys, skylights, valleys, gutters, and eaves get checked individually, since flashing failures often masquerade as “cedar” leaks when the shakes themselves are fine.
- Scope and timeline. We tell you whether you’re looking at a patch, a partial re-shake, or a full section replacement, and roughly how soon it needs to happen.
Pro Tip: Ask for geotagged, annotated photos with the report, not just a verbal summary. Annotated defect maps and moisture readings give you something concrete to compare against next year’s inspection, and they’re invaluable if you ever need to make an insurance claim. A structured inspection report with phased urgency levels also saves strata councils from arguing over which repairs are actually urgent.
You’ll leave that inspection with a written scope, phased repair options ranked by priority, and a straight answer about what happens if you wait another season.
Why North Vancouver cedar fails faster than you’d expect
Cedar performs differently depending on where in the Lower Mainland it sits, and North Vancouver’s terrain works against it in a few specific ways.
- Shade and tree canopy. North-facing slopes and roofs tucked under mature trees stay damp for days after a storm, feeding the fungal growth that breaks down cedar fibre from the inside.
- Ridge caps take the first hit. Exposed at the peak with no field shakes overlapping to shed water, ridge caps and other exposed details tend to rot noticeably faster than the main roof surface, a pattern we see repeatedly on North Shore properties.
- Ventilation and drainage gaps. Poorly vented attics trap moisture against the underside of the deck, while low-slope sections and clogged gutters keep water sitting on the shakes longer than it should.
- Moss and algae. Once moss takes hold, it holds water against the wood like a sponge, and that constant contact accelerates decay far beyond what rain alone would cause.
Cedar roofs in this region typically age faster than in drier climates precisely because of this combination of moisture, shade, and biological growth. If your property has two or three of these risk factors stacked together, budget for more frequent inspections than a sunny, exposed roof would need.
Repair options and when full replacement makes sense
Not every cedar leak means a new roof. The right call depends on how much of the roof is actually compromised and whether the damage is isolated or spreading.
For localized problems, repair crews remove and replace individual shakes using approved hooking and cutting techniques, then integrate them into the surrounding field so water still sheds correctly. Shimming, propping a slightly thin or warped shake with a small wedge, is a legitimate repair method, but it has real limits.
Shimming should be used sparingly and only as a small percentage of the total roof area. Overusing it, or applying it as a substitute for proper replacement, tends to accelerate failure rather than prevent it.
That guidance comes straight from the Cedar Shake & Shingle Bureau’s care and maintenance recommendations, and it’s the standard we hold repair work to.
Replacement becomes the right call when:
- Damage extends well beyond what shimming or spot repair can reasonably cover
- Rot has spread into the underlayment or deck, not just the visible shakes
- You’ve had repeated leaks in the same general area despite prior patching
- Loose or missing shingles have gone unreplaced long enough that water has reached the sheathing, since delaying that replacement is what turns a cheap fix into an expensive one
One thing worth setting expectations on: new cedar shakes look noticeably lighter and more orange than weathered shakes around them until they weather naturally over several months. That colour gap closes naturally as the new wood weathers, so don’t panic and don’t let anyone talk you into a mismatched patch job using incompatible materials that trap moisture underneath. Whatever repair path you take, ask your contractor to photograph and log the work. That documentation matters for warranty claims, insurance disputes, and whoever inspects your cedar shake roofing five years from now.
Strata action plan: managing cedar leaks across a building
Managing cedar leaks on multi-unit buildings involves dealing with multiple units, shared costs, and owners who want answers quickly. Here’s a sequence that keeps things orderly instead of reactive.
- Get a documented inspection first. Insist on a photo report and written scope before anyone approves emergency work, even if an owner is pushing for an immediate fix.
- Notify your insurer early if there’s any interior damage, and keep every inspection report and estimate on file. Insurers respond better to a paper trail than a phone call after the fact.
- Collect multiple quotes and verify each contractor’s insurance and WCB coverage, plus references specific to North Vancouver cedar work. Cedar repair technique varies enough between crews that generic roofing experience isn’t a substitute.
- Plan around the calendar. Scaffolding access, seasonal weather windows, and owner notice periods all take time. Building that lead time into your budget avoids the scramble that turns a planned repair into an emergency one.
Proactive inspection scheduling with photo reports and phased repair options is exactly how experienced strata roofing programs avoid the surprise assessments that catch owners off guard.
Maintenance that actually extends cedar life here
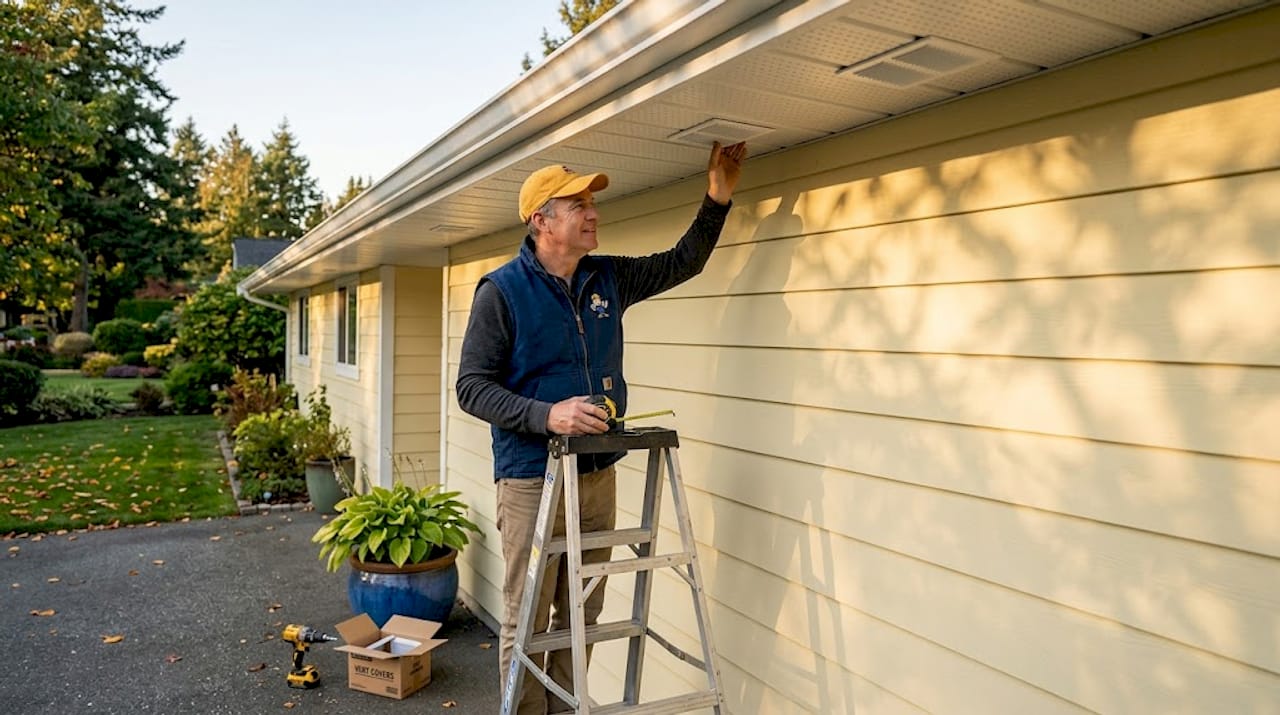
Prevention on the North Shore is less about product and more about staying ahead of moisture. Keep gutters, valleys, and eaves clear of needles and debris, since blocked drainage is one of the most common triggers for slow leaks. Trim back branches that shade the roof, even partially, because every extra hour of daily sun exposure helps shakes dry out between storms.
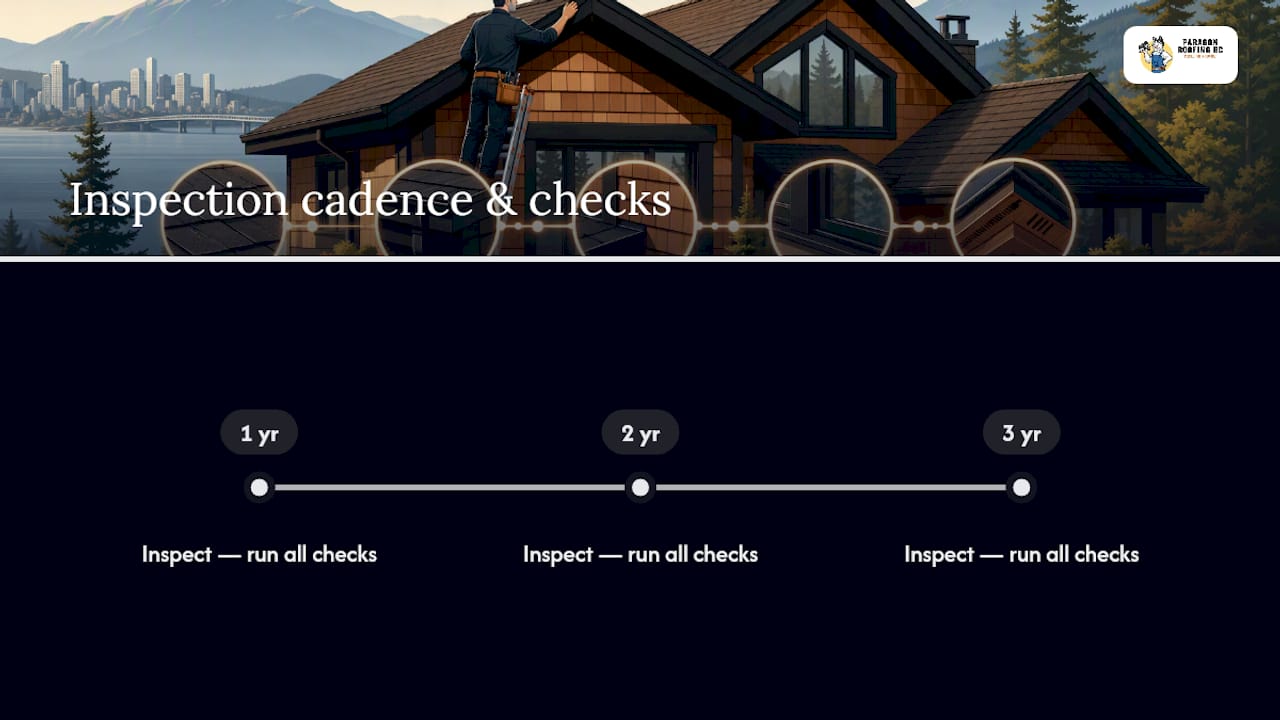
For shaded roofs specifically, an inspection cadence of every one to three years catches problems while they’re still cheap to fix. When moss or algae shows up, use only manufacturer-backed topical treatments, since products without proper performance guarantees can do more damage than the moss itself. Confirm your attic ventilation is actually moving air, not just present on paper, and check that your ventilation system hasn’t been blocked by insulation or debris over the years.
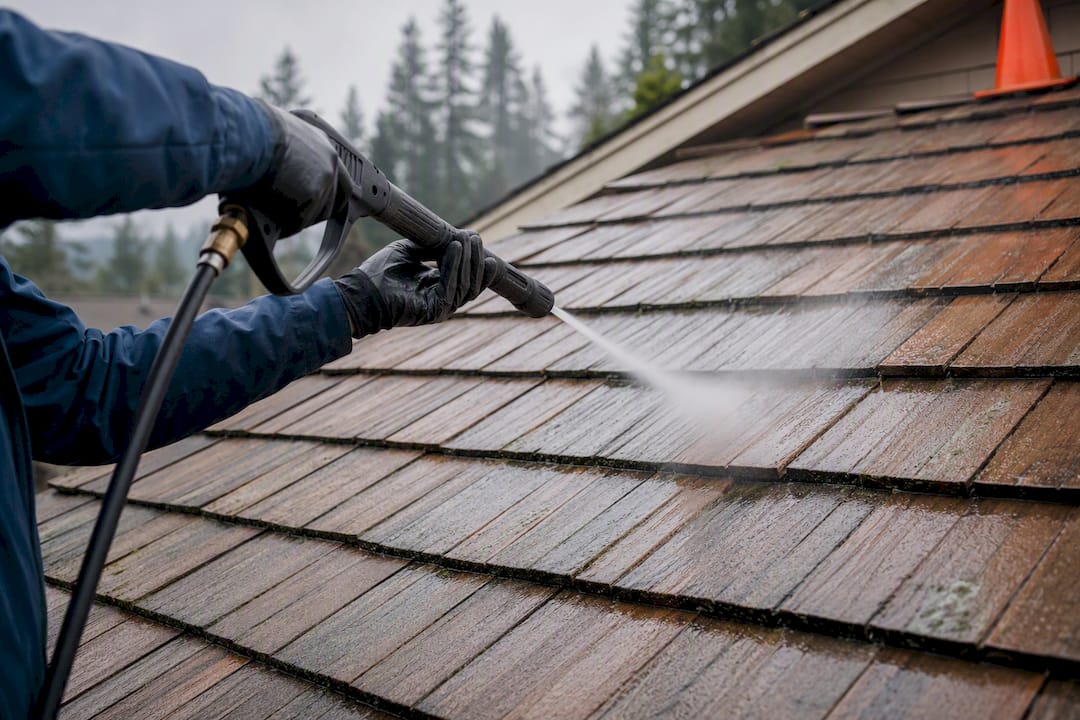
Pro Tip: Never let a door-to-door contractor pressure wash your cedar roof. High-pressure water strips the natural oils that protect the wood and can drive moisture deeper into the shakes than it started.
Publisher perspective: what North Vancouver cedar roofs keep teaching us
The pattern repeats across shaded, tree-covered North Vancouver properties: small ridge cap failures ignored for two seasons turn into full section replacements. Every early intervention we’ve documented on cedar roofs in this area has kept the repair scope smaller and the cost lower than waiting did.
— Harman
How Paragon Roofing BC can help with your cedar leak
There are other ways to handle a cedar leak, patching it yourself, waiting until spring, hoping the moss dries out on its own, but none of them address what’s actually happening under the shakes. Paragon Roofing BC gives North Vancouver homeowners and strata councils something those approaches can’t: a documented diagnosis before any money gets spent on repair.

When you book a site visit, expect a straightforward process. A professional crew arrives prepared to walk the roof and attic, photographing every defect they find. You get a written scope with phased options, ranked by urgency, so you’re not guessing whether a repair can wait or needs to happen this month. For North Vancouver properties specifically, experienced inspectors bring expertise in low-pitch and shaded roofs that helps identify ridge cap and ventilation problems other inspections might miss.
If you’re dealing with active leaks or suspect concealed rot, start with our roof leak detection and repair service. For broader cedar conversion or replacement questions, our residential roofing page covers what to expect from a full project. Book your inspection now and get a real answer before the next heavy rain finds the gap your current roof is hiding.
Sources
For deeper technical background, the CSSB’s care and maintenance brochure and Enviroshake’s guide to cedar shake problems both cover industry-standard diagnosis and repair practice. Strata boards should also review Paragon’s strata roofing cost and maintenance guide for procurement and budgeting specifics.
FAQ
What causes most cedar leaks in North Vancouver?
Shade, tree canopy, and poor ventilation keep cedar roofs damp longer than in sunnier areas, accelerating rot at ridge caps and other exposed details.
Can a cedar leak be repaired without replacing the whole roof?
Often, yes. Localized repairs using hooking, cutting, and limited shimming can fix isolated damage, but the CSSB recommends keeping shimming to a small percentage of the total roof area.
How long does new cedar take to match the surrounding roof colour?
New shakes typically weather and blend visually within six to nine months, so an initial colour mismatch after a repair is normal and temporary.
Who should strata councils call first when a cedar leak is reported?
Book a documented inspection with photo evidence and a written scope before approving any emergency work. Paragon Roofing BC provides this kind of report for North Vancouver strata buildings as a standard first step.
How often should a shaded cedar roof be inspected?
Every one to three years for shaded or tree-covered roofs, since reduced sun exposure accelerates moss growth and moisture retention compared to fully exposed slopes.
Recommended
Our Roofing Blog
Have more questions about roofing?
Check out our FAQs or give us a call today to speak to an expert roofer in Vancouver Lower Mainland, BC. We're here to help our neighbours make educated decisions about their roof. For our team, we value helping clients save money while making their roofs last.
