
6 Chimney Flashing Failures in Surrey, Fixes and $400–$2,500 Costs
6 Chimney Flashing Failures in Surrey, Fixes and $400–$2,500 Costs
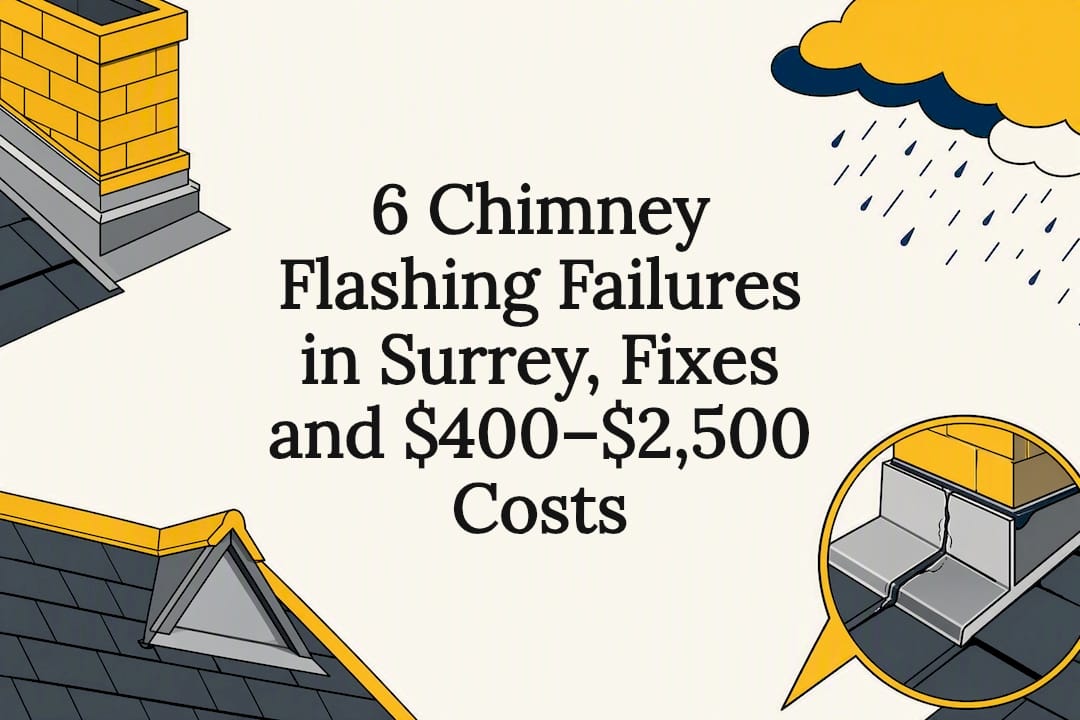
Book a professional water-path diagnosis the moment you spot staining near a chimney, not another tube of caulk. Most Surrey cases trace back to one of six failure modes, from a dried reglet seal to a missing cricket, and the right fix ranges anywhere from a same-day reseal to a full counterflashing rebuild. Paragon Roofing BC handles both the diagnosis and the repair.
TL;DR:
- Proper diagnosis involves attic inspection, roof-level check, hose testing, and photo documentation to identify the exact failure mode before repairing chimney leaks.
- Repair costs range from $400 for resealing a dried reglet joint to $2,500 for a complete counterflashing rebuild, based on the failure type.
- The most common failures in Surrey include missing cricket behind wide chimneys and mortar erosion caused by freeze-thaw cycles, which require specific fixes.
- Relying on caulk alone as a fix is ineffective long-term, as proper repairs with mortar and re-bedding last up to 40 years while caulk needs frequent replacement.
- Homeowners should demand a written scope, visual evidence, and warranty details before hiring a contractor to avoid repeated call-backs and unnecessary expenses.
Table of Contents
- Why chimney flashing leaks happen so often in Surrey
- How does a roofer diagnose a chimney flashing leak?
- What does chimney flashing repair cost in Surrey?
- What should you ask a Surrey roofing contractor before hiring them?
- What should you do about an active chimney leak right now?
- When and why we see the same chimney failures across Surrey
- Why “just caulk it” is the wrong default for Surrey chimneys
- Book a chimney flashing inspection with Paragon Roofing BC
- Sources
- FAQ
Why chimney flashing leaks happen so often in Surrey
Chimney flashing fails here faster than in drier parts of the country, and the signs are usually visible long before water reaches the ceiling. Watch for staining that hugs the chimney’s base rather than spreading across the whole ceiling, rust streaks bleeding down the brick face, or damp insulation when you poke your head into the attic near the chimney chase. Drips that only appear during a storm, then vanish for weeks, are a classic flashing symptom rather than a general roof problem.
Metro Vancouver’s extended wet season and freeze-thaw swings accelerate mortar and metal deterioration compared to drier climates, and Surrey’s exposure to wind-driven rain off the Fraser Valley makes matters worse. Wind doesn’t just add water volume, it pushes rain sideways under laps and behind counterflashing that would stay dry in a straight downpour.
Three detailing mistakes cause most of the repeat leaks Paragon crews see on Surrey roofs:
- No counterflashing installed over the base flashing, leaving a single layer exposed to weather
- Step flashing with insufficient overlap, often under the 4-inch minimum that effective flashing needs to extend onto the roof deck
- No cricket built behind chimneys wider than 30 inches on the uphill side, which lets water pond and push under the flashing
Pro Tip: If your chimney sits on the downhill slope of the roof and is wider than 30 inches, ask specifically whether a cricket exists behind it. Its absence is one of the most common and most overlooked causes of a “mystery” leak.
How does a roofer diagnose a chimney flashing leak?
A stain on your ceiling tells you water got in somewhere, not where. A controlled water-path assessment is the only reliable way to confirm the actual source, since interior staining is often an indicator rather than the origin point. Any contractor who quotes a repair without doing this first is guessing.
A proper diagnosis follows a sequence:
- Attic inspection first. Look for damp or compressed insulation directly under the chimney, rust on nail heads and truss plates, and note whether staining sits right at the roof deck (pointing to flashing) or higher up the chimney chase (pointing to masonry).
- Roof-level inspection. Check for lifted or rusted step flashing, thick smeared caulk covering a joint that should be mechanically sealed, missing counterflashing, and confirm whether a cricket exists behind wide chimneys.
- Controlled testing. A hose test that wets one section of the chimney at a time, paired with someone tracing water movement in the attic, isolates the exact failure point instead of guessing at a full reflash.
- Photo documentation. Before and after photos of both the attic and roof-level findings protect you if a warranty claim comes up later.
Detail-specific weather patterns matter here: wind-driven rain tends to attack side and counterflashing details rather than the top crown, so a diagnosis that only looks at the crown misses the more common Surrey failure point. If the crown itself is cracked, or the brick face looks powdery and spalled, that’s a mason’s job, not a roofer’s. Porous brick or failing mortar joints can be the actual absorption point even when the flashing is intact, which is why a good roofer will say so instead of reflashing something that was never the problem.
What does chimney flashing repair cost in Surrey?
Once the diagnosis pins down which of the six failure modes you’re dealing with, the repair path and the price both become predictable. Chimney flashing repair costs typically range from roughly $400 for a straightforward reseal to $2,500 for a full counterflashing rebuild, and where your job lands in that range depends entirely on which failure mode you have.
- Dried sealant at the reglet joint: a reseal, raking out old caulk and applying fresh polyurethane, sits at the low end of the range. Done properly in a vertical joint, this lasts 10 to 20 years.
- Cracked mortar reglet: requires cutting a fresh reglet and re-bedding the counterflashing, a step up in labour and cost from a simple reseal.
- Missing counterflashing: needs new metal fabricated and installed over existing base flashing, a mid-range job.
- Separated or rusted step flashing: typically means pulling shingles back along the chimney sides to replace flashing pieces individually, pushing toward the higher end of the range.
- Cracked crown or spalled masonry: this is mason’s work, priced separately from the flashing repair itself.
- Missing cricket: the most involved fix, since it requires framing, sheathing, membrane, and flashing integration behind the chimney. This lands at the top of the cost range.
The trap most homeowners fall into is accepting a caulk-only fix on a horizontal joint or over rusted metal. It looks cheap and fast, but caulk over a failing detail buys you a season or two at best. A saw-cut reglet with new mortar and polyurethane bedding gives 25 to 40 years of service life when installed correctly; a bead of caulk slapped over the same joint gives you a callback next winter. If your roofer suggests caulk without explaining why a reseal or reflash isn’t warranted, ask them to explain the difference.
What should you ask a Surrey roofing contractor before hiring them?
A written scope that ties the diagnosis to the repair is the single best protection against paying twice for the same leak.
- Ask to see the diagnosis first, not just a repair estimate. Did they check the attic, or only look from the ground?
- Request photos from both the attic and the roof, showing the specific failure point they identified.
- Confirm liability insurance and ask what warranty applies to the specific repair, not a generic “we warranty our work” line.
- Ask what material they’re using and what service life it carries. A vague answer here is a red flag.
- Ask directly whether the crown, mortar, or brick face needs a mason, and how they’ll coordinate that work if so.
Red flags include a contractor pushing straight to a caulk fix without an attic check, refusing to provide photos, or handing you a scope so vague it doesn’t name the failure mode. Every legitimate quote should include a written scope, before and after images, warranty terms in writing, and, when needed, a note on how mason coordination will work.
What should you do about an active chimney leak right now?
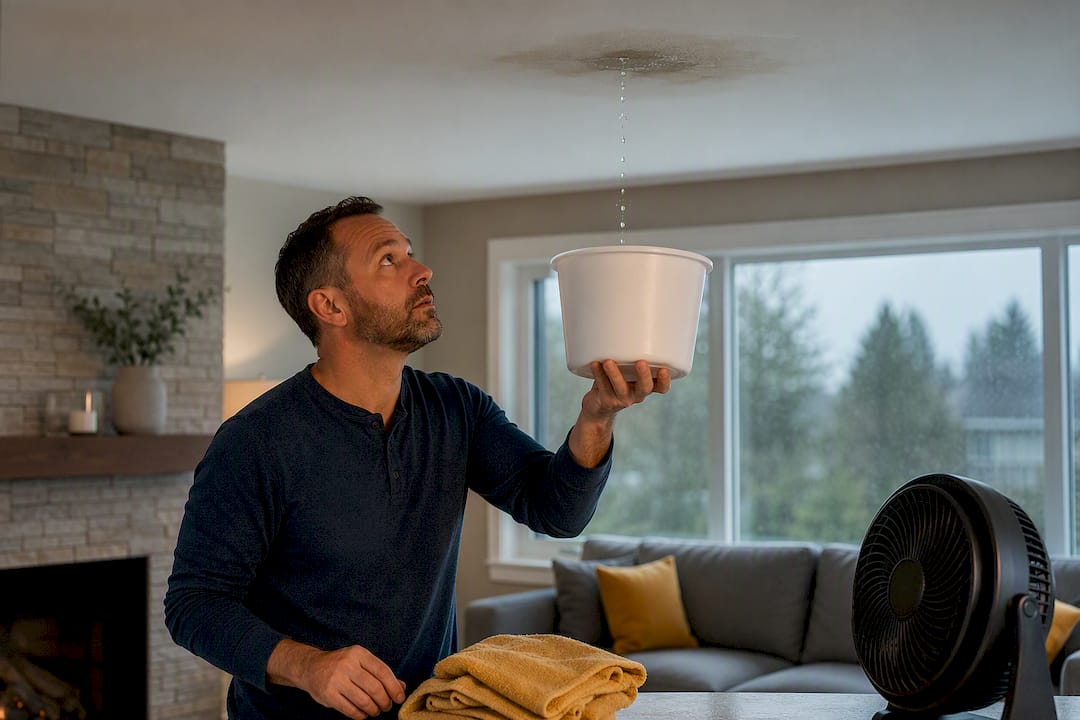
Contain the damage inside first: catch drips in a bucket, move anything valuable away from the affected area, photograph the stain for your records, and run a fan or dehumidifier to keep insulation and drywall from staying wet longer than necessary.
Leave the roof itself alone. A temporary tarp or a measured emergency seal needs to go on by someone who can walk your roof safely, since a wet, mossy Surrey roof is not the place for a DIY fix in the rain. Call for emergency service immediately if water is entering living space, insulation is saturated, or you smell anything electrical near a wet area.
When and why we see the same chimney failures across Surrey
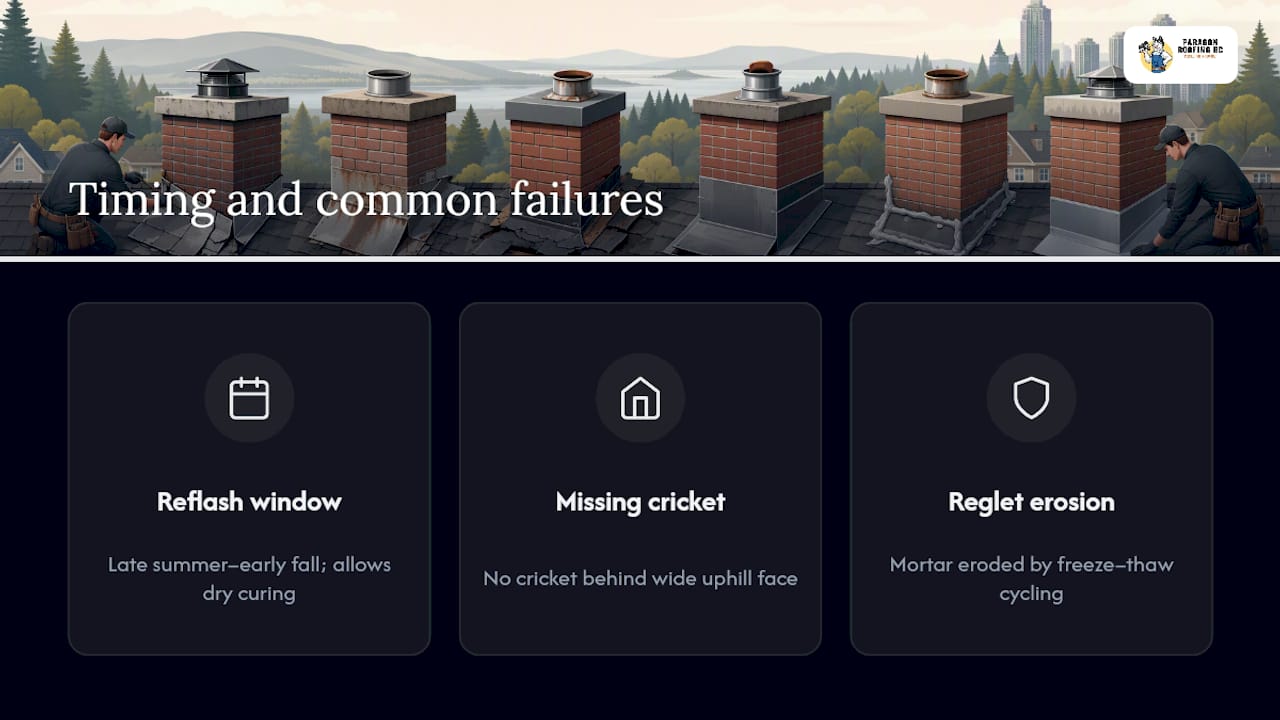
Late summer through early fall is the window Paragon Roofing BC recommends for permanent reflash work, since sealants and fresh mortar need dry curing time before the wet season sets in. Two failures repeat constantly on Surrey roofs: chimneys without a cricket behind a wide uphill face, and reglet mortar eroded away by freeze-thaw cycling over time.
Why “just caulk it” is the wrong default for Surrey chimneys
The conventional advice you’ll find online treats chimney leaks as a caulk-and-forget problem, and that’s exactly backwards for a coastal climate like Surrey’s. Caulk is a stopgap, not a repair, and applying it without a water-path diagnosis just delays the real fix while hiding the evidence a proper inspection needs.
What the research actually supports is narrower and more useful: six distinct failure modes, each with its own repair, service life, and cost. A missing cricket behind a wide chimney and a dried reglet seal look identical from the ground, a dark stain and a damp attic, but one costs a few hundred dollars to fix and the other requires framing and membrane work. Guessing between them wastes money either way.
My honest read is that homeowners overpay less often on the repair itself and more often on repeated call-backs for a leak that was never properly diagnosed. Force the attic check and the hose test before you approve any scope. If a contractor won’t do that, that alone tells you something about the quote you’re holding.
— Harman
Book a chimney flashing inspection with Paragon Roofing BC
Paragon Roofing BC is the local option that runs the diagnosis before quoting the fix, not the other way around. Our inspection covers the attic first, checking for damp insulation and rust patterns, then moves to the roof for a close look at your flashing, counterflashing, and crown condition.

Every inspection comes with photo documentation of what we found, a written quote that names the exact failure mode and repair scope, and coordination notes if a mason needs to handle crown or mortar work alongside the flashing repair. There’s no caulk-and-hope shortcut in our process. If you’re in Surrey and dealing with staining, damp insulation, or drips that only show up during a storm, book a residential roofing inspection in Surrey or reach out through our Surrey chimney repair and installation page to get a diagnosis scheduled before the wet season makes the problem worse.
Sources
For deeper technical background, see the flashing defect and inspection guide and the failure-mode and cost breakdown. For local service details, visit Paragon’s flashing repair steps guide or Surrey flashing failure causes page.
- Chimney Flashing leaks, defects, Inspection at the Rooftop, Masonry Chimney Side Crack Inspection & Diagnosis
- Chimney Flashing Leak: 6 Failure Modes & Repair Cost | TRB
- How to tell if your chimney flashing is causing a roof leak | The Metal Roofers
- What’s the difference between chimney flashing and masonry leaks | Lifetime Chimney
FAQ
What is the average cost to repair flashing around a chimney?
Repairs typically range from about $400 for a reseal to $2,500 for a full counterflashing rebuild, depending on which of the six common failure modes you’re dealing with.
How much does it cost to repair a chimney in Canada?
Flashing repairs alone follow the $400 to $2,500 range, but if a mason needs to address a cracked crown or failing mortar joints, that work is priced separately from the flashing scope.
How do you seal flashing around a chimney?
Proper sealing means raking out old caulk from a saw-cut reglet and bedding fresh polyurethane and mortar, a reseal that lasts 10 to 20 years, rather than applying caulk over an existing failed joint.
My capped chimney is leaking. What should I do?
Contain interior damage, photograph the stain, and book a professional water-path diagnosis rather than assuming the cap itself is at fault. Companies like Paragon Roofing BC check the attic and roof-level flashing before quoting any repair, since leaks around a capped chimney often trace back to counterflashing or a missing cricket rather than the cap.
Recommended
Our Roofing Blog



Have more questions about roofing?
Check out our FAQs or give us a call today to speak to an expert roofer in Vancouver Lower Mainland, BC. We're here to help our neighbours make educated decisions about their roof. For our team, we value helping clients save money while making their roofs last.
