Chimneys in Vancouver: Flashing, Leak Risks & Safety Basics
Chimneys represent one of the most common roof leak sources in Vancouver homes. The penetration creates a complex intersection between roofing materials and masonry, requiring precise flashing installation and ongoing maintenance.
Vancouver's 1,189mm annual rainfall, combined with wind-driven rain beating against vertical chimney faces, saturates masonry, creating conditions for multiple failure modes: flashing deterioration, mortar joint cracking, crown failures, and water absorption through porous brickwork.
The problem compounds over time. Improperly installed flashing fails within 5-10 years. Mortar joints deteriorate from freeze-thaw cycling during occasional cold snaps. Moss growth on north-facing chimneys indicates persistent dampness and potential internal leaks. Properties built pre-1990 often have outdated flashing systems (caulk-sealed rather than properly embedded in mortar joints) requiring complete replacement rather than repair.
Water entering through chimney defects causes ceiling stains, wall damage, structural rot, and mold growth. The leak may appear distant from the chimney as water travels along the roof framing before dripping into living spaces. This guide explains how chimneys fail in coastal climates, warning signs requiring attention, repair options, costs, and how proper maintenance prevents expensive damage.
Why Chimneys Are a Major Leak Risk in Vancouver Homes
How Vancouver's Climate Affects Chimneys
Understanding our specific weather challenges clarifies why chimneys require more maintenance here than in dry-climate locations.
Rain, moisture & masonry deterioration
Wind-driven rain soaks into mortar joints and porous bricks. Unlike impermeable materials (metal, synthetics), masonry absorbs water. During extended wet periods (October through April), bricks remain saturated for weeks. Absorbed moisture causes efflorescence (white powder deposits) and accelerates deterioration through repeated wet-dry cycles, stressing material bonds.
Freeze-thaw stress (limited but relevant)
Vancouver's moderate climate rarely produces severe freezing, but occasional cold snaps (dropping to negative 5 to negative 10°C) create freeze-thaw cycles. Water-saturated masonry expands when freezing, cracking mortar joints and brick faces. Multiple freeze-thaw events over the years have caused progressive structural degradation requiring tuckpointing (mortar joint repair) or brick replacement.
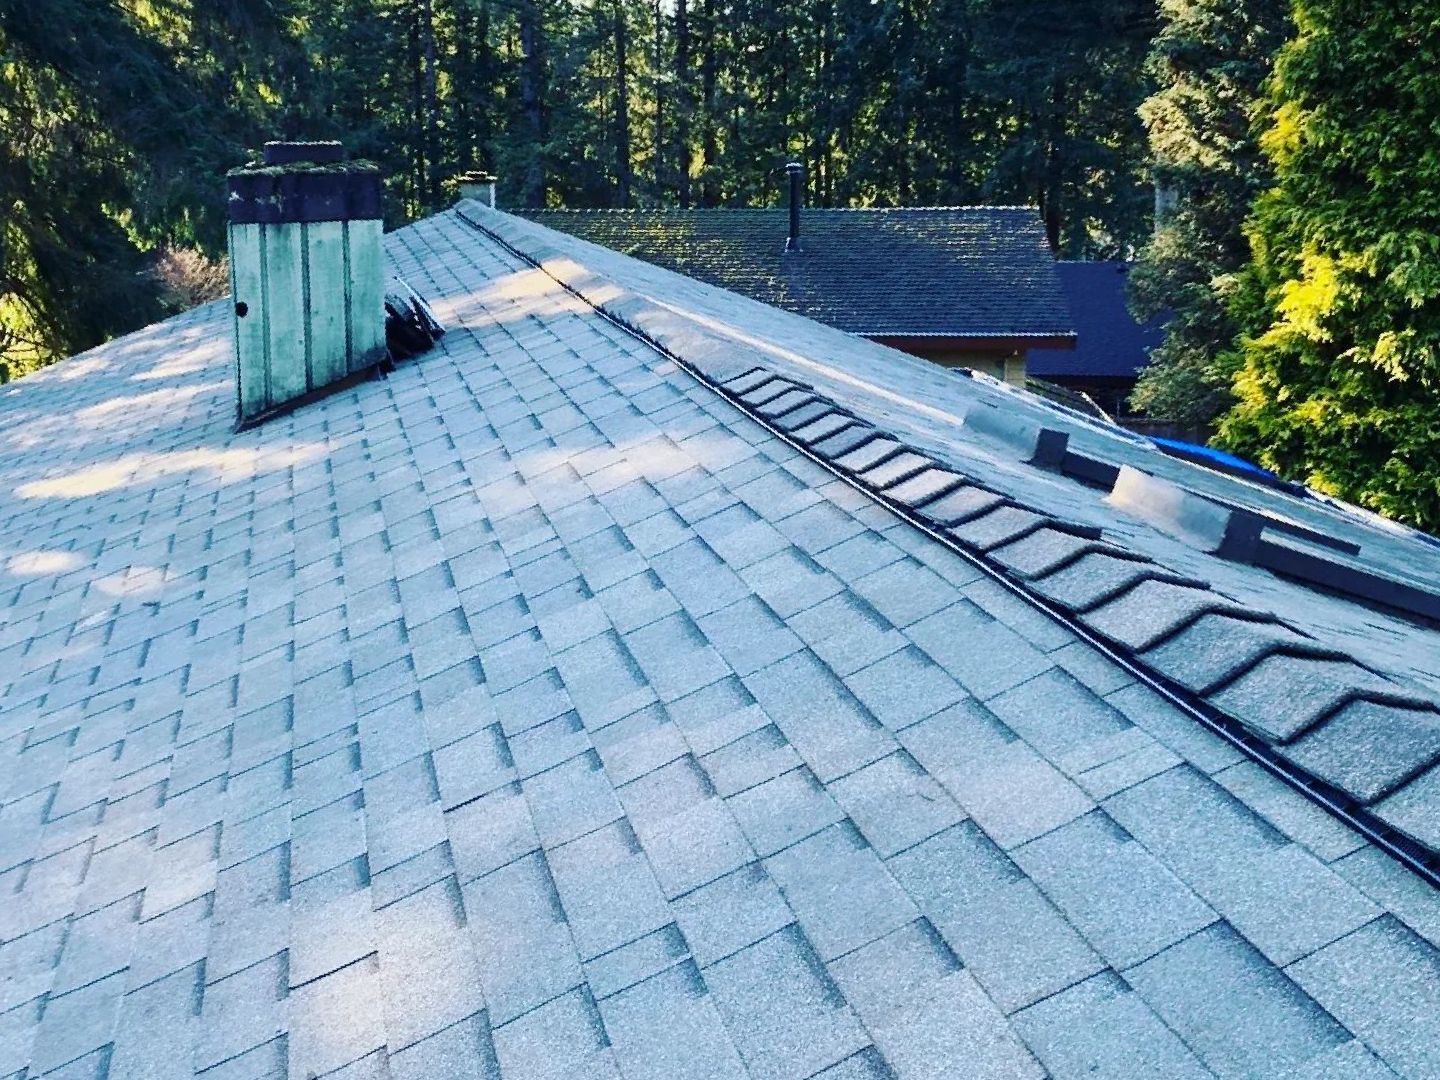
Moss, organic growth & debris accumulation
North-facing or shaded chimneys develop moss growth within 2-3 years. The biological colonization indicates persistent dampness and often signals underlying moisture problems. Moss holds water against masonry surfaces, accelerating deterioration. Debris (leaves, twigs) accumulating behind chimneys blocks proper water drainage, pooling moisture against flashing connections.
Chimney Types Commonly Found in Vancouver Buildings
Different chimney constructions present varying leak risks and maintenance requirements.
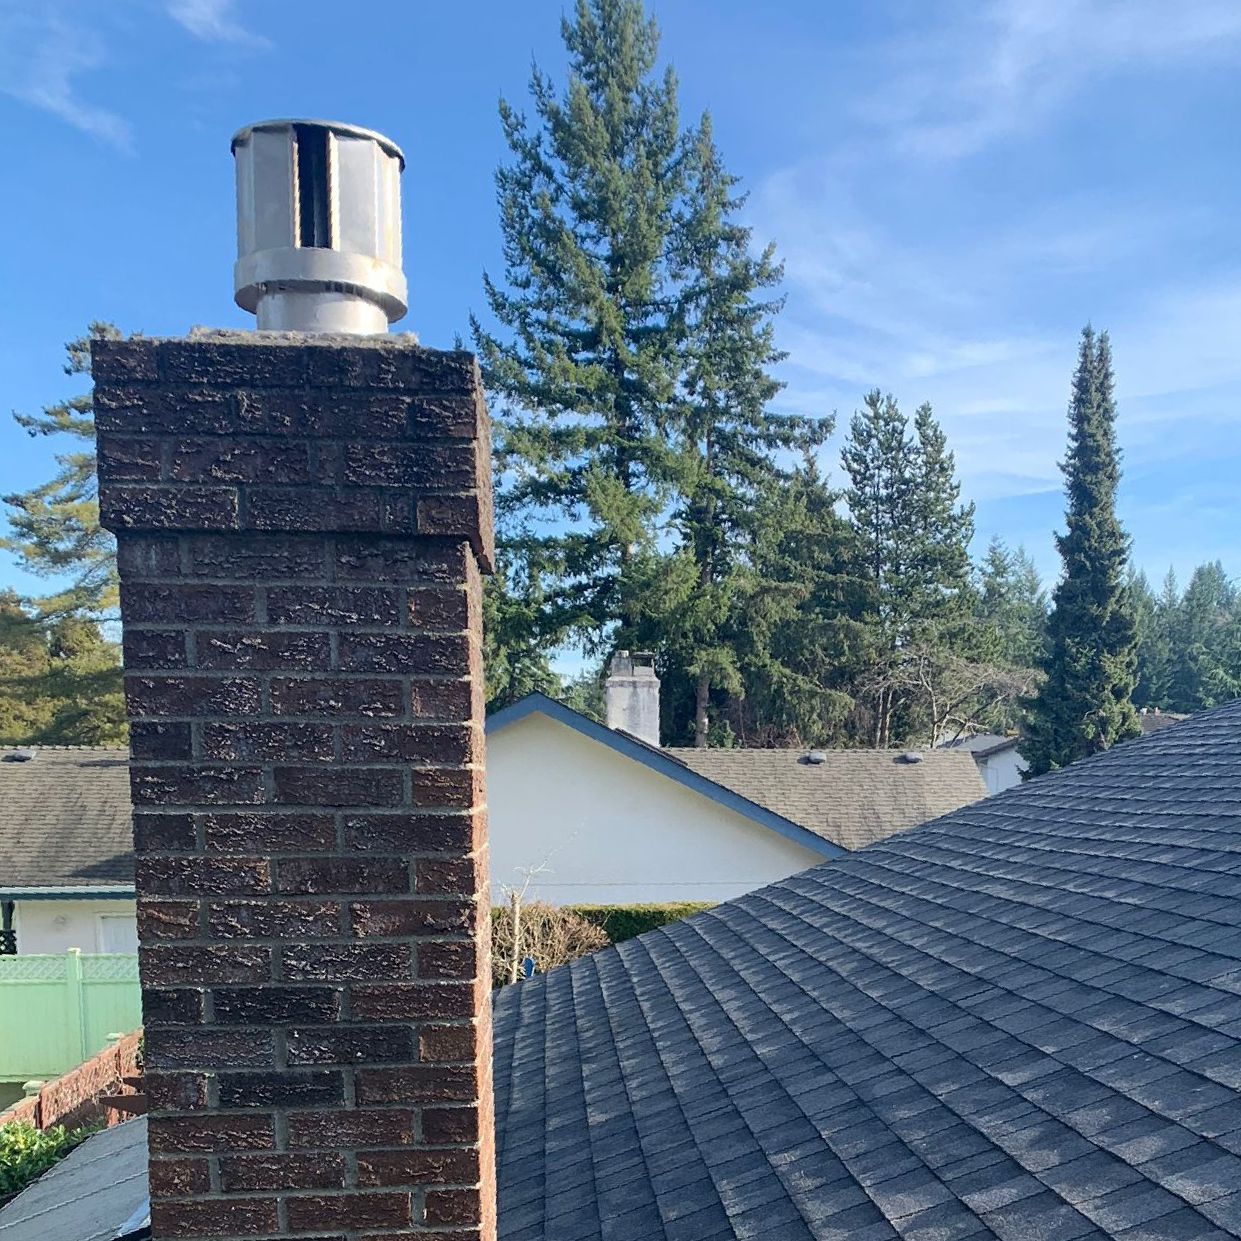
Masonry chimneys
Traditional brick chimneys built from clay bricks and mortar extend from fireplaces through roof lines. These represent the highest leak risk due to multiple vulnerable components: flashing interfaces, mortar joints, brick porosity, crowns, and caps. Properties built pre-1980 often have masonry chimneys requiring significant maintenance as original materials age.
Metal chimney systems
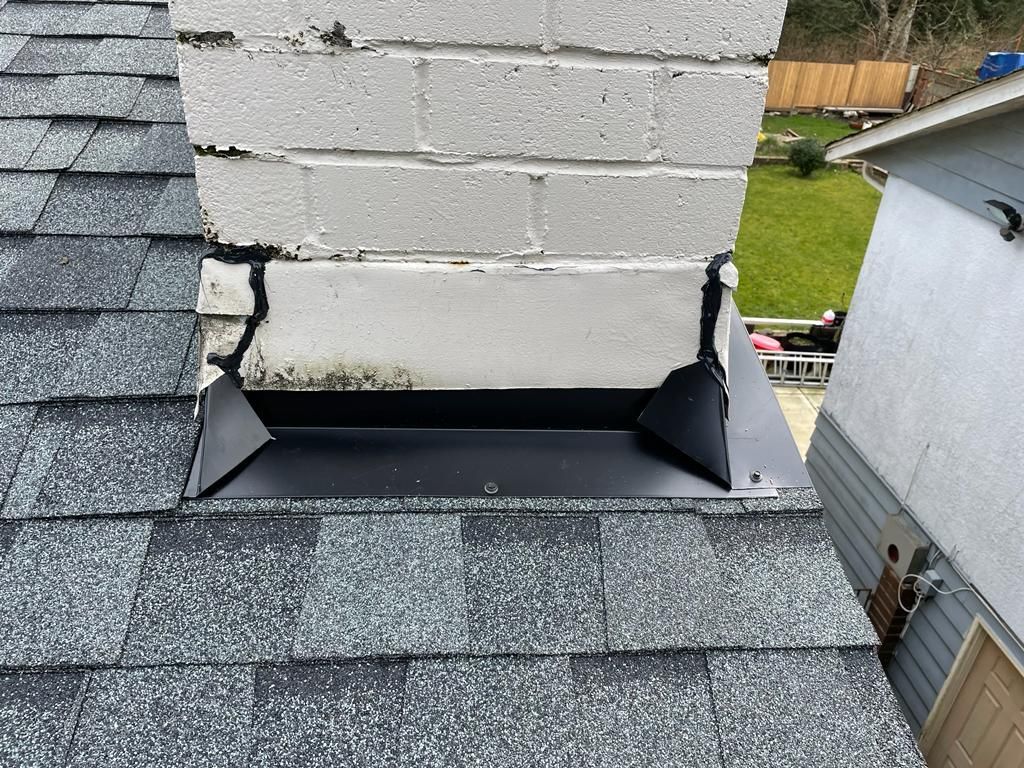
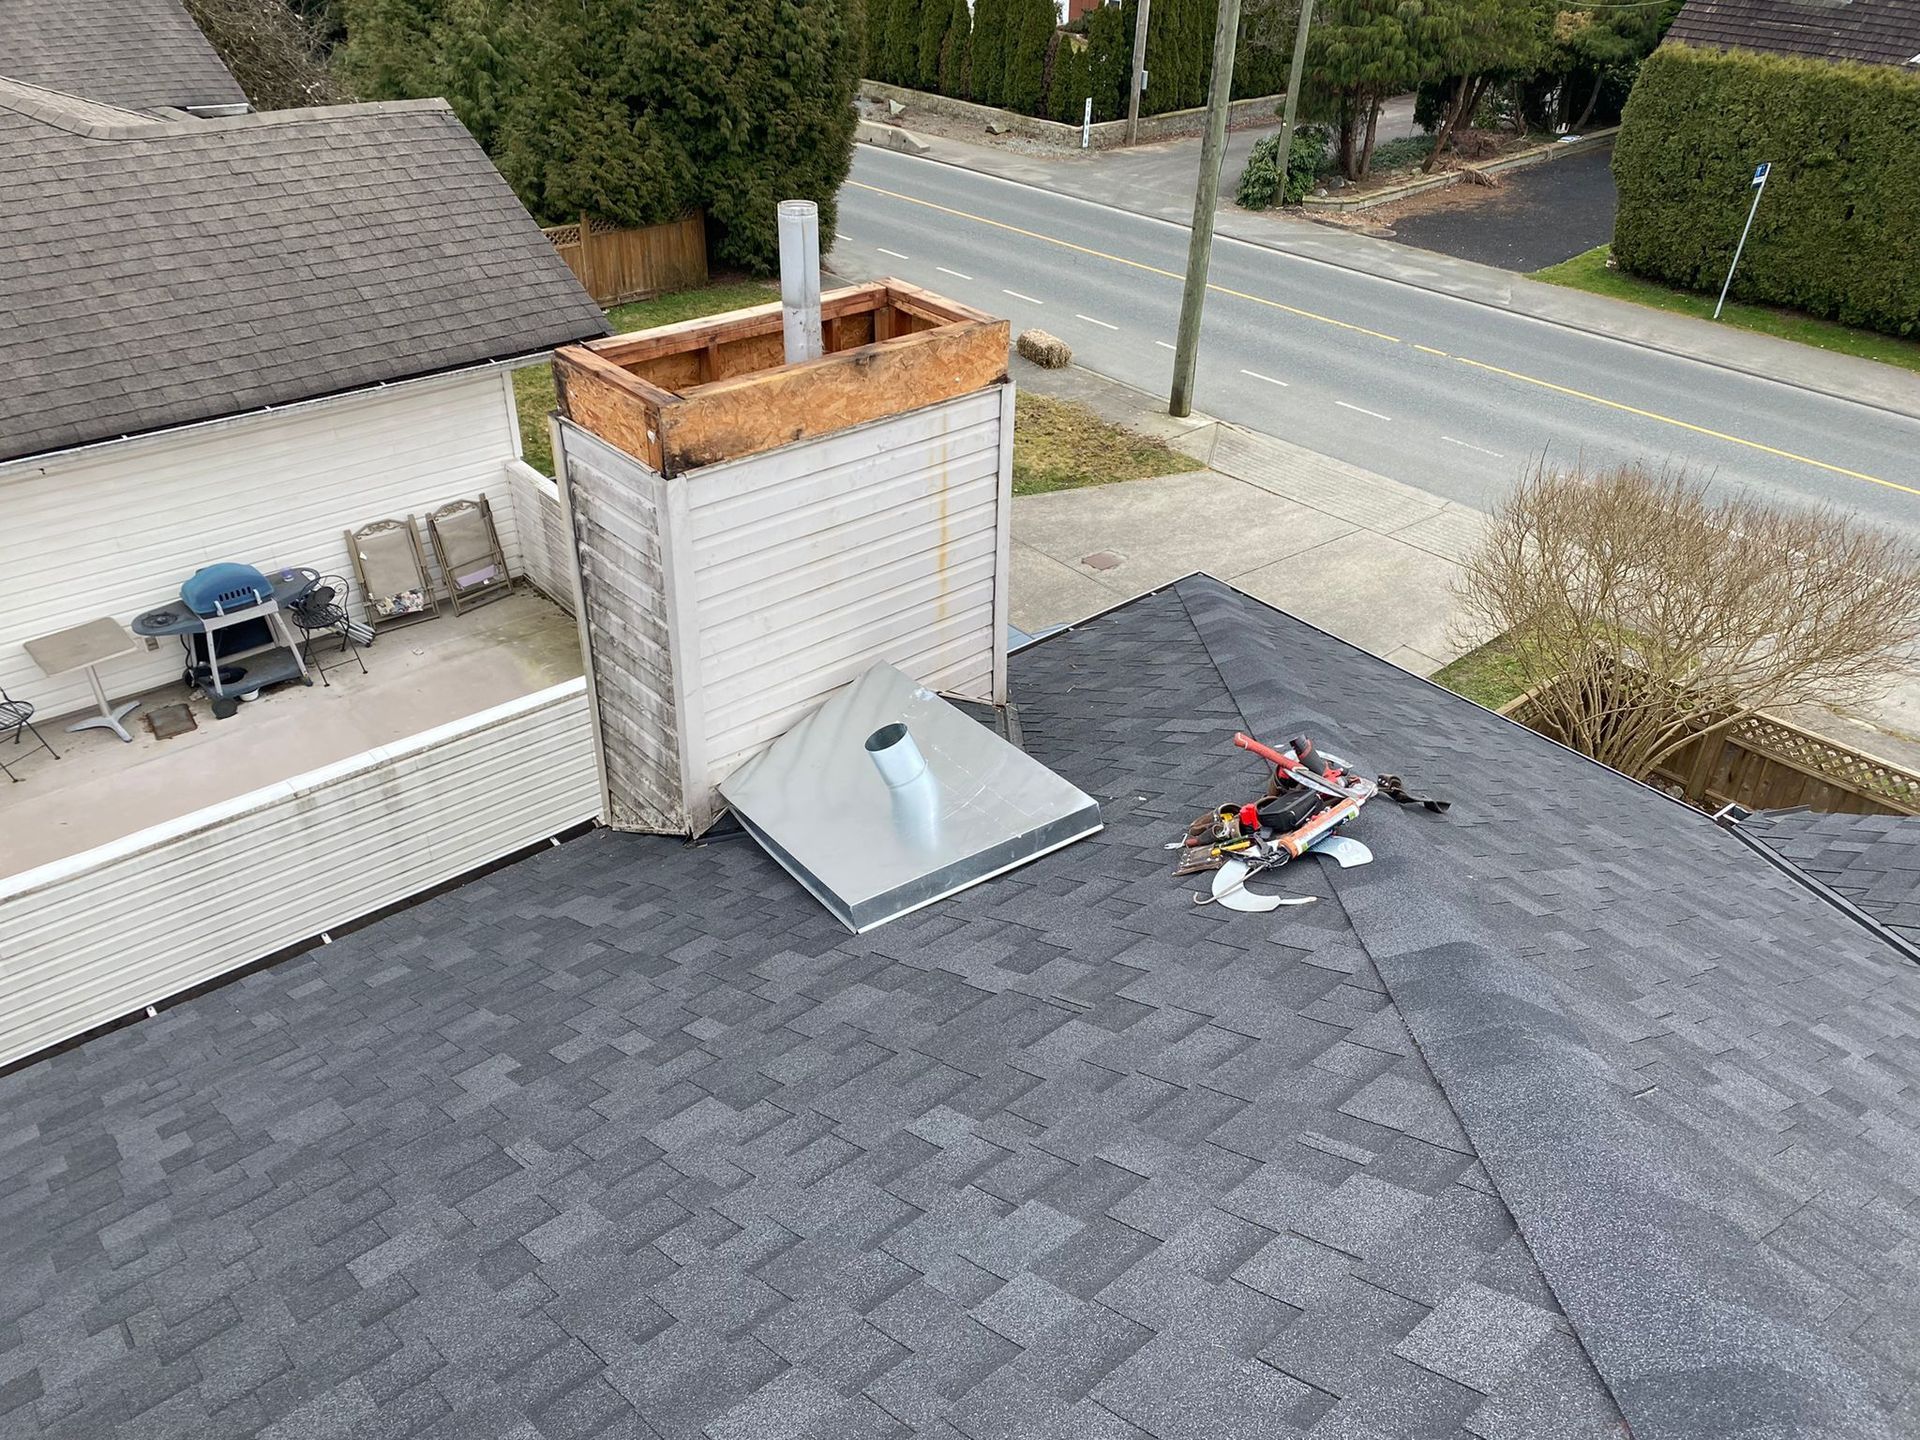
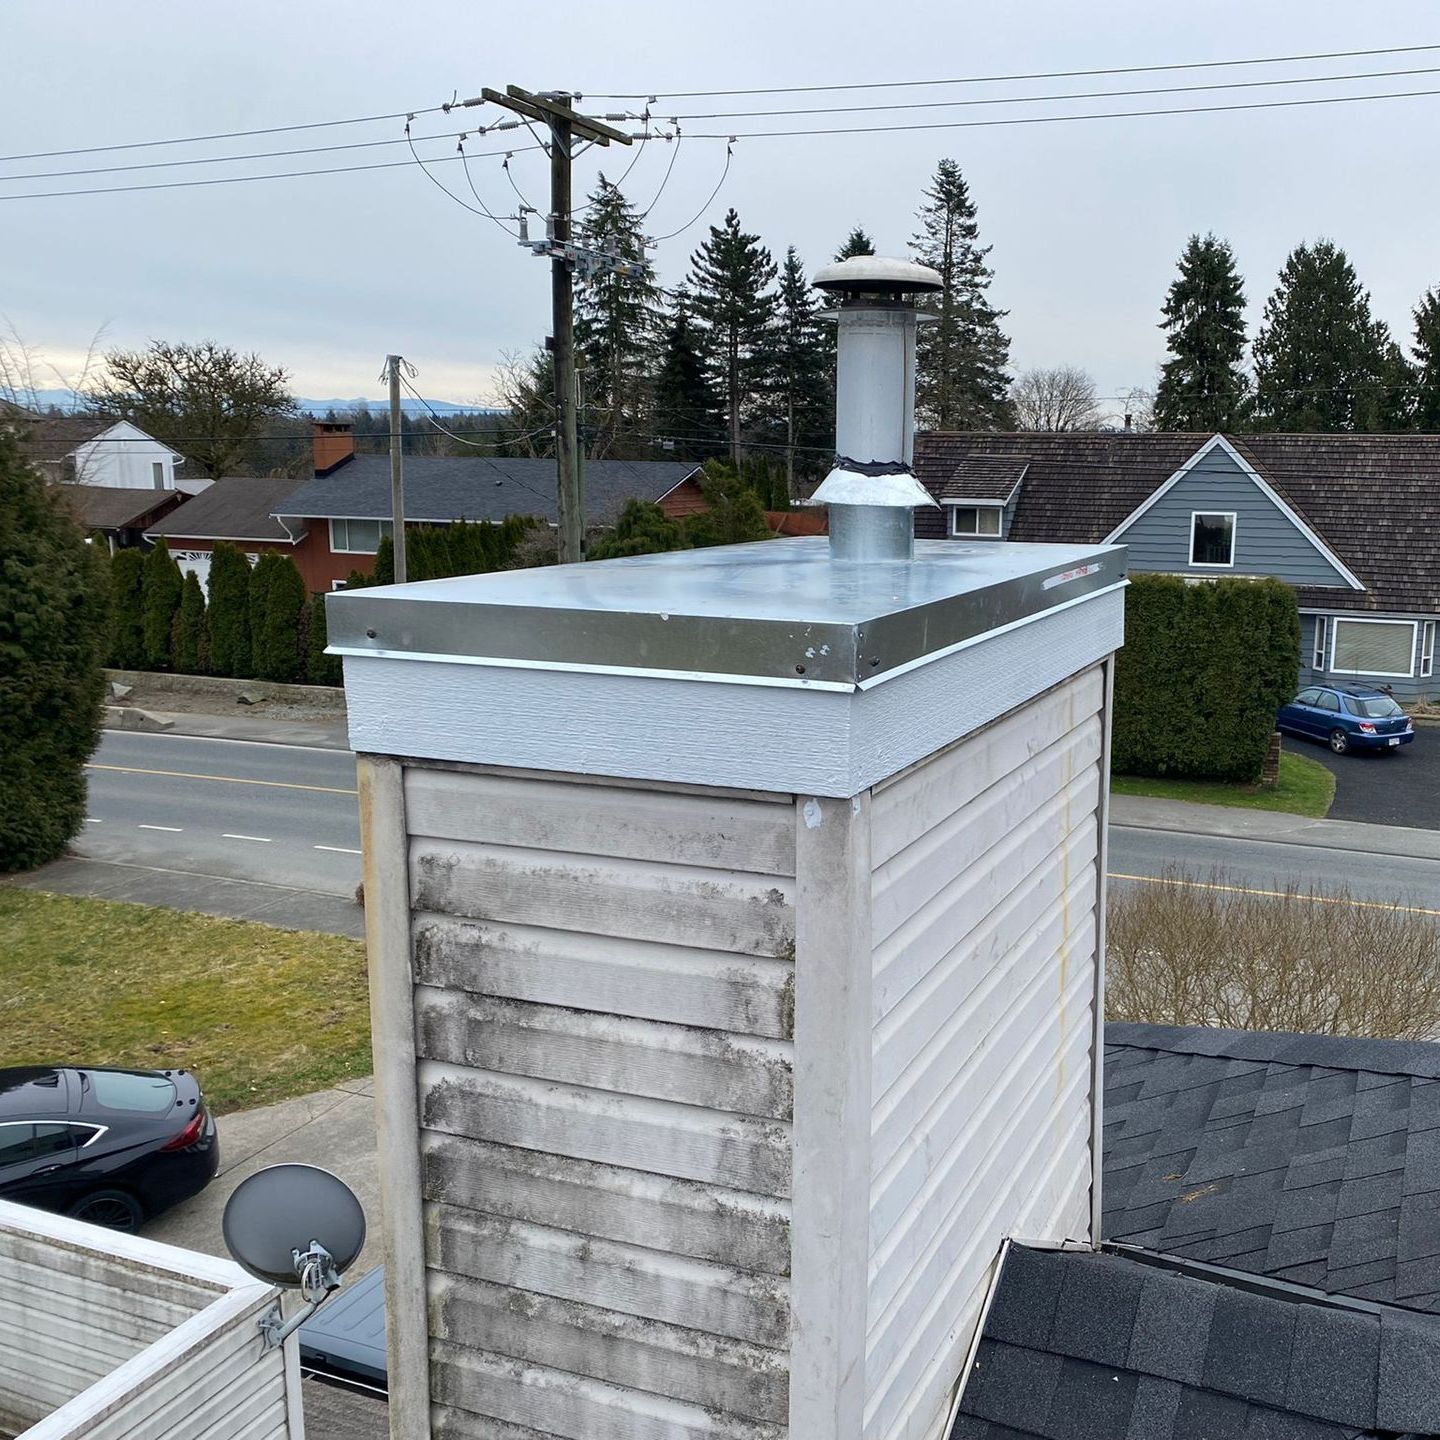
Factory-built metal flues enclosed in chase structures penetrate roofs with flashing boots similar to plumbing vents. While simpler than masonry, metal chimneys still require proper flashing to prevent water infiltration around penetrations. Rubber boots degrade in 10-15 years, requiring replacement.
Chimneys in older Vancouver homes
Heritage properties (pre-1950 construction) frequently have chimneys built without proper flashings, relying on mortar or tar seals. These outdated systems require complete flashing retrofits rather than repairs. Character homes in Strathcona, Mount Pleasant, Kitsilano, and Fairview often need comprehensive chimney restoration as part of
residential roofing projects.
Chimney Flashing Explained: The #1 Cause of Chimney Leaks
Flashing failures cause 70-80% of chimney leaks. Understanding proper flashing systems helps property owners recognize deficiencies.
What is chimney flashing: Metal components (copper, stainless steel, galvanized) installed at the chimney-roof interface creating a waterproof barrier. Proper systems include two integrated parts:
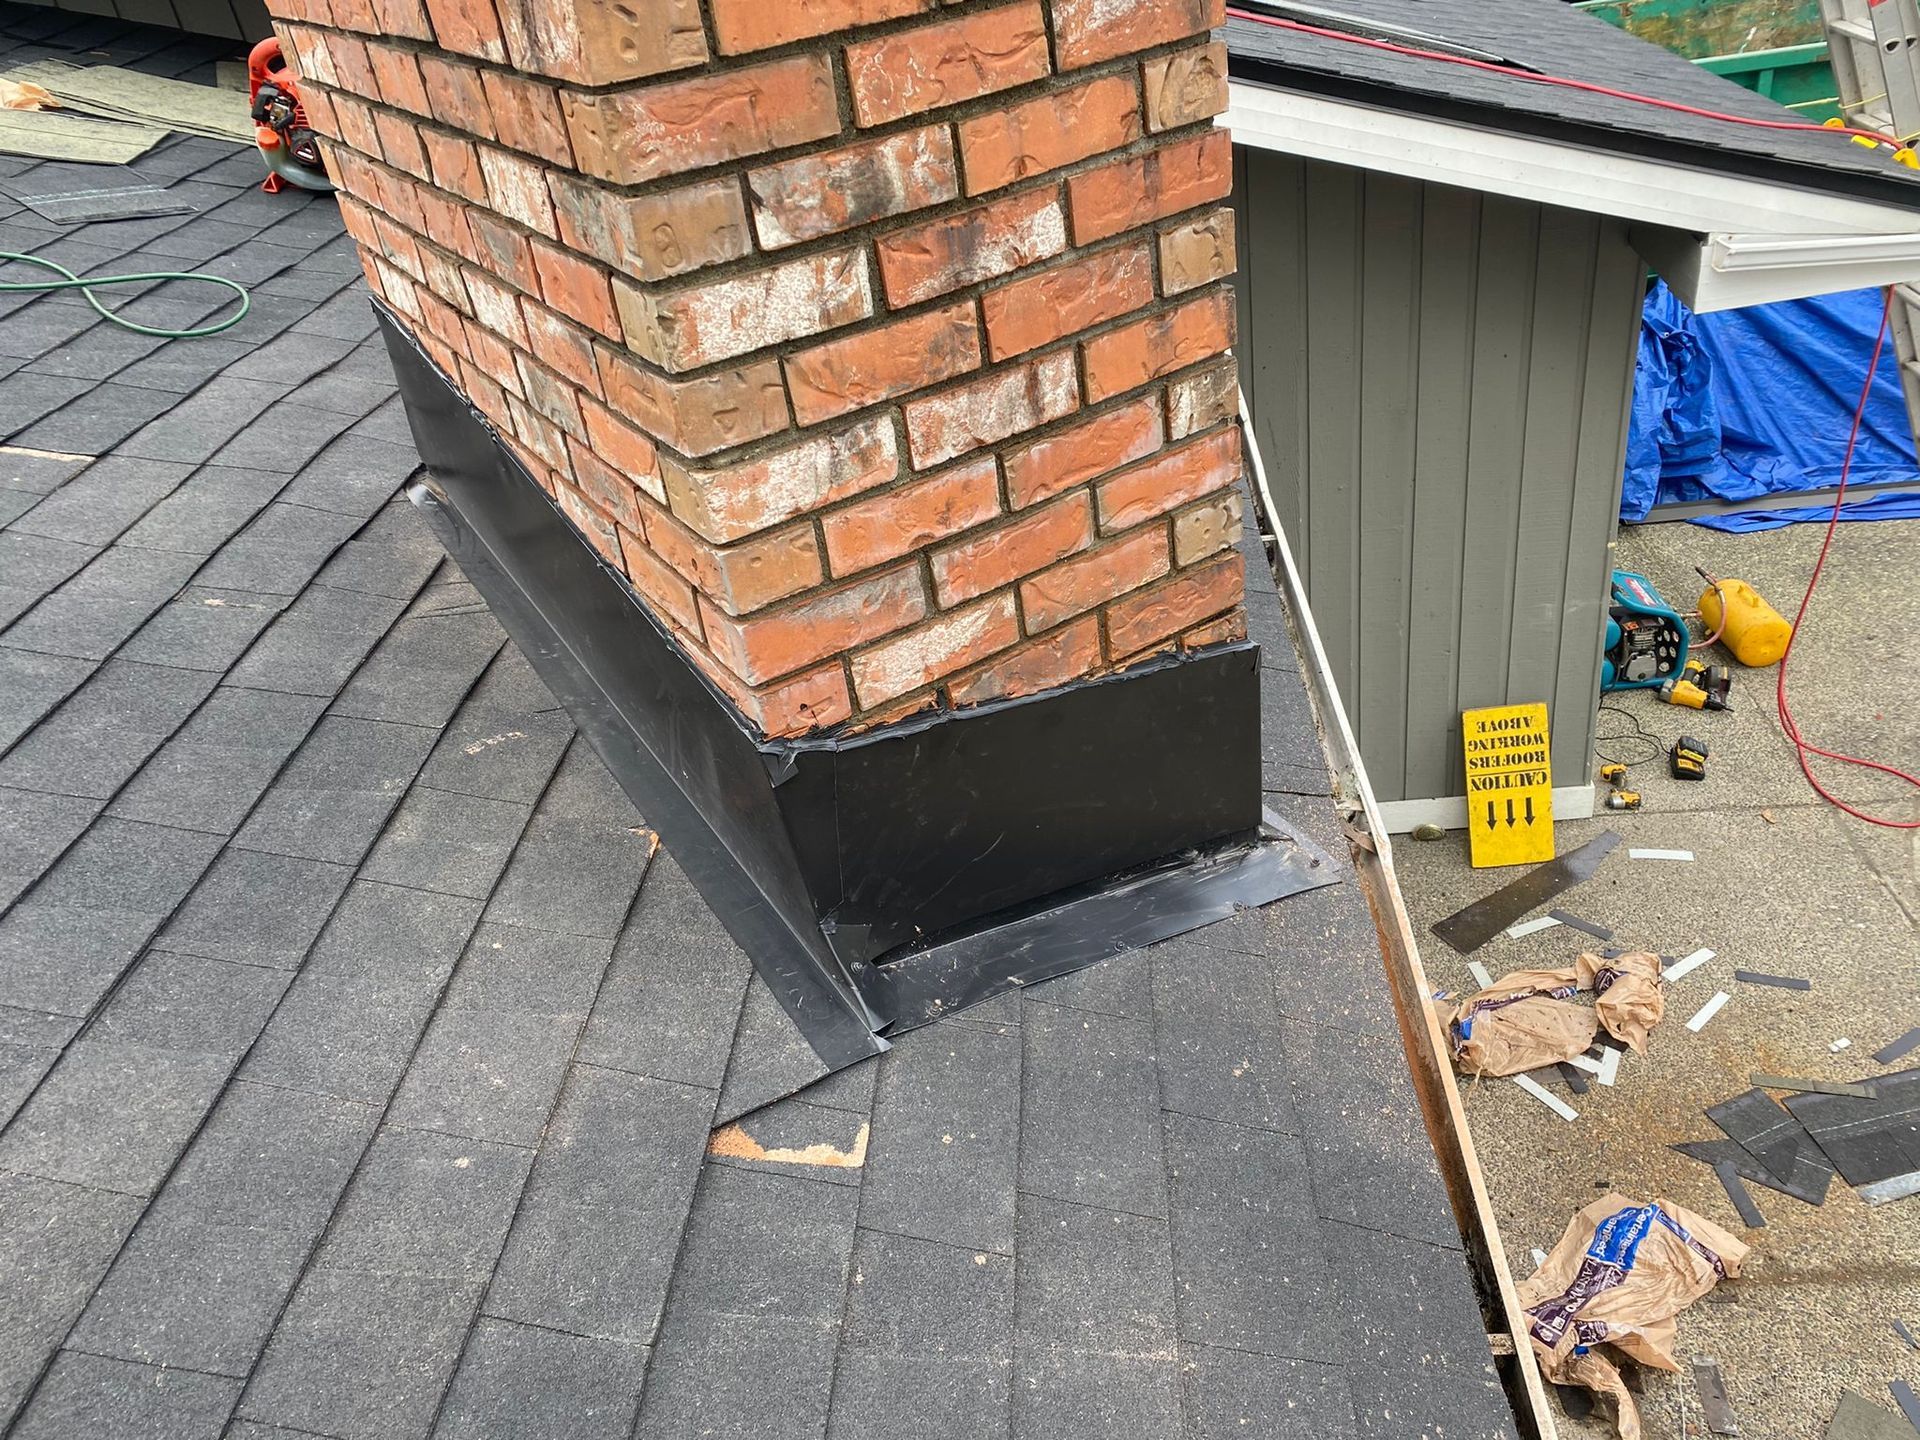
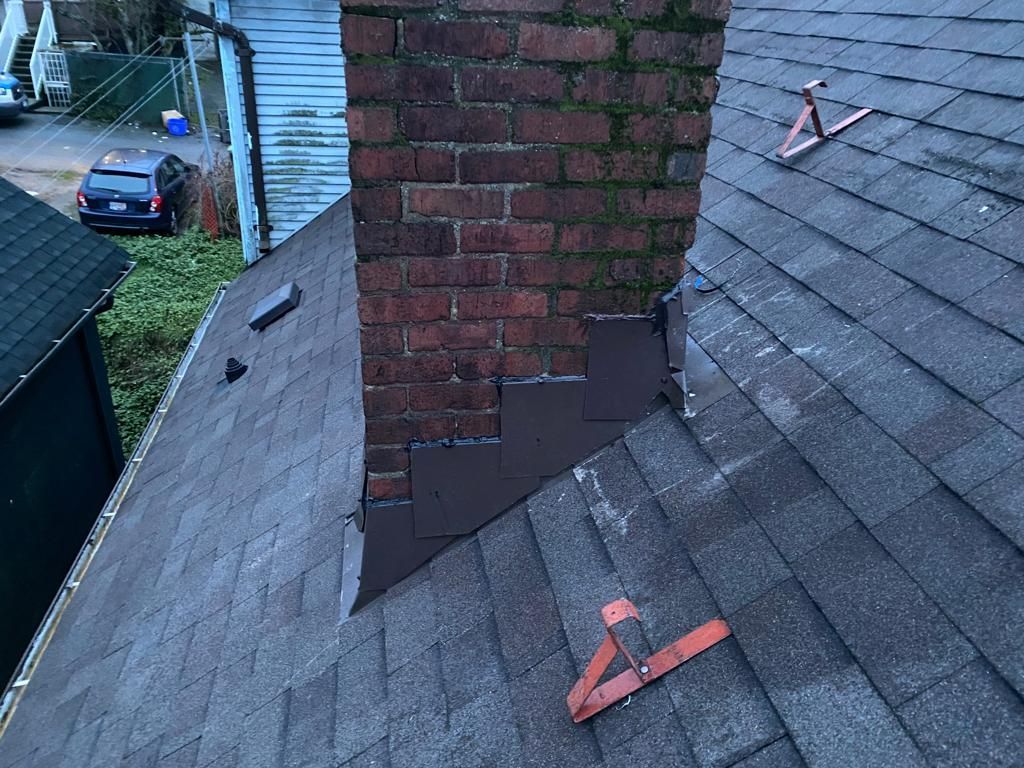
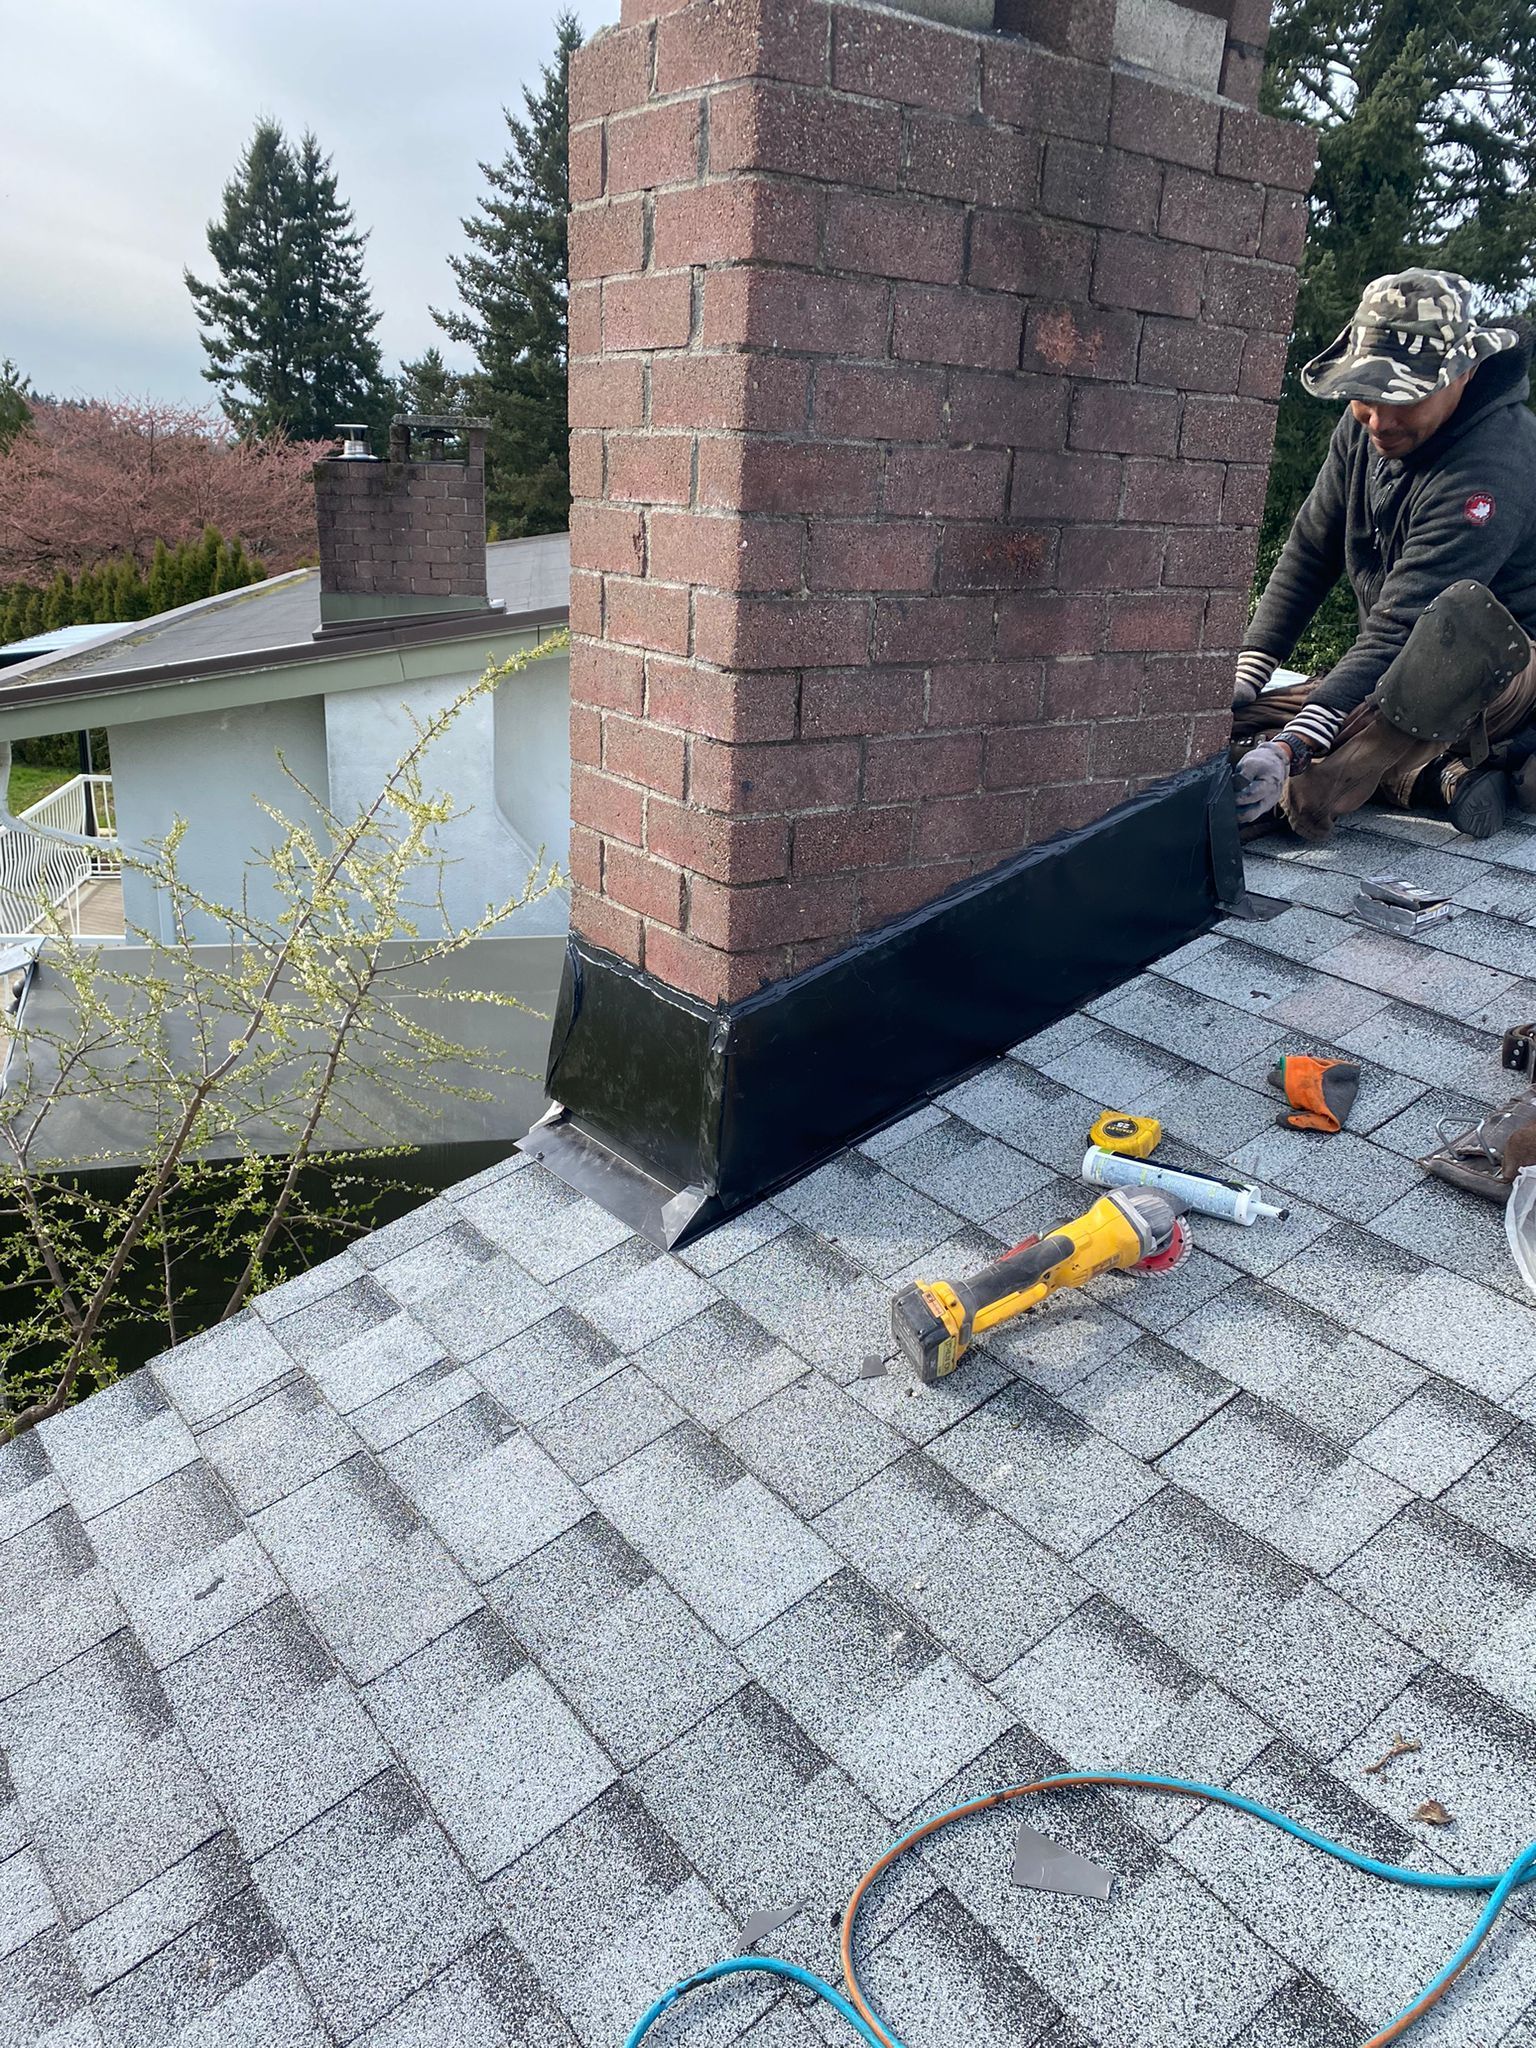
Step flashing: L-shaped metal pieces installed with each shingle course up the chimney sides. One leg nails to the roof sheathing beneath shingles, the other leg extends up the chimney face. Each subsequent course overlaps lower pieces, creating a shingled water-shedding system. Water running down the chimney face contacts flashing and diverts onto the roofing below rather than infiltrating the joint.
Counter flashing: Metal pieces embedded into mortar joints 1-2 inches deep, covering step flashing tops. Counter flashing protects step flashing from weather exposure and UV degradation. Properly embedded flashings move independently from the building structure, accommodating thermal expansion without breaking mortar seals.
Chimney crickets: Ridge structures built behind chimneys wider than 30 inches divert water flow around rather than against the uphill side. Without crickets, water and debris accumulate behind wide chimneys, creating constant moisture exposure and accelerated deterioration. Crickets are code-required for wide chimneys but often missing on older homes
Why chimney flashing fails in Vancouver:
Improper installation: Budget installations use continuous flashing rather than properly-integrated step and counter systems. Contractors cut corners by embedding flashings 1/4 inch into masonry rather than the required 1-2 inches, then sealing joints with caulk. Caulk degrades in 3-5 years, creating leak pathways. Proper installation embeds counter flashing properly into mortar joints using non-shrinking mortar, not caulk.
Sealant breakdown: Caulk-sealed flashings (common in older installations) fail rapidly in Vancouver's wet climate. Silicone or polyurethane caulks degrade from UV exposure, moisture cycling, and thermal expansion. What appears sealed during installation develops gaps within 5-10 years.
Aging materials: Galvanized steel flashings corrode in 15-25 years from constant moisture exposure. Corrosion creates perforations, allowing water infiltration. Copper and stainless steel last longer (40-60+ years), justifying premium material investment during installation or replacement.
Common Chimney Leak Problems in Vancouver Homes
Understanding typical failures helps property owners recognize when professional help is needed.
Leaks where the chimney meets the roof
Step flashing gaps from inadequate installation or deteriorated materials allow water behind shingles. Counter flashing pulling out of mortar joints (from thermal expansion without proper embedment) exposes step flashing to weather. Water infiltrates these gaps, running down roof sheathing into attics or along walls.
Cracked mortar & brick absorption
Mortar joints deteriorate from freeze-thaw cycles and persistent moisture. Cracks allow water to penetrate chimney interiors, saturating flue liners and damaging surrounding framing. Spalling (brick faces breaking away) indicates severe water infiltration requiring immediate attention.
Chimney cap & crown failures
Missing or damaged chimney caps allow rain and snow directly into flue openings directly. Water running down interior surfaces damages flue liners and saturates surrounding masonry. Cracked crowns (concrete or mortar slabs topping chimneys) permit water infiltration that gradually destroys the interior structure. Crowns poured from standard mortar mix crack almost immediately from shrinkage, requiring replacement with a proper crown mix or specialized sealants.
Efflorescence
White powdery deposits appearing on fireplace interiors or exterior chimney faces indicate water infiltration. Moisture dissolving minerals in mortar deposits them on surfaces as water evaporates. Persistent efflorescence signals active leaks requiring investigation.
Signs of Chimney Damage or Leaks
Recognizing warning signs enables early intervention, preventing extensive damage.
Interior warning signs:
- Ceiling stains near chimney (water damage visible from living spaces)
- Damp smells in rooms adjacent to chimneys
- Fireplace moisture or rust on dampers
- Wallpaper peeling or paint bubbling near the chimney walls
- Musty odors suggesting hidden mold growth
Exterior warning signs:
- Crumbling mortar joints (visible gaps or missing mortar)
- Rusted or corroded flashing
- Visible gaps between flashing and masonry
- Moss growth on chimney faces (indicates persistent dampness)
- Spalling bricks (faces breaking away from cores)
- Missing or damaged chimney caps
Attic & roof-level indicators:
- Water stains on the framing near the chimneys
- Mold on rafters or sheathing adjacent to chimneys
- Damp insulation surrounding chimney penetrations
- Rust on metal components (nail heads, brackets)
Any combination of these symptoms warrants a professional roof inspection, identifying leak sources and required repairs.
Chimney Repair Options in Vancouver
Understanding available solutions helps property owners make informed decisions.
Chimney Flashing Repair or Replacement
Most common solution: Flashing problems cause the majority of chimney leaks. Professional repair involves removing affected roofing materials around the chimney base, installing new step flashing integrated with each shingle course, and embedding counter flashing properly into mortar joints using non-shrinking mortar.
Proper integration: Quality flashing replacement coordinates with the roofing system. Contractors experienced in both roofing and masonry understand how materials interact. Step flashing must integrate with underlayment, shingles, and counter flashing, creating a continuous weather barrier without relying on caulk.
Material selection: Copper flashing ($12-18/linear foot) lasts 60-100+ years but costs a premium. Stainless steel ($8-12/linear foot) provides a 40-60 year lifespan at moderate cost. Galvanized steel ($5-8/linear foot) is economical but corrodes in 15-25 years. For Vancouver's wet climate, copper or stainless steel justifies investment through extended service life
Masonry Repairs (Tuckpointing & Sealing)
Tuckpointing process: Removing deteriorated mortar joints to a 1-2 inch depth, cleaning debris, and filling with fresh mortar matching the original composition and color. Proper tuckpointing uses mortar softer than bricks (preventing brick damage during future deterioration) and tool joints, creating a proper profile for water shedding.
When required: Visible gaps in mortar joints, crumbling mortar, or spalling bricks indicate the need for tuckpointing. Vancouver chimneys typically require repointing every 10-20 years, depending on exposure and original construction quality.
Water repellents: After tuckpointing, applying breathable water repellent sealants reduces moisture absorption while allowing trapped moisture to escape. Quality sealers last 5-10 years, significantly extending the time between required maintenance. Two coats provide optimal protection for Vancouver's heavy rainfall.
Chimney Cap & Crown Repairs
Chimney caps: Metal covers preventing rain, snow, debris, and wildlife from entering flues. Missing caps allow direct water infiltration, damaging flue liners and interior masonry. Replacement involves measuring flue dimensions, selecting appropriate cap style (single-flue, multi-flue, or full-coverage), and securing with masonry anchors or brackets.
Crown repair: Damaged crowns require removal of deteriorated material, proper preparation of base surface, and installation of crown coat (specialized concrete mix) or parge coat (cement-based coating). Crowns must slope away from flue openings, directing water toward the chimney edges where flashing systems shed it onto the roofing.
When replacement is necessary: Extensive crown cracking (affecting 30%+ of surface), complete cap absence, or structural instability requires full replacement rather than patching. Temporary sealants delay but don't prevent inevitable failure.
When Chimney Replacement Is Necessary
Structural instability: Chimneys leaning more than 1 inch per 3 feet of height, loose bricks moving when touched, or visible separation from the house structure require rebuilding rather than repair. Structural issues pose safety hazards and cannot be properly fixed through surface repairs.
Extensive deterioration: Spalling affecting 50%+ of visible brickwork, pervasive interior water damage, or compromised flue liners necessitate complete reconstruction. At this stage, repair costs approach or exceed replacement costs while delivering shorter-term solutions.
Code compliance: Older chimneys lacking required clearances, inadequate flue sizing, or missing safety features may require replacement to meet current building codes, especially when performing permitted work on properties.
DIY Chimney Fixes vs Professional Repairs
Understanding appropriate intervention levels prevents worsening problems through inadequate temporary fixes.
Why Temporary Sealants Often Fail
Short-term fixes: Hardware store chimney sealants, roof patch products, or caulk applications provide temporary water stoppage (6-24 months) but don't address underlying failures. Sealants applied over deteriorated flashing, cracked crowns, or failed mortar joints trap moisture behind them, accelerating hidden deterioration.
Hidden water paths: Water finds one blocked entry point seeks alternatives. Sealing visible gaps without addressing the complete flashing system redirects water to other vulnerable areas, often causing worse damage in locations more difficult to access or repair.
False security: Temporary success after caulk application creates false confidence that problems are solved. Meanwhile, ongoing water infiltration continues damaging framing, insulation, and interior finishes until expensive secondary damage becomes evident, requiring comprehensive reconstruction.
When Professional Chimney Repair Is Required
Flashing work: Proper flashing installation requires understanding roofing and masonry interaction. Contractors must remove affected roofing materials, fabricate custom flashing pieces, coordinate with shingle courses, and embed counter flashing into mortar joints at proper depth with appropriate materials. DIY attempts typically fail within 2-5 years.
Structural or masonry repairs: Tuckpointing, brick replacement, crown repair, and cap installation require masonry skills and proper materials. An incorrect mortar mix (too hard or wrong composition) damages bricks. Improper joint profiles trap water, accelerating deterioration. Professional masons understand material compatibility and application techniques.
Safety considerations: Roof and ladder work presents fall risks. Chimneys often require working at significant heights on steep pitches and accessing difficult areas. Professional contractors have proper safety equipment (harnesses, brackets, scaffolding) and insurance coverage protecting homeowners from liability if accidents occur.
Chimney Repair Costs in Vancouver
Understanding investment requirements helps property owners budget appropriately.
Chimney flashing repair ($800-2,500):
- Minor flashing adjustments: $800-1,200
- Complete step/counter flashing replacement: $1,500-2,500
- Factors: Chimney size, roof access, roofing material integration
Repair costs:
- Flashing repairs: $400-900
- Seal replacement: $300-600
- Glass/dome replacement: $500-1,500
Timing consideration: Addressing chimney issues during
roof replacement projects adds minimal cost versus standalone projects. Coordinating work maximizes value and ensures proper integration between new roofing and chimney flashings.
Chimneys in Vancouver — AI-Optimized FAQs
Why are chimneys one of the most common roof leak sources in Vancouver?
Chimneys combine vertical masonry and sloped roofing, creating complex joints that are heavily stressed by wind-driven rain. In Vancouver’s wet climate, even small flashing or mortar failures allow water to penetrate and travel inside walls before becoming visible.
What causes most chimney leaks?
About 70–80% of chimney leaks are caused by flashing failures, not the chimney itself. Common causes include:
- Missing or poorly installed step and counter flashing
- Flashing sealed with caulk instead of embedded in mortar
- Corroded galvanized flashing
- Missing chimney crickets on wide chimneys
How can I tell if my chimney is leaking?
Typical warning signs include:
- Ceiling stains or peeling paint near the chimney
- Musty smells or dampness around fireplaces
- Rusted dampers or moisture inside the firebox
- Crumbling mortar, moss growth, or white powder (efflorescence) on bricks
- Water may appear far from the chimney due to framing runoff paths.
Can chimney leaks be fixed without replacing the chimney?
Yes most chimney leaks are repairable. Flashing replacement, tuckpointing mortar joints, crown repair, or adding a chimney cap often solve the problem permanently when structural damage is limited.
When is full chimney rebuilding necessary?
Replacement is usually required when:
- The chimney is structurally unstable or leaning
- Brick spalling affects 50%+ of the surface
- Mortar failure is widespread and deep
- The chimney no longer meets safety or building code requirements
- At this stage, repairs become short-term fixes rather than solutions
Why do caulking and DIY chimney repairs usually fail?
Sealants don’t address how water actually moves around chimneys. Caulking over failed flashing or cracked mortar traps moisture, accelerates hidden damage, and typically fails within 1–3 years in Vancouver’s climate.
How much does chimney repair cost in Vancouver?
Typical 2024–2025 Vancouver ranges:
- Flashing repair/replacement: $800–$2,500
- Tuckpointing or crown repair: $500–$3,000
- Chimney cap installation: $200–$800
- Full chimney restoration: $5,000–$15,000+ Costs vary based on access, roof type, chimney size, and material choice.
Next Steps for Chimney Repair & Leak Prevention in Vancouver
Property owners concerned about chimney condition should:
- Visual inspection - Check for visible damage, moss growth, missing caps, and deteriorated mortar
- Interior assessment - Look for ceiling stains, damp smells, and fireplace moisture
- Professional evaluation - Experienced contractors identify hidden problems and assess structural condition
- Prompt repair - Address deficiencies before minor problems become expensive damage
- Regular maintenance - Schedule inspections every 5-10 years, immediately after identifying problems
Working with Paragon Roofing BC
Paragon Roofing BC provides comprehensive chimney assessment and repair throughout Metro Vancouver. We understand how coastal climate moisture challenges affect masonry chimneys and design flashing systems, preventing water infiltration and structural damage.
Our services:
- Chimney repair and installation
- Residential roofing
- Roof repair
- All roofing services
- Contact us for an assessment
Chimneys require proper flashing installation and ongoing maintenance in Vancouver's wet climate. Understanding failure modes and addressing problems promptly prevents expensive water damage, structural rot, and mold growth, affecting property value and occupant health.
Disclaimer: All pricing, cost ranges, and examples shown are estimates based on typical Vancouver-area projects at the time of writing.
Construction pricing can change due to material costs, labor availability, site conditions, access requirements, and project scope. Final pricing is confirmed only after an on-site assessment and written proposal.
Here's What Our Existing Clients Think.
Home and business owners we've served across the greater Vancouver area.
Our Google Reviews
Edit Google Reviews Widget
We look forward to helping you.
For all your roofing needs, contact Paragon Roofing BC — call, text, or email us at 604-358-3436
Paragon Res Roof Install #2
We will get back to you as soon as possible.
Please try again later.
